

In today’s operating systems, quite a lot of attention is paid to the security of the system. This applies to various protection systems as well as various “safeguards”, which are needed to warn the user about possible threats or changes and to obtain his consent. A special service called User Account Control is used for this purpose. However, many users wonder if there is a way to disable User Account Control on their Windows 11 computers.
What you need to disable or enable User Account Control (UAC) in Windows 11
As technology advances, our home computers are becoming more and more complex and sophisticated systems that can handle very complex processes. All of this is accomplished with a properly operating system that is able to use your computer’s potential to the fullest.
However, as operating systems evolve, so do many problems. Most of them are related to the security and optimization of the operating system. The thing is that when users get access to their system controls, many people get careless with their system, for example installing malware or filling the computer with unnecessary processes.
In order to minimize the risk of such malicious intrusions and to warn users, developers have come up with different protection systems. Usually, they’re automatically embedded in the systems and are activated when the user tries to make changes to the system.
This is also true for newer operating systems, such as Windows 11. This feature is called User Account Control (UAC). However, various warnings and pop-ups can be quite distracting. So users often wonder if they can turn these features off. Windows 11 does have this feature, and it will take you just a few minutes to do it.
What is UAC and how does it work?
The User Account Control feature was added to Windows Vista for the first time. It’s a component of Windows security technology. Its purpose is to protect your computer from malicious programs and to better filter what processes make changes to your PC.
To do this, it restricts the rights of any program to the level of a normal user. That is why when you try to make changes of any kind, a window pops up where the user has to allow the program to make changes. Only programs you trust will get administrative privileges.
This is actually a pretty convenient way to keep your system safe from all kinds of undefined programs. The system asks for your permission every time you do this, and if you aren’t sure about the safety of the process, you can simply deny this permission.
This feature is enabled in your operating system by default and is part of its security system.
However, many users find that when they work with lots of different programs, the constant notifications asking for rights can be very distracting and annoying. If this is the case, there is an option in Windows 11 to disable this feature.
How to disable User Account Control in Windows 11
It’s actually quite easy to disable this feature on your Windows 11 computer. To do this you will need an administrator account which you can use to make changes to the system. The next thing you need to do is:
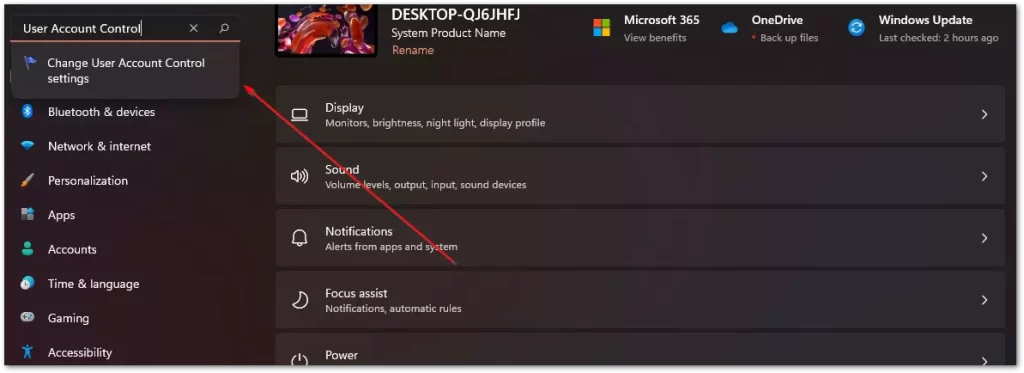
- First, open Settings with Win+I.
- Then you need to type User Account Control in the search bar and select Change User Account Control settings.
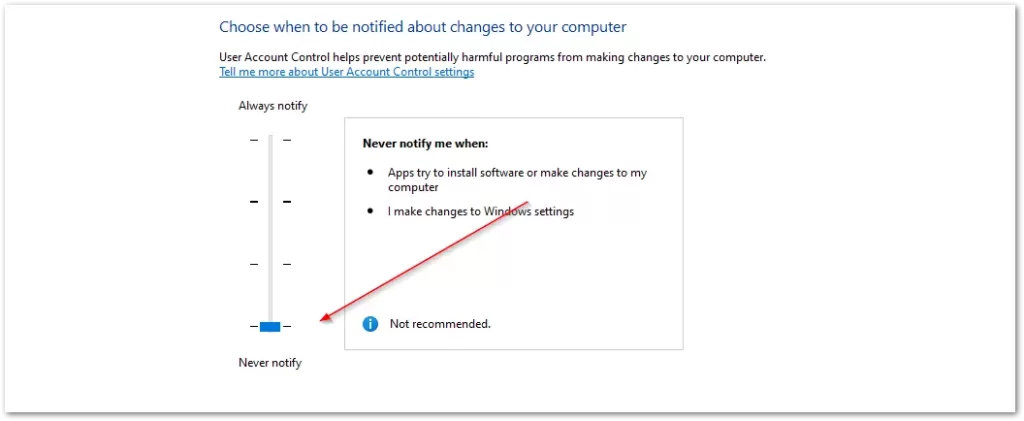
- A slider will be displayed in front of you, you just need to drag it to the very bottom to Never Notify.
- After that, click OK.
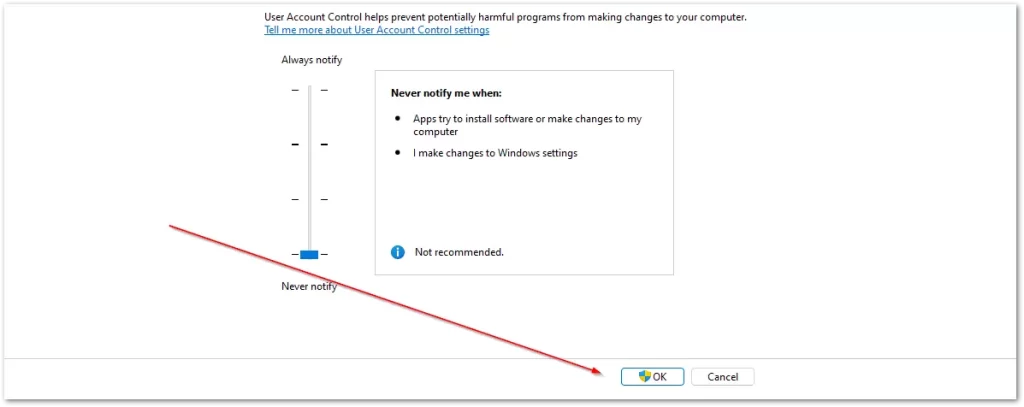
This will completely disable the User Account Control feature on your PC. No longer before apps make changes to your system will Windows notify you and ask for your permission. As you can see this is quite easy to do.
How to enable User Account Control
If you have already disabled this feature or it’s disabled by default for some reason, you just need to repeat the steps from the previous instruction. In step 3, simply drag the slider up to the desired item.
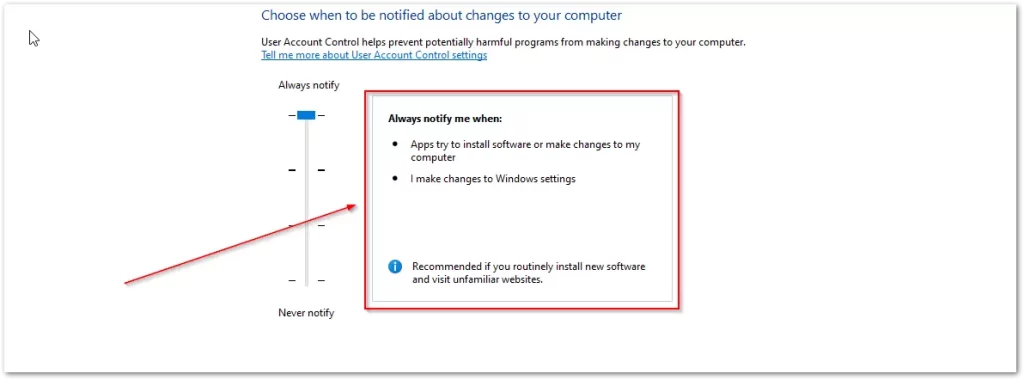
Here you can see on the right side of the window under what conditions the notification will be triggered and adjust them to your needs.
