

Many users often complain that their computers are filled with unnecessary files that the operating system creates for its work. However, not everyone knows that temporary files can be deleted quite easily with just a few clicks.
What do you need to delete cache in Windows 11
Not so long ago came out a new version of the operating system Windows – Windows 11. It came to replace Windows 10. The new version of the operating system has brought quite a few changes to the familiar interface of Windows. In addition, with the release of the new operating system have been introduced and implemented many interesting features that may be quite useful for users.
However, with all the differences, Windows 11 is still a very similar operating system to Windows 10. It will be quite easy for users to switch to the new system as many elements of the previous generation are still in place.
The general work way of the operating system has been preserved. This means that there are many elements that have always been characteristic of Windows. For example the creation of temporary files and caches.
The system uses these temporary files to store information that is needed for certain services and programs. This is much faster and easier than requesting this information all over again. For example, the caches can store information about the current location or e.g. temporary data about the progress of the current task.
Caches actually have a lot of different tasks. One of them is to make sure that you’re automatically logged in to all the services you need. However, if you have been using your PC for a long time, you may have a problem when too many temporary files have been created already. In this case, users wonder if it is possible to clear caches in Windows 11.
In fact, it’s quite easy to do. And for this, you will need literally a few minutes and a couple of clicks.
Why you might need to delete the cache in Windows 11
As described above, the main purpose of deleting caches is to free up space on your disk. In addition, you can avoid storing all kinds of unnecessary files that make a mess of your storage.
In addition, caches can store information that attackers can use to find out your personal information, such as passwords or credit card information.
Therefore, in order to save space and security, it’s recommended that users occasionally delete caches in Windows 11. In addition, after deleting caches, it frees up space on the system disk and you may notice that the system starts to run more smoothly and stably.
How to remove caches with the built-in Disk Cleanup tool
In Windows 11, there is a special built-in utility that allows users to perform disk cleanup of various files. Including temporary files such as caches. To use this method you need to follow these simple steps:
- First, you need to click on the Start button or the Search button and type “Disk Cleanup” in the search field. In the search result, select the desired utility.

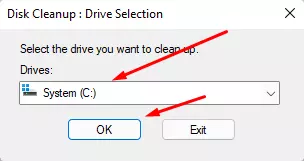
- After that, you need to choose which drive you want to delete the caches in the popup window and click OK.
- Next, the process of scanning your disk will start. As soon as it finishes you will see a window where you can tick all the files that you need to remove. To completely remove all the caches you need to check all the boxes. In addition, you can see below a description of each item.
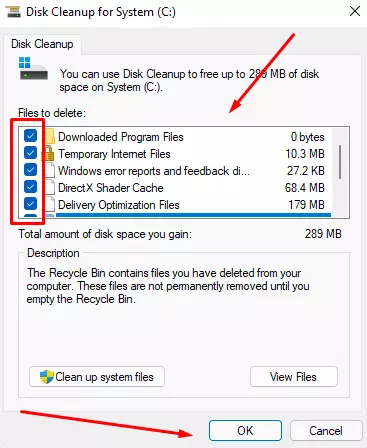
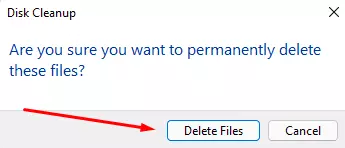
- At the end of the popup window you just need to click on Delete Files to complete the deletion.
In this way, you can clear the caches in your Windows 11. It’s quite easy to do and any user can do it.
How to delete location caches
In addition to the usual app data, your computer may also collect data about your location and store it in caches on your PC. If you decide to get rid of this data, it will be quite easy to do:
- First, you need to open the settings, you can do this with the shortcut “Windows + I“.
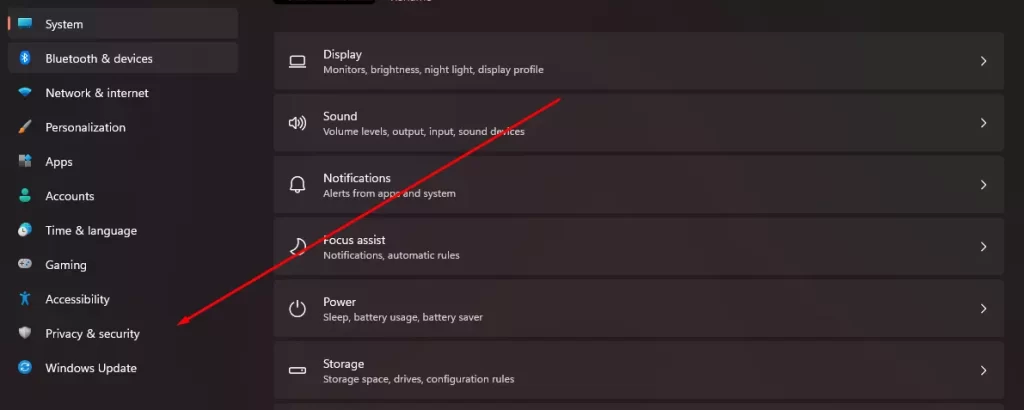
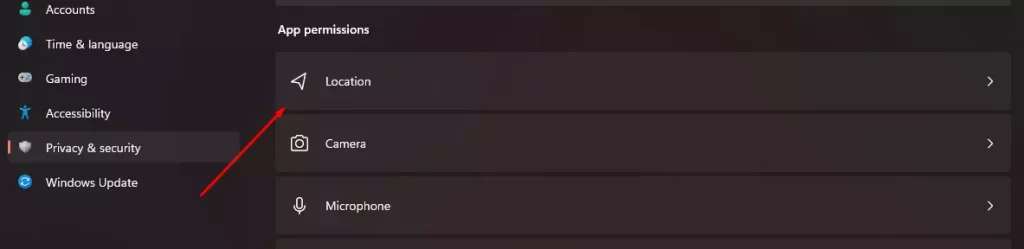
- Next, you need to go to the Privacy & Security tab.
- Here in the list, you need to find the item Location.
- On the menu that appears, just find the Location History item, and to the right of it click Clear. If the process was successful, you will see a checkmark next to this button.
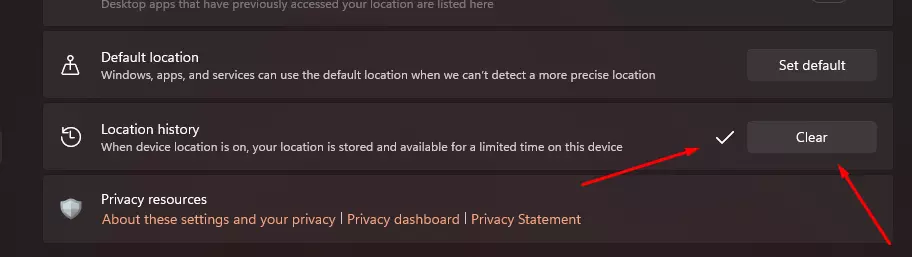
With these simple steps, you can delete the history of your movements from your PC. This will allow you to secure your personal data and hide the places you have been.
How to set up automatic cache clearing in Windows 11
In addition to the above methods, there is also a feature in winds up which will allow you to configure the clearing of caches automatically after a certain period of time. This feature is called Storage Sense. To activate it, you need to:
- Open Settings with the shortcut “Windows + I“.
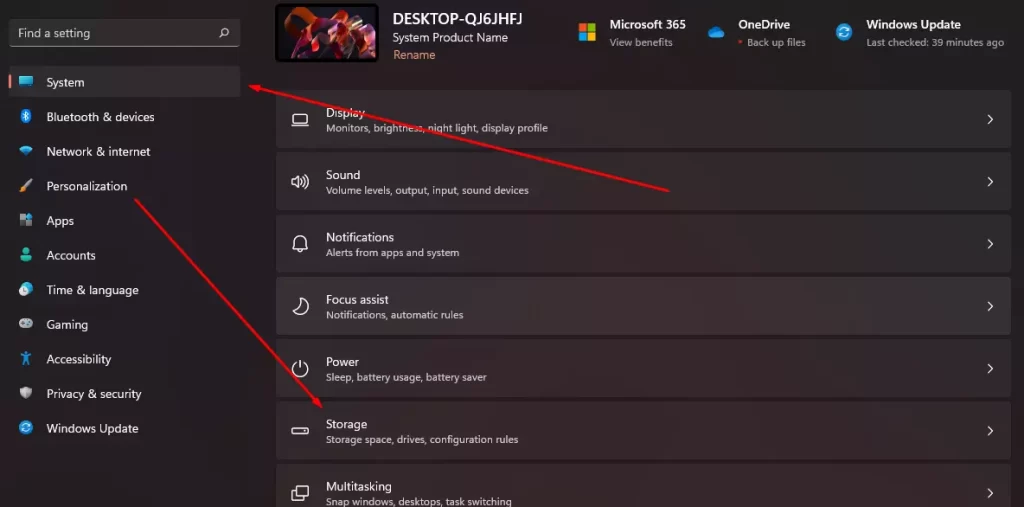
- Then go to the System panel and select Storage.
- This is where you will need to enable the Storage Sense option.
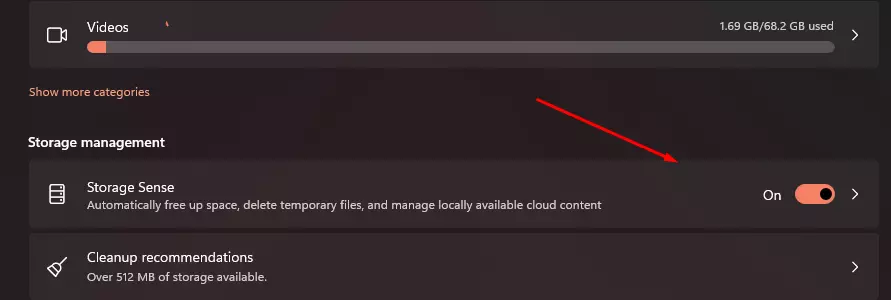
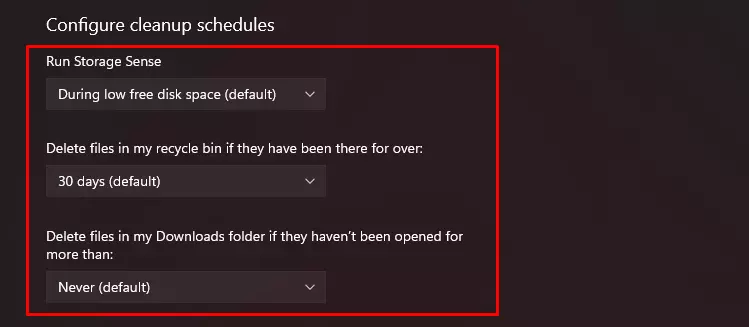
- Next, click on this setting and here you can specify how often you want to delete the caches, clean Recycle Bin can on your system, and the files in your Downloads folder.
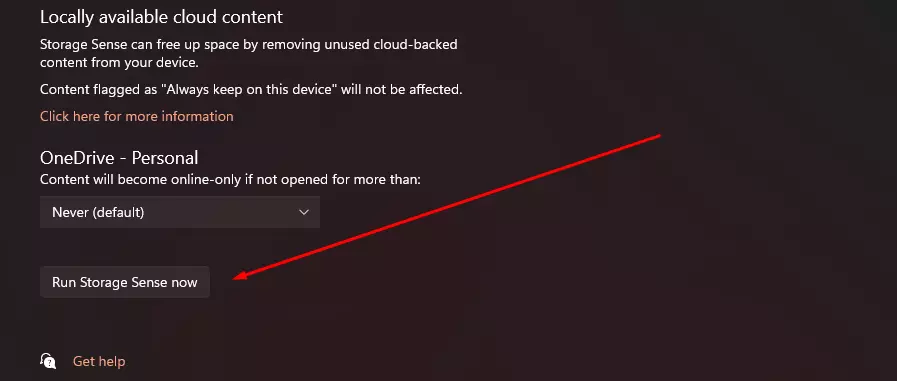
- If you need to start the cleanup right away you will find a Run Storage Sense Now button at the bottom which will start the cleanup instantly.
Using these simple tips you can quickly clear the cache on your PC and set it to clear automatically from time to time.


