

Not everyone knows that you can add different graphical elements to Google Docs. For example, you can create a Word sticker called Word Art. Later, you can place this sticker in any part of the Text.
You can use it for different purposes. For example, you can use it to “sign” your documents so that everyone knows exactly who is writing them. Adding it is pretty straightforward. You have to use the drawing tool.
How to add Word Art to Google Docs
As I said above, you will need to use the drawing tool to add Word Art. You can type any phrase into Word Art, which will be reworked into Word Art. You can do it this way:
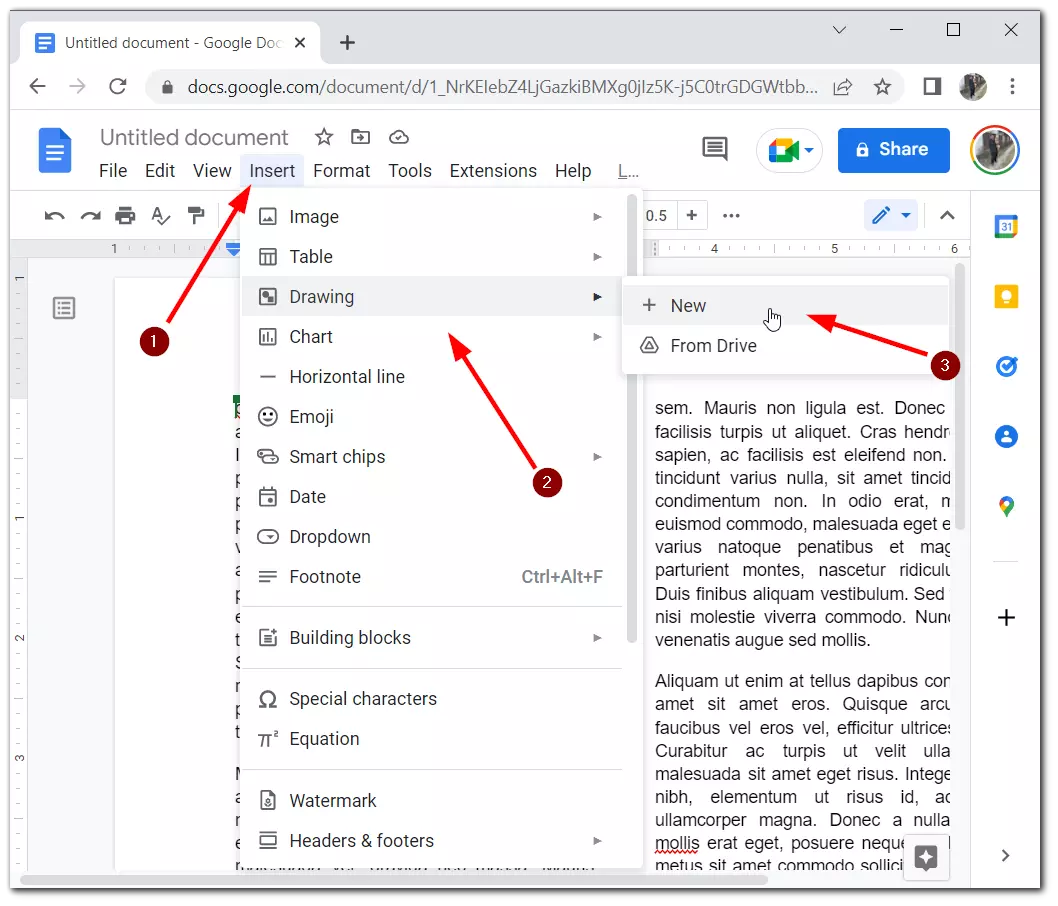
- When editing a Document, click on Insert.
- From the drop-down menu, select Drawing and click New.
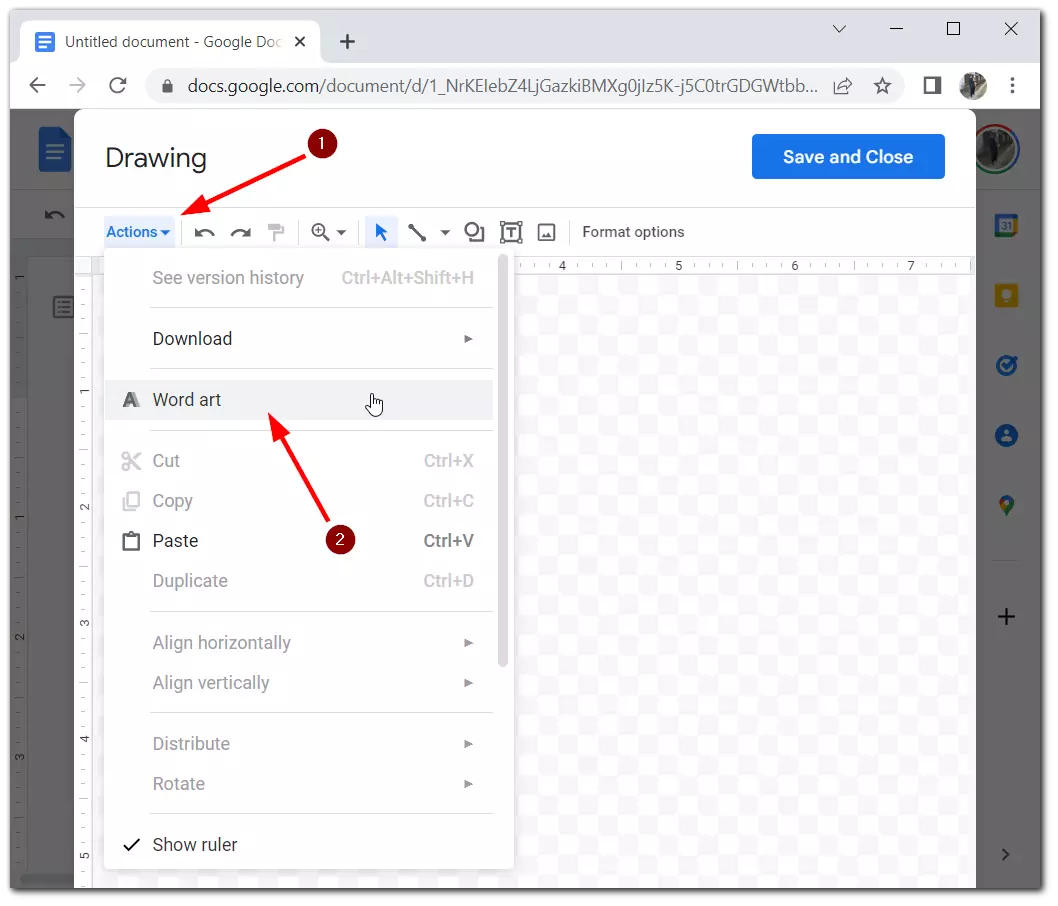
- The drawing editor will open in front of you. You need to click on Actions.
- From the drop-down menu, select Word Art.
After that, fill in your Word Art with the words, and when you are finished editing it, click on Save and Close. It will automatically be added to your document. Note that if you add other elements to your Drawing besides the Word Art, they will also appear in your Text in the same block as the Word Art.
How to edit Word Art in Google Doc
You can edit your Word Art and do this even after you’ve added it to the Text. You need to click on the Word Art itself and the Edit button to do this. Let’s see what you can change:
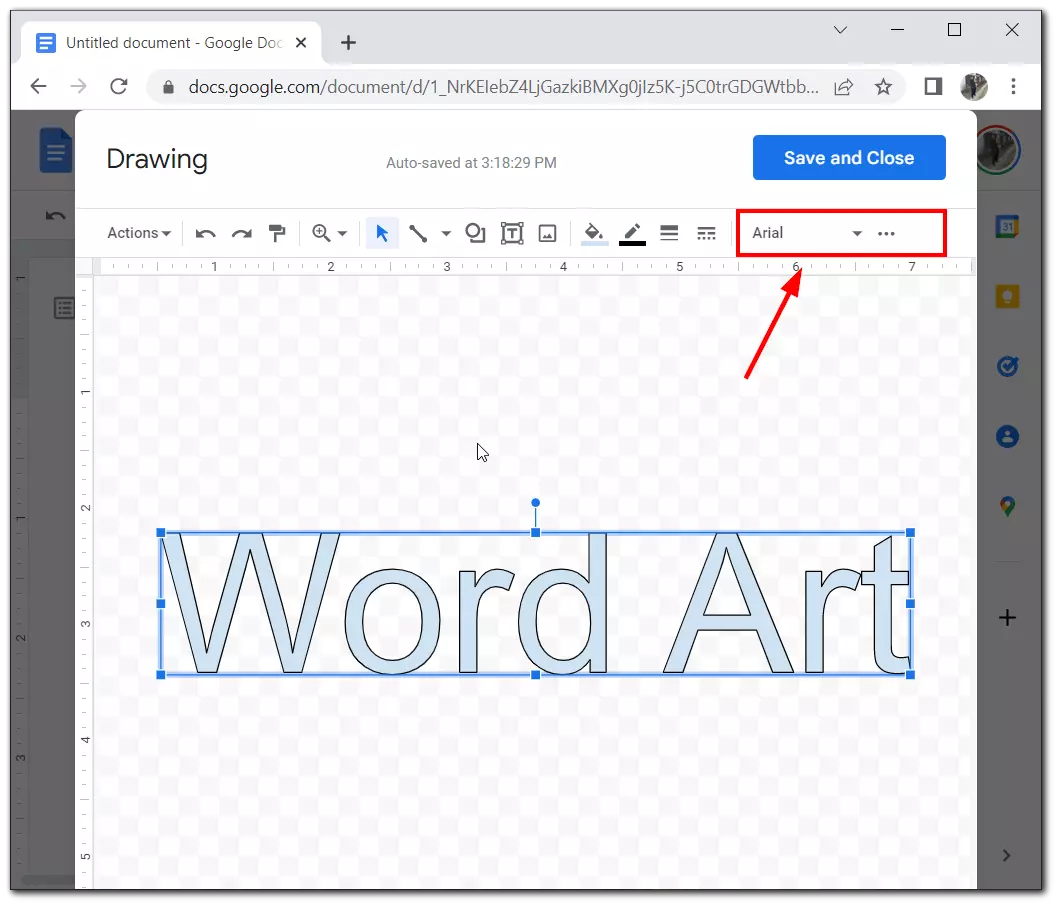
- You can change the color of the Text and the Color of the Border.
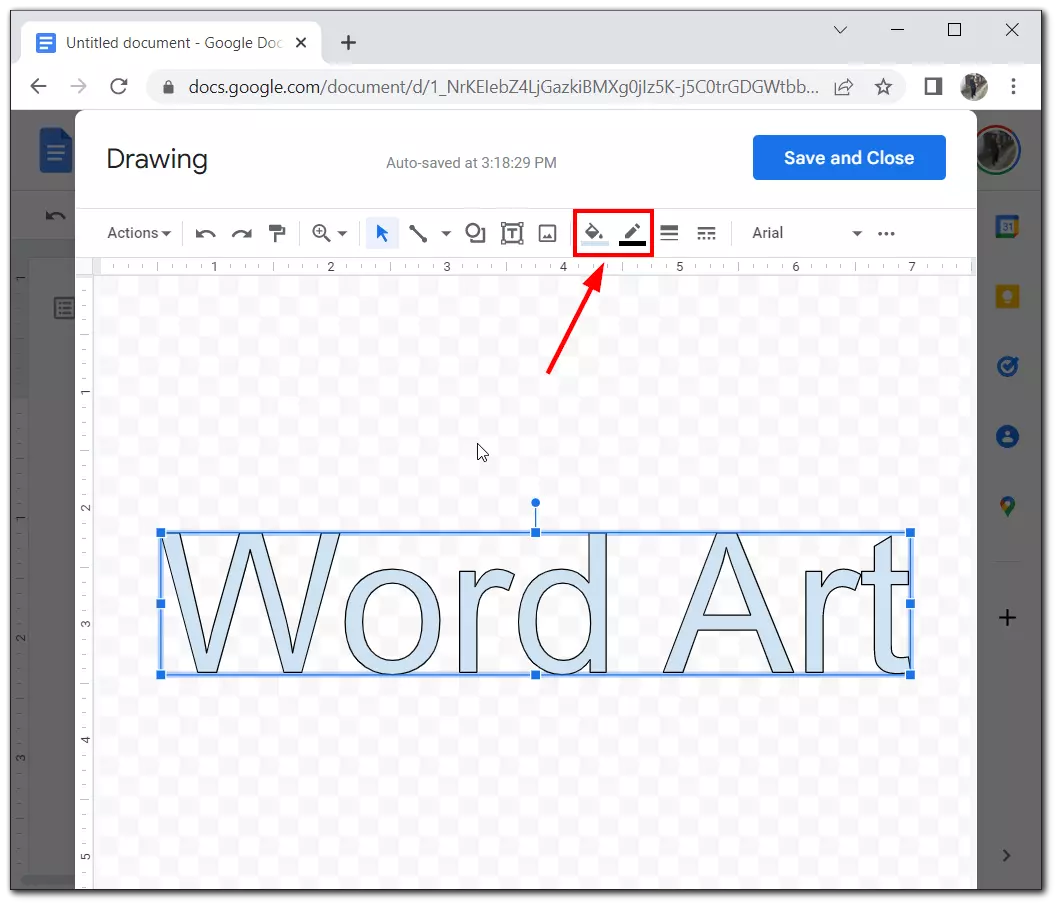
- You can also choose the border’s thickness and its type (dashed, dots, solid lines, etc.).
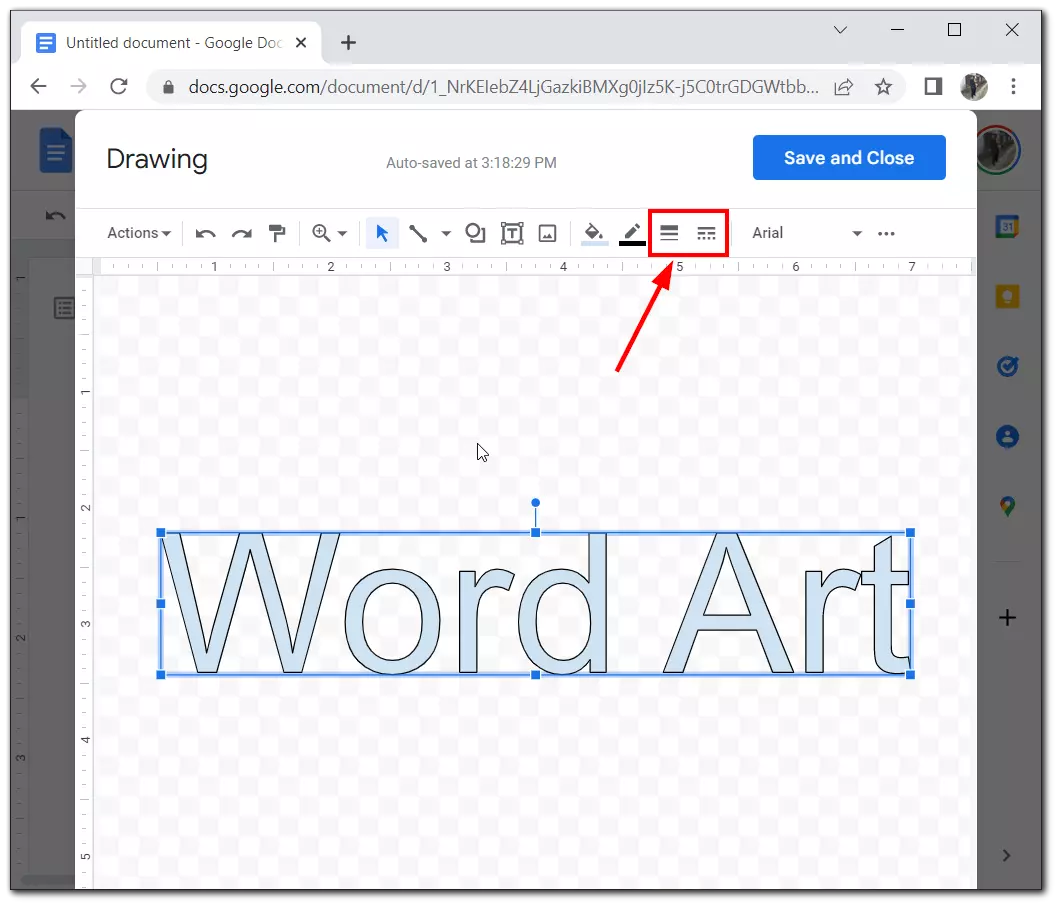
- You can also select the font for your Word Art and make it bold or italic.
So far, this is all the editing capabilities of Word Art. Perhaps in the future, Google Docs will add a few more editing options, but so far, the toolkit is minimal.
How to add shapes in Google Docs
If one Word Art is insufficient, you can add different shapes to your “sticker.” You can think of something to add to your Word Art. To add shapes, you will need to use the Drawing Editor from the previous list of actions. To do this:
- Click on the shape icon. In the drop-down menu, you can choose from 4 types of shapes:
- Shapes
- Arrows
- Callouts
- Equation
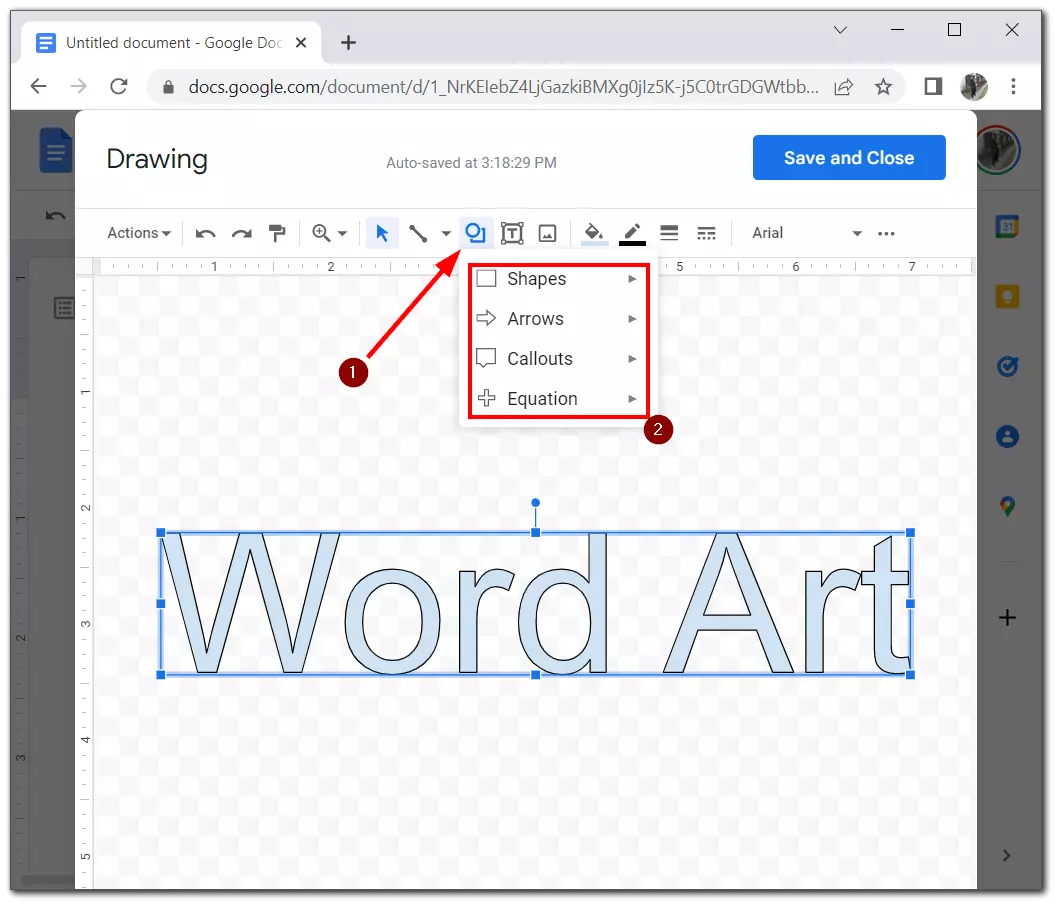
Find the shape you want and click on it. It will automatically be added to the figure. You will then be able to choose the color and size you want. You will also be able to move the figure and change its aspect ratio. When you’re done, click Close And Save. Remember that the Word Art block will add shape to the document. You won’t be able to delete the figure in the future without deleting the Word Art only if you edit the whole Drawing.
How to insert Image in Google Docs
If Word Art and shapes aren’t enough for you, you can create the Image in a third-party editor and load the finished Image into your text document. To do this, you’ll need the following:
- Above the toolbar, click Insert.
- From the drop-down menu, choose Image.
- Next, select the source from where you want to load the Image and add it.
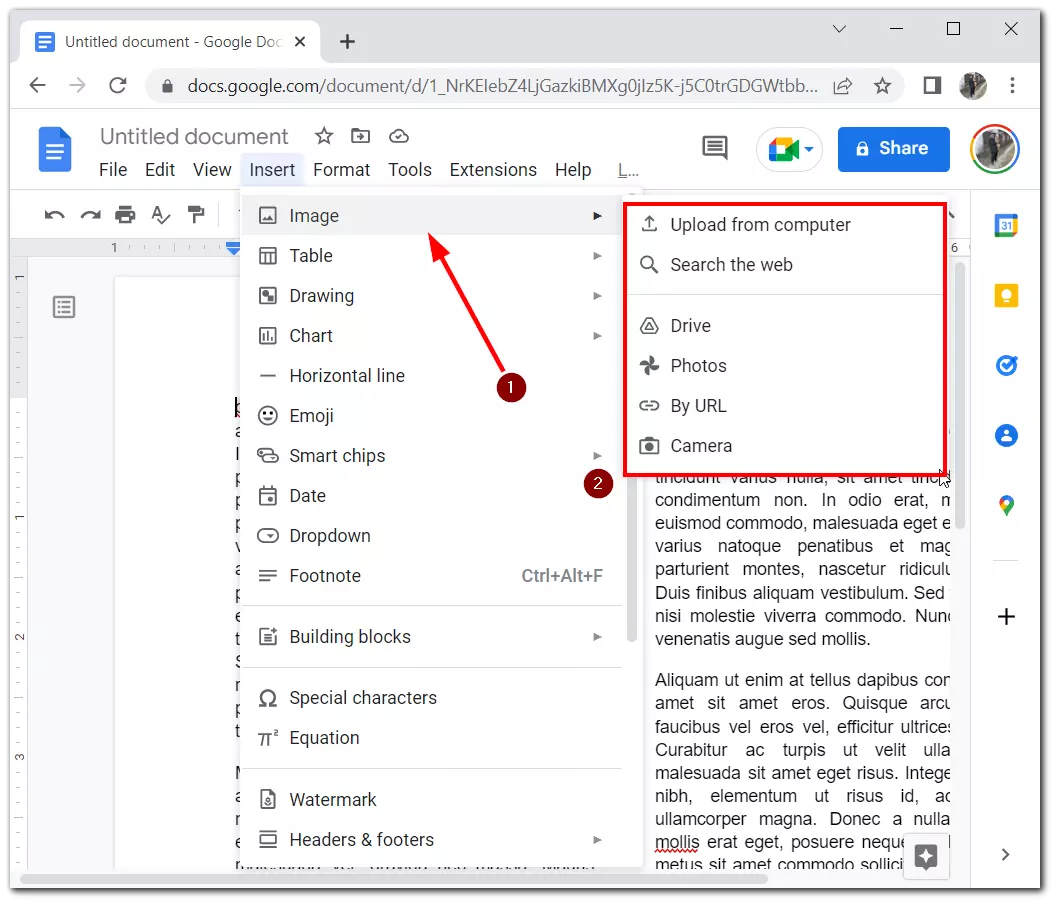
It’s pretty easy to do, plus Google Docs works with almost all image formats. I tested all the formats available to me, which are displayed in Google Docs. So if you want to personalize your document as much as possible, I recommend making your custom image and adding it to Google Docs.


