

Many users may need to add a picture to their document. That’s why Google has made it very easy to do this in Google Docs.
What do you need to add a picture to Google Docs
Google Docs is more than just a platform for creating text documents. You can add photos, videos, and even GIF files to your Google Docs file. Images make the text visually appealing and add extra detail to your documents.
Google Docs has many common features that you will find in Microsoft Word. One such feature is the ability to add a picture to a document. A picture can be added from a file on your computer or from anywhere else on the Internet.
Screenshots, photos, infographics, and graphics are some of the types of images you can add to your document in Google Docs.
Well, if you want to add a picture to your Google Docs document, here’s how you can do it.
How to add a picture to Google Docs
There are four ways to add images to Google Docs on your PC or laptop. You can simply drag and drop the picture, copy and paste, use the paste option, and add the image as an annotated picture. So, here’s more about these methods.
Drag and drop
One of the easiest ways to add an image to Google Docs is to use the drag-and-drop method. If you want to do so, you have to follow these steps:
- First of all, open your Google Docs document and place the cursor where you want to insert a picture.
- Then, just drag and drop a picture from another apps, from your PC storage or from another website to your Google Docs document.
Once you have completed these steps, you will add a picture to your Google Docs file.
Copy and paste
As with the method above, you can use the traditional concept of copy and pasting to add images to Google Docs. If you want to do so, you have to follow these steps:
- At first, go to the website or take a screenshot and copy an image you want to add to your Google Docs document.
- After that, press the “Ctrl + V” key combination to paste the picture to your document.
Once you have completed these steps, you will add a picture to your Google Docs file.
Insert option
If the above two methods don’t work for you, you can try this method as well. You have to do the following:
- Open your Google Docs document and place the cursor where you want to insert a picture.
- Next, click on the “Insert” tab at the top of the screen and select “Image”.
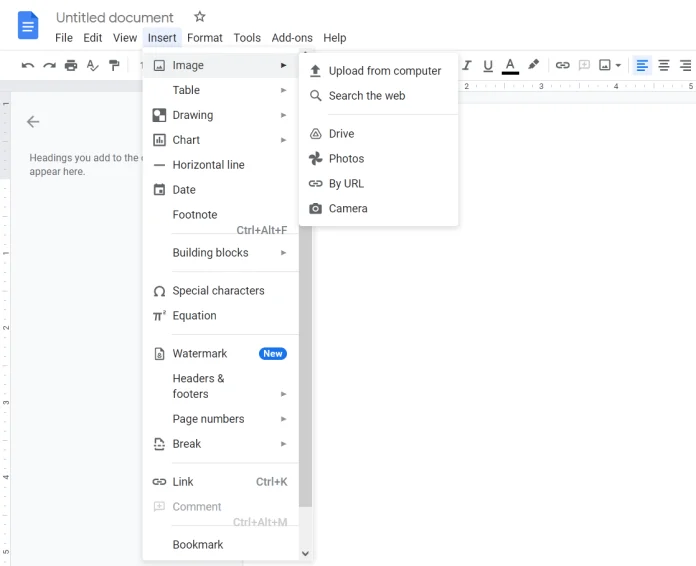
- Now, you can see the list of options. You can upload a picture from your PC or laptop, search for it on the web, upload it from Google Drive, Photos, add a picture by using URL, or take a picture you web camera.
- Finally, just choose one of these options and add your picture to the Google Docs document.
Add the image as an annotated picture
If you want to add shapes such as lines, circles, arrows, or want to enter text on your image directly in Google Docs, you should add your image as a drawing. If you want to do so, you have to follow these steps:
- Open the Google Docs document you want to edit.
- Then, click on the “Insert” tab at the top and select “Drawing”.
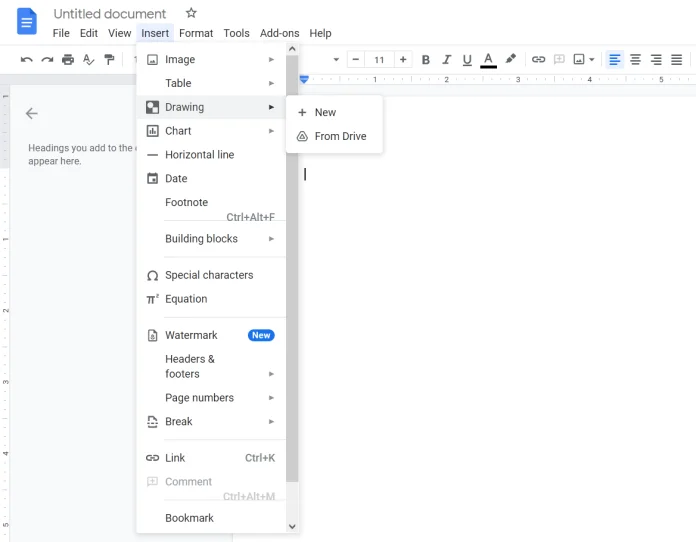
- Next, click “New”.
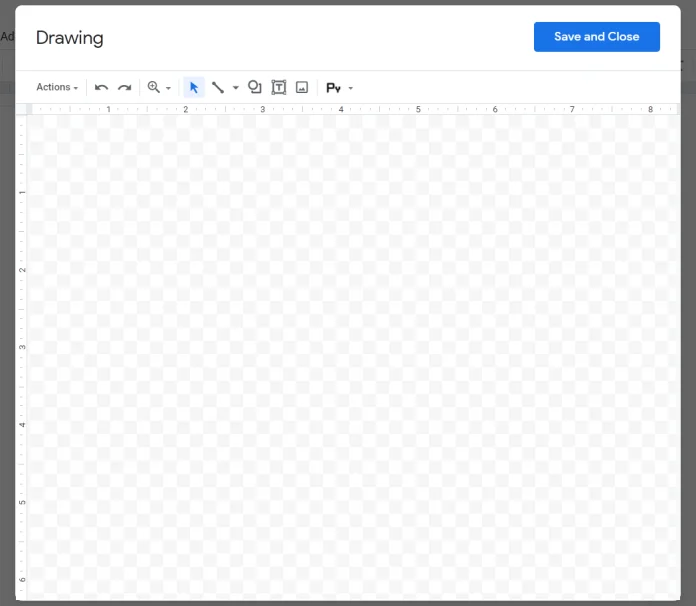
- On the “Drawing” screen, click on the “Image” icon to add a picture.
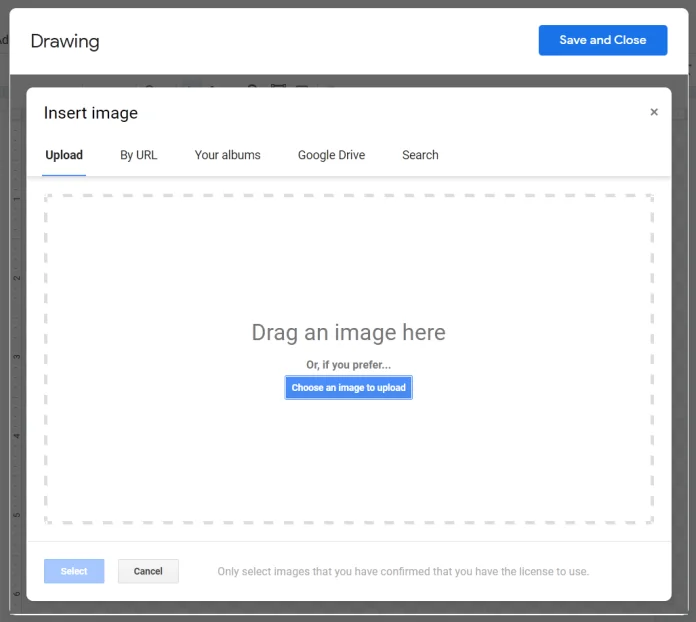
- After that, upload an image.
- Once added, use the options in the toolbar to add arrows, text, etc.
- Finally, click “Save and Close” to insert the annotated image into the document.
After adding an image, click it once and select the “Edit” option if you want to add more text or arrows.
How to edit images in Google Docs
Once you’ve added an image, Google Docs offers various functions for editing your pictures.
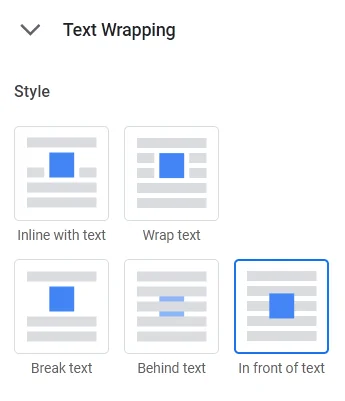
To place text next to or on the side of an image, you need to change the wrap style. Google Docs offers five styles:
- Inline with text. The picture is added as text, i.e. it’s part of the text.
- Wrap text. The text can be on either side of the picture.
- Break text. The text is above or below the picture.
- Behind text. The picture is behind the text.
- In front of text. The text is behind the picture.
To change the style, click on the picture. A pop-up menu will appear. Click on the “three dots” icon and select “All image options”.
How to crop, align and rotate an image
To crop an image, right-click it and choose the “Crop image” option. Then adjust the image to crop it.

To rotate and perform other editing tasks such as changing the color, transparency, brightness, etc. Click on the picture and then click on the “three dots” icon. Select “All image options”. Then choose how you want to edit your image.
To add a border, click the image once. You will see that the border options will be enabled in the edit panel at the top. Select the style, color, and thickness of the border according to your needs.
How to delete a picture from Google Docs
If you want to delete an image, click it and press the “Delete” key on your keyboard. Alternatively, you can right-click on the image and select “Delete”. You can even replace the image using the context menu.
