

If you want to add diagrams, flowcharts, shapes, text drawings, or even hand drawings, including captions, Google Docs can help you with the built-in Drawing feature. You can also import images or pictures from Google Drive or your PC’s local storage. This is very convenient because the function is built into the service and you don’t need to open new tabs with third-party apps or services for drawing.
However, you have also to be aware that the Drawing feature isn’t available for the iOS and Android Google Docs app. You can view them in the app, but you can’t create them. Well, here’s how to draw on Google Docs.
How to create a drawing in Google Docs
The simplest way to create a drawing in Google Docs is to use a built-in Drawing feature. To do so, you can follow these instructions:
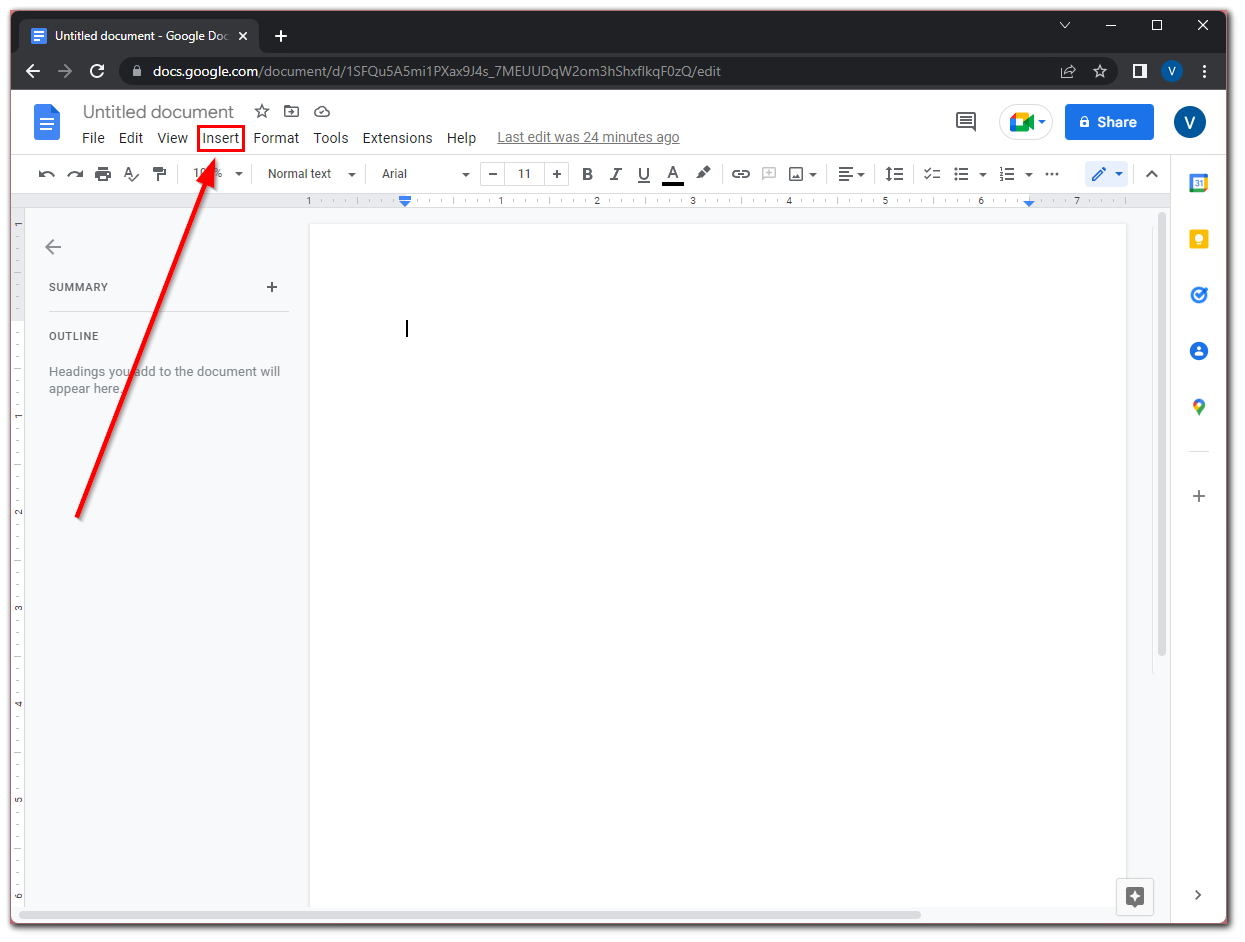
- First of all, open your Google Docs document and click “Insert”.
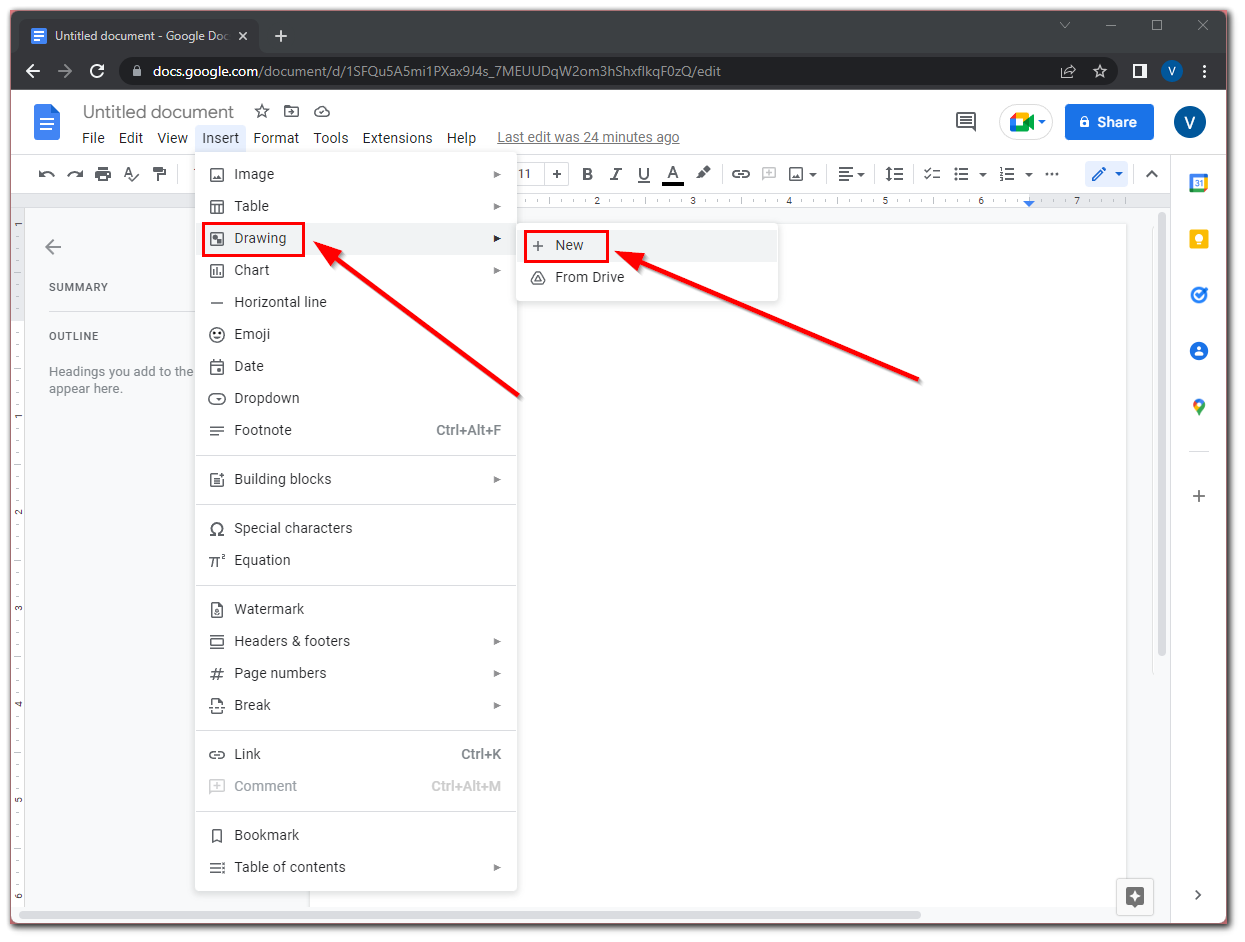
- Then click on the “Drawing” option and select “New”.
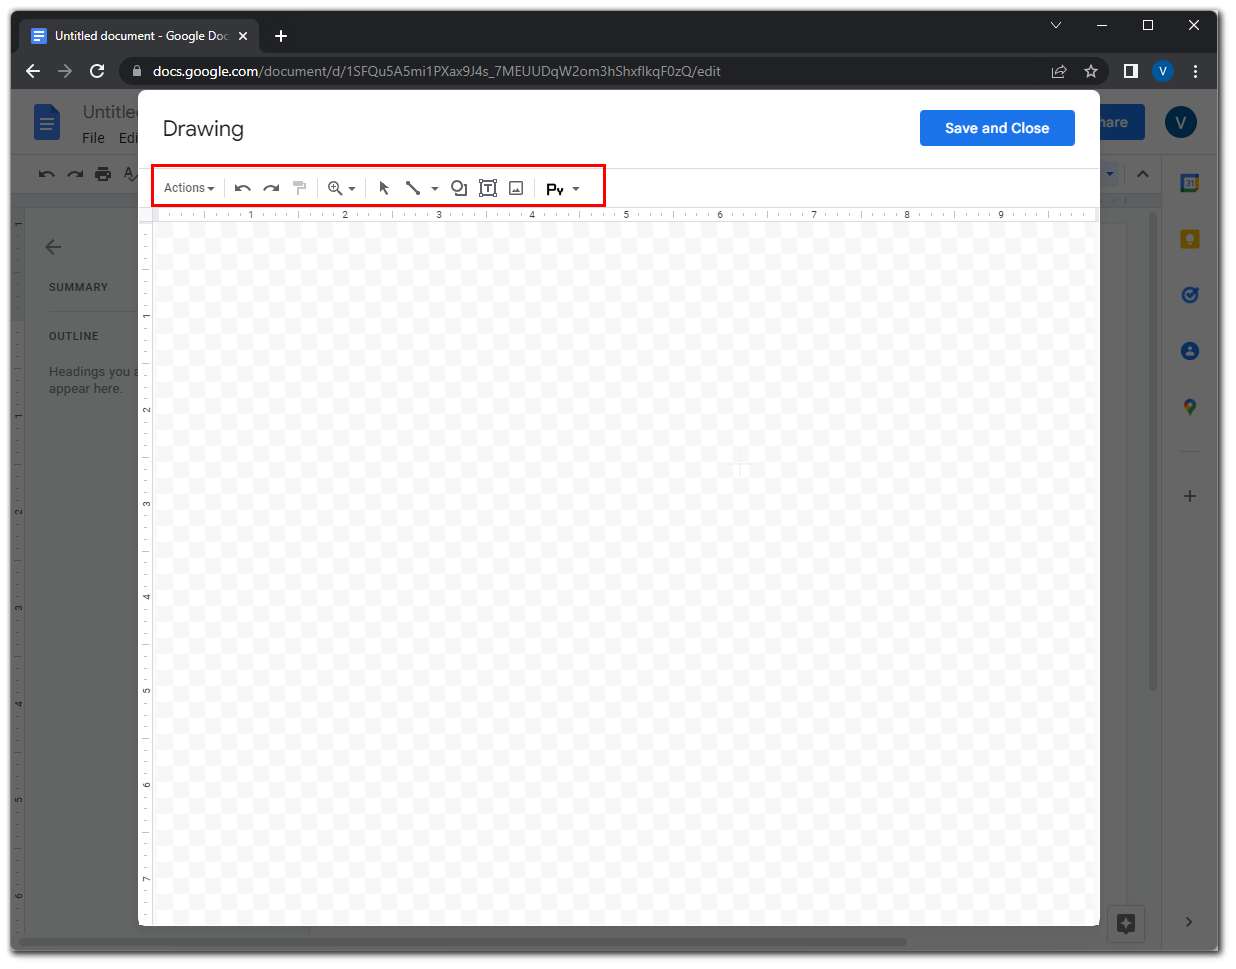
- After that, a new window will appear where you can start drawing.
- It includes a toolbar that allows you to perform several functions, such as drawing lines and shapes, inserting images, changing colors, or creating text boxes.
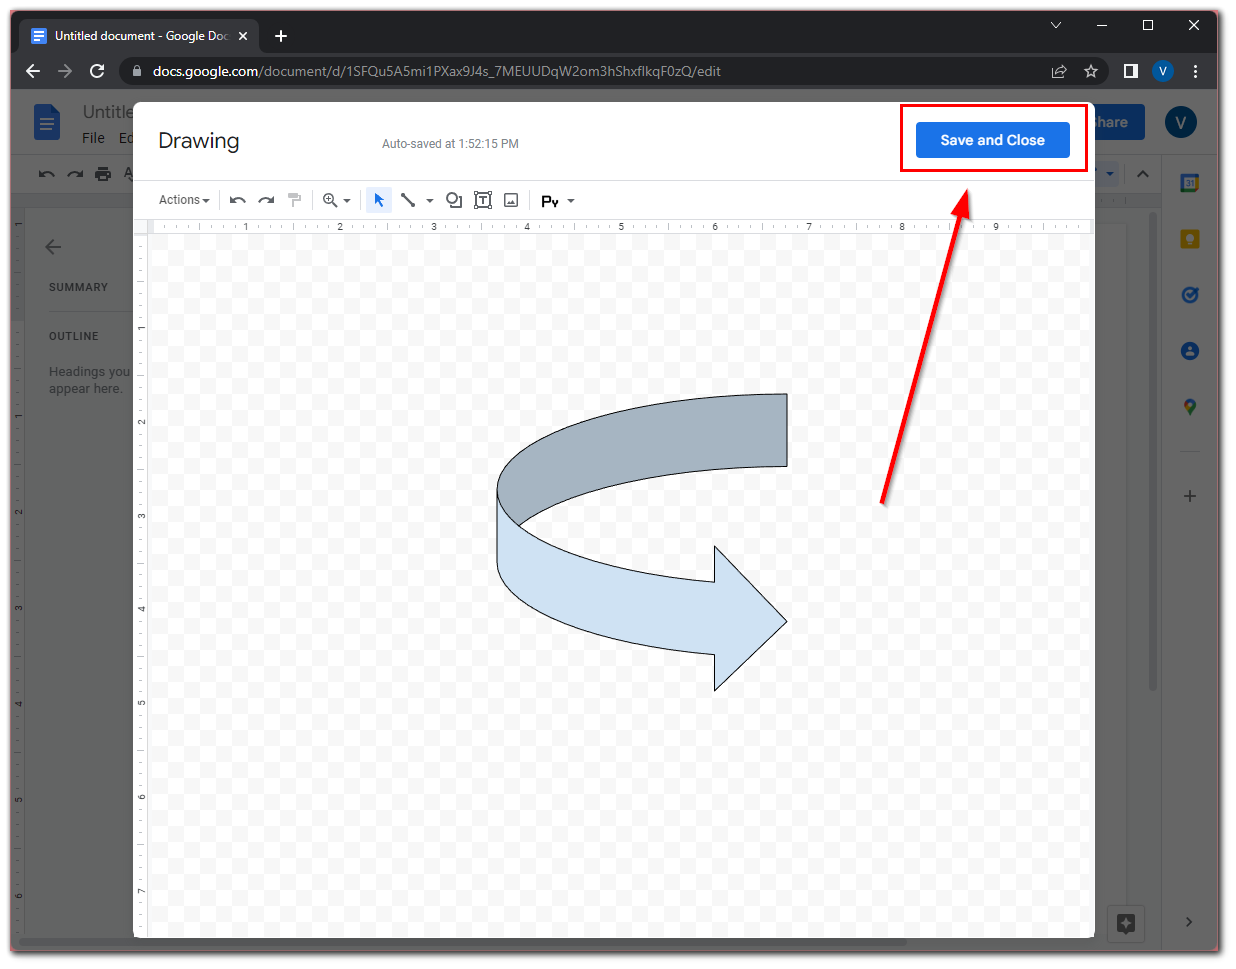
- Now, choose the tool you want to use and drag the tool across the workspace to draw with it.
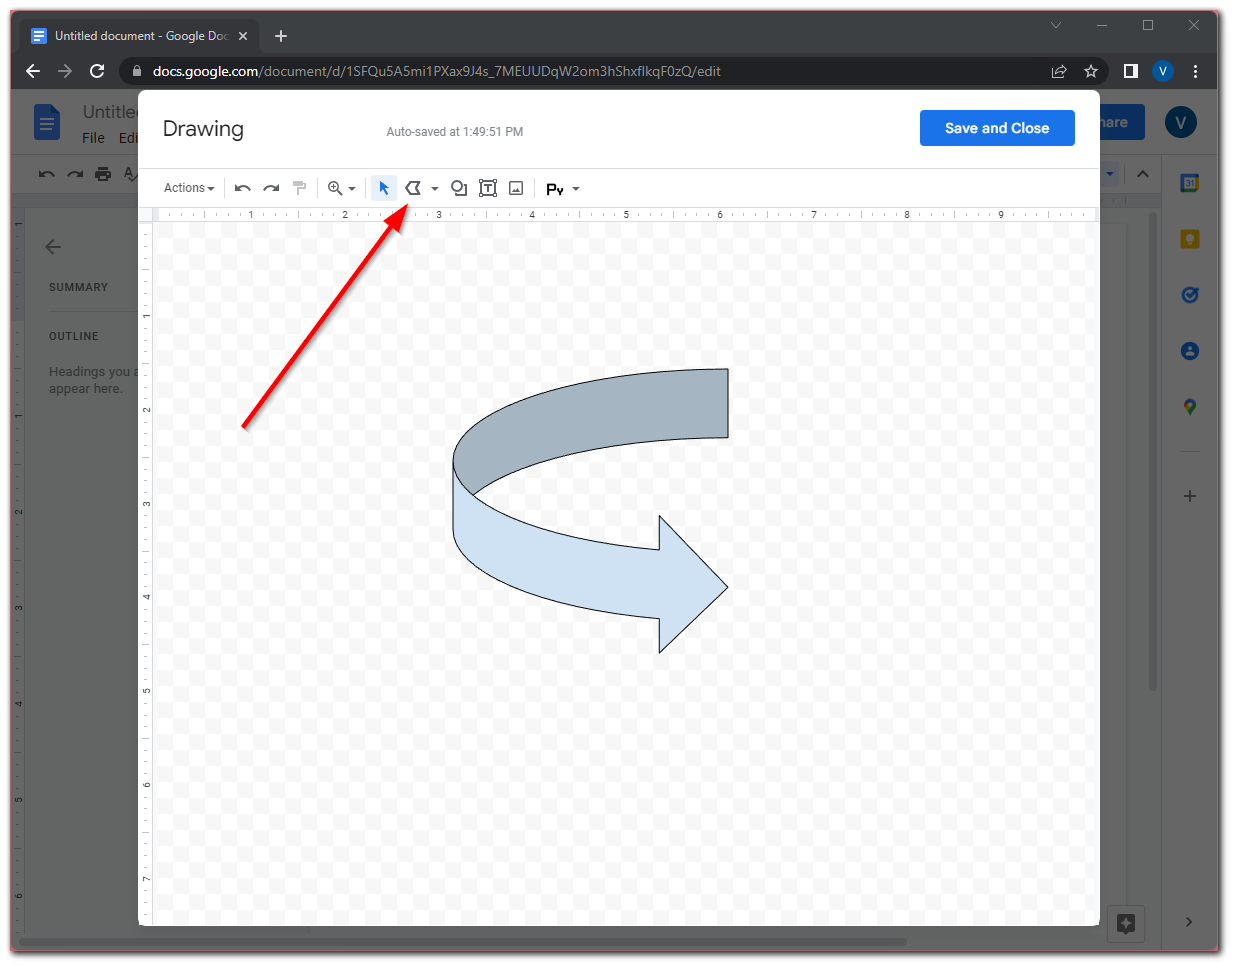
- Finally, once you finished your drawing, click “Save and Close”. You will see the picture on your document page.
After that, in the document itself, you can resize the image, drag it to the desired location, or delete it if you no longer need it. You can also create a template on Google Docs with this image and use it to create other documents in the service.
What are the drawing options in Google Docs?
The built-in Drawing feature in Google Docs contains these options:
- Actions:
- Displays a menu with different actions, such as downloading the image, showing version history, copying, pasting, and rotating the image, and inserting Word Art.
- Undo (curved arrow pointing left):
- Undo the most recent action.
- Redo (curved arrow pointing right):
- Redo the most recently undone action.
- Zoom (magnifying glass):
- Zoom in or out on your drawing. You can insert a ruler or guidelines from the drop-down menu.
- Select (cursor):
- Select a shape in your drawing.
- Lines (slanting line):
- Choose between several different line styles to draw.
- Shape (circle overlapping a square):
- Allows you to insert several premade shapes, including arrows, callouts, and equation symbols.
- Text box (box with a “T” inside):
- Insert a text box to add text to your drawing.
- Image (box with a mountain inside):
- Insert an image from your PC or Google Drive, or search for one on the internet.
The process for using drawing tools is about the same. Just select the tool you want to use, and then click and drag the cursor across the drawing board to create a shape or image. Anyway, you can track all changes you do in your Google Docs document. So, you can always turn it back to its previous state.
How to insert a drawing to Google Docs using Google Drawings
Adding drawings from Google Docs has some limitations. The most obvious one is the limited capabilities of the Drawing feature. However, you can still create a drawing in Google Drawings and then add it to your document. To do so – follow these steps:
- Open Google Drawings in your web browser.
- After that, create a drawing using the options of the web app that are available in the toolbar.
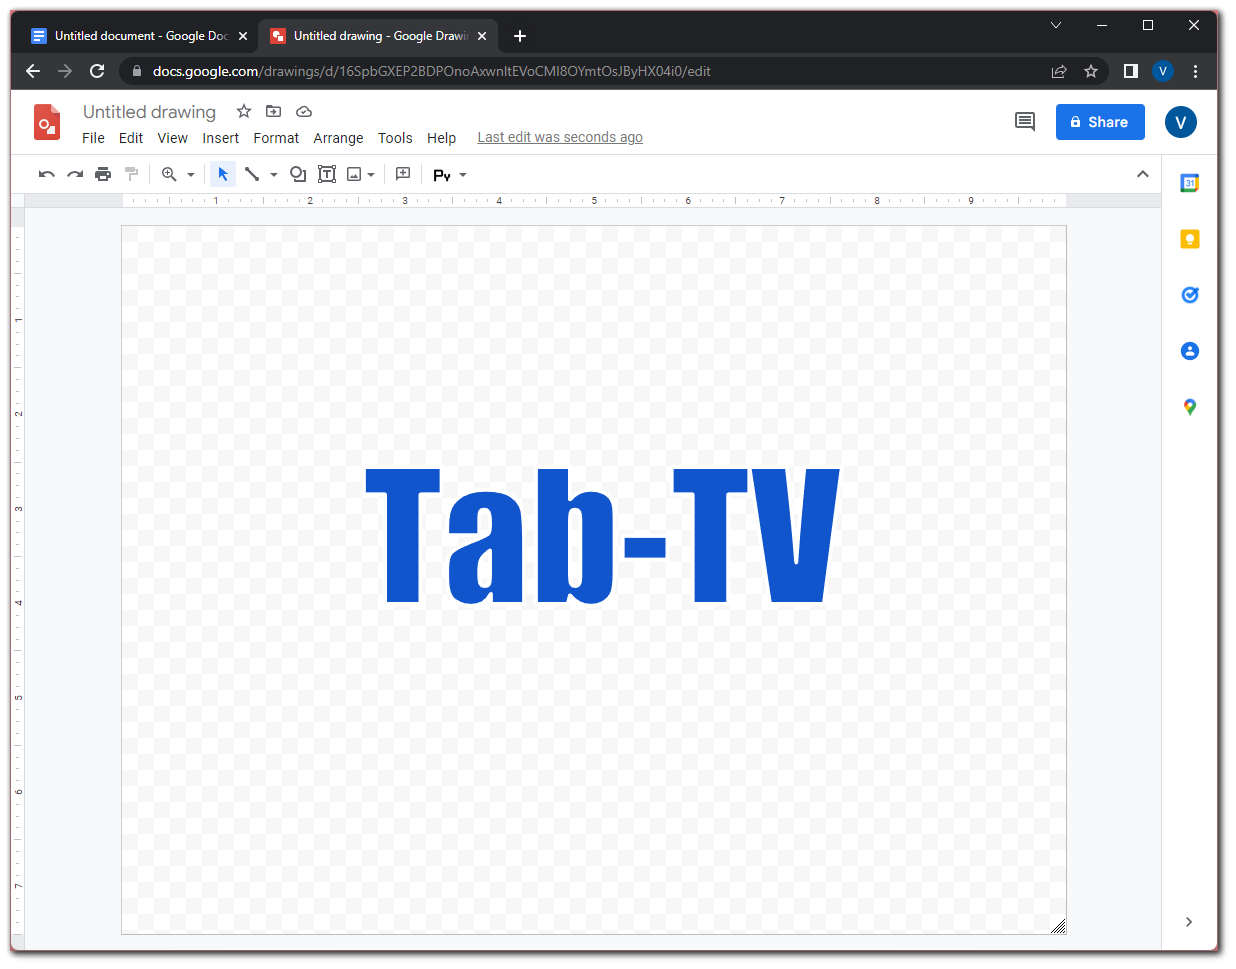
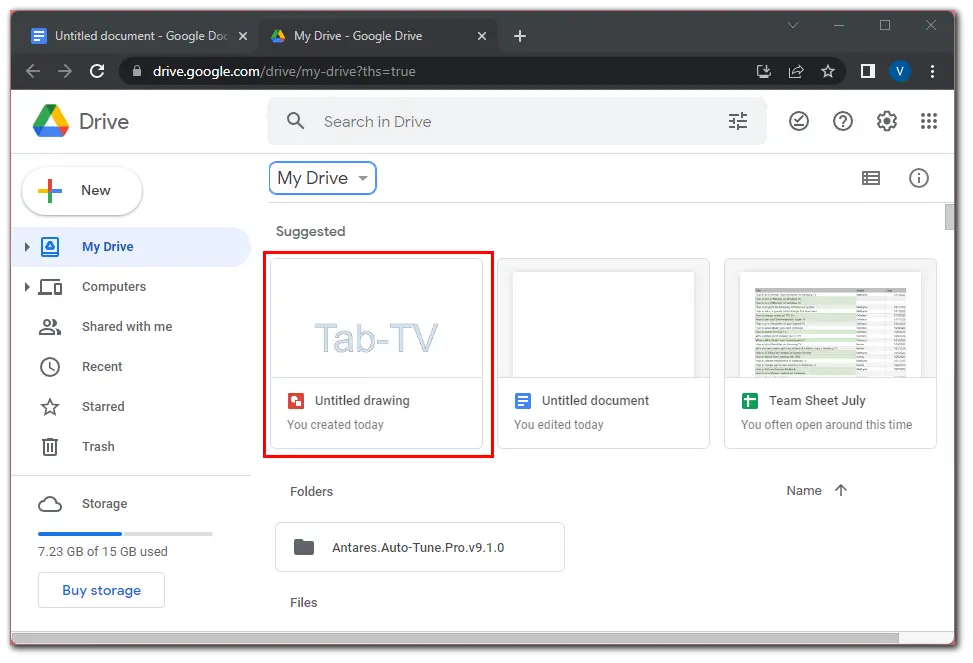
- Then close the drawing and it will automatically be saved in your Google Drive.
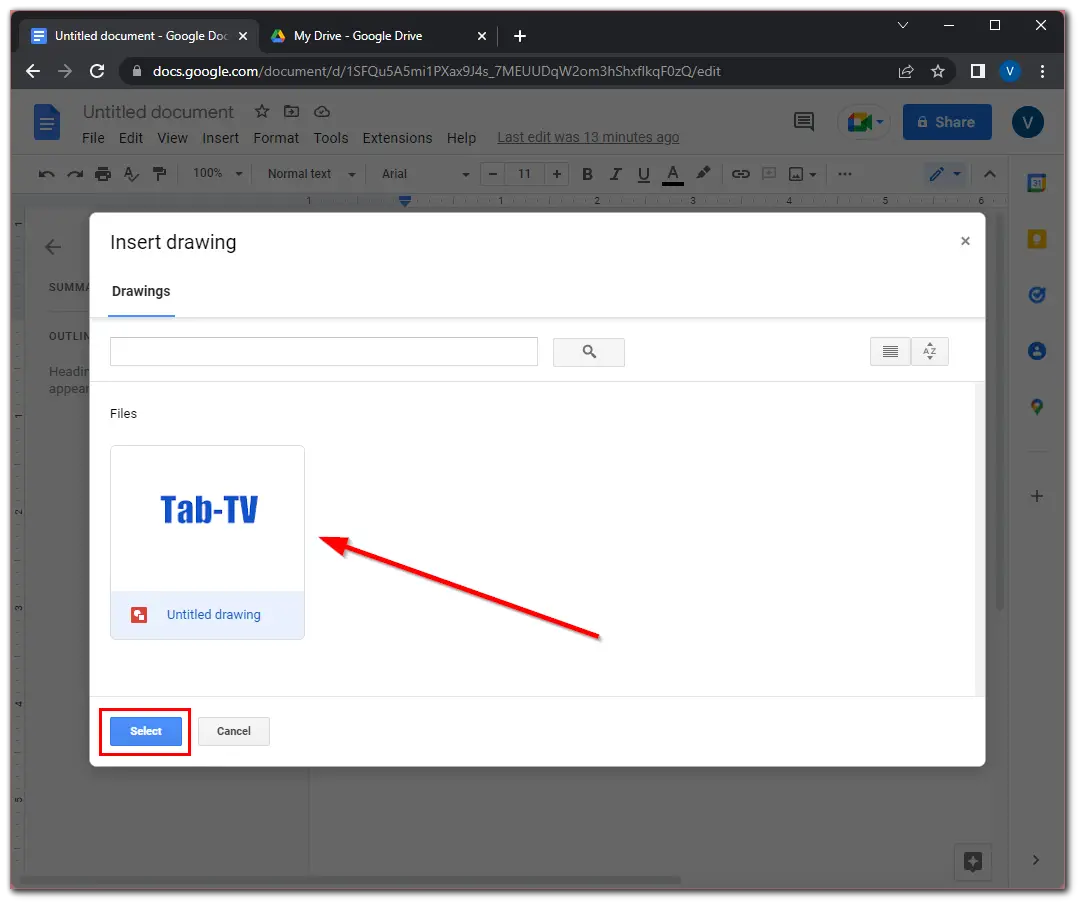
- Now, go to your Google Docs document and click “Insert”.
- Next, select “Drawing” and “From Drive”.
- Choose your drawing and click “Select”.
Finally, you will be able to choose whether you want to link to the source of the drawing or insert the drawing without a link. If you set a link to the source, people will be able to see the link to the drawing. If you choose “Link to source”, you can always undo the link later. Once you have completed these steps, the drawing will appear in your Google Docs document.
Read Also:
- How to insert a checkbox in Google Docs
- How to strikethrough on Google Docs explained
- How to turn on dark mode in Google Docs
How to insert a drawing from third-party apps in Google Docs
Google Drawings is good for basic drawing, but its capabilities are also limited compared to other graphics services. Using third-party apps offers advanced tools, a greater variety of shapes, and better formatting options.
For example, in the aggie.io drawing web app you have a much more advanced panel than in a similar service from Google. You can add different layers and use multiple colors at once.
Once you have completed your drawing, click “File”, and “Export” and select the format you want. After that, you can add this image to your Google Docs document by clicking “Insert”, and “Image” and selecting “Upload from computer”.
That’s all you have to know about drawings in Google Docs.


