

One of the most useful features of Google Docs is adding columns to your document. Columns can help improve your content’s readability and organization, making it easier for readers to understand and navigate your document.
Adding columns can make your document more visually appealing and professional-looking whether you’re creating a newsletter, a report, or a resume. Additionally, using columns can help you to organize your information in a logical and structured manner, which is essential when conveying complex or technical information.
How to format text to columns in Google Docs
Formatting text into columns in Google Docs is a simple process that can help improve your document’s structure and organization. By dividing your content into multiple columns, you can create a more visually appealing layout that makes it easier for readers to understand and navigate your content. This section will provide step-by-step instructions on formatting text into columns in Google Docs.
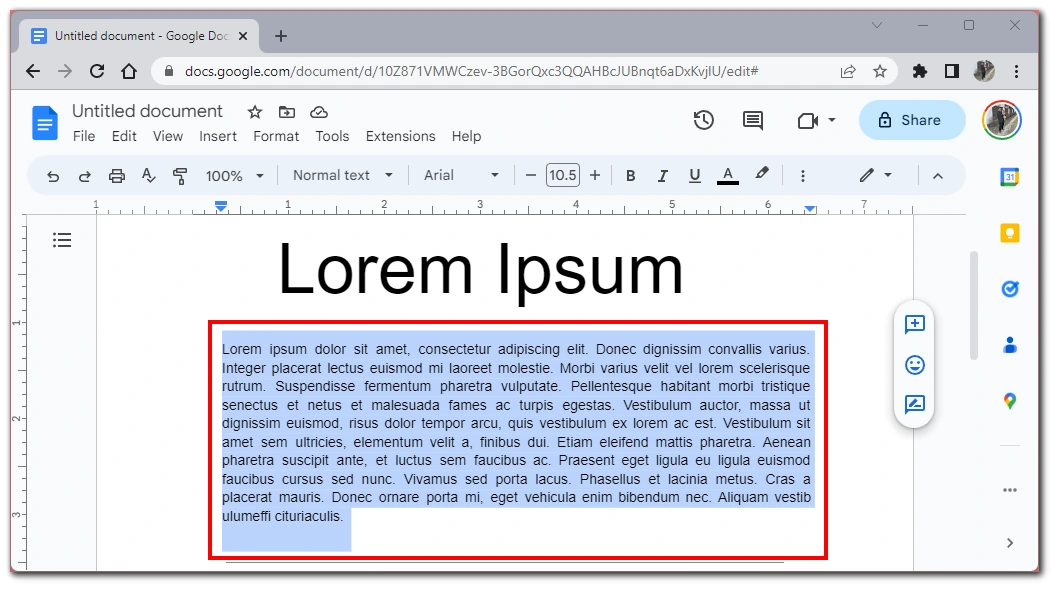
- Highlight the text you want to format into columns. You can do this by clicking and dragging your cursor over the text or by holding down the “Ctrl” key and clicking on each section of text you want to select.
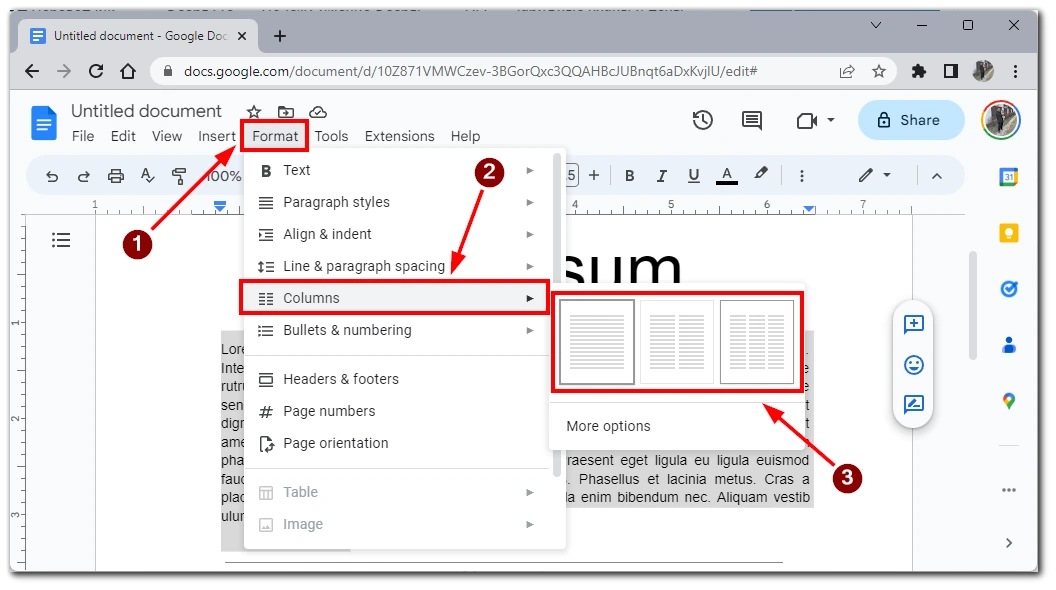
- Click on “Format” in the menu bar
- From the drop-down menu, select “Columns.” This will open a sub-menu with several options for formatting your text into columns.
- Choose the number of columns you want and click on the related picture.
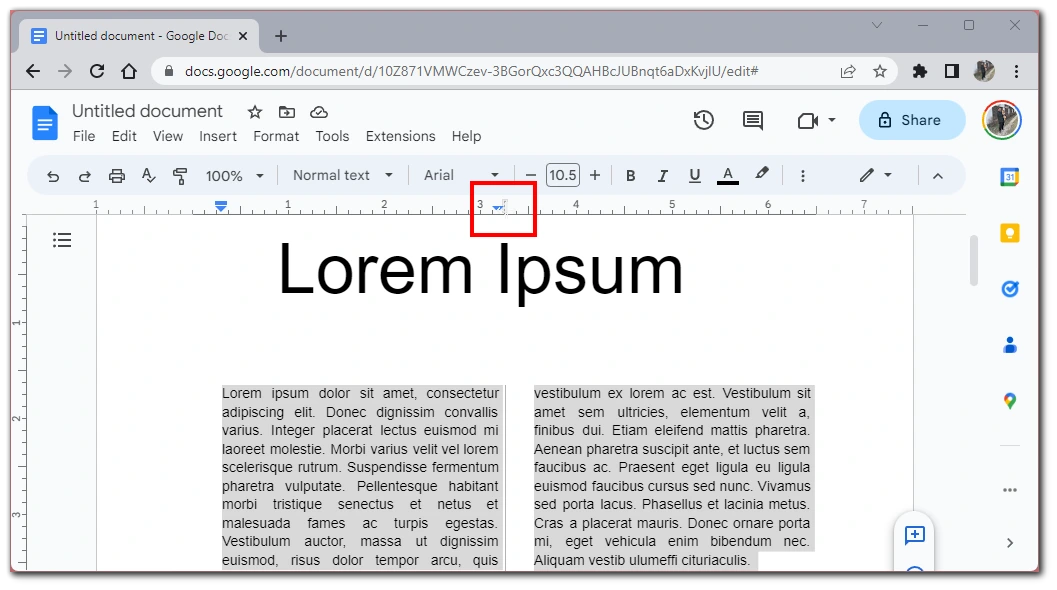
If you want to adjust the width of your columns, hover your mouse over the vertical line between the columns under the tools menu. When the double-headed arrow appears, click and drag the line to adjust the width. Also, the columns will be applied to the entire document if you do not highlight the text.
After you have formatted your text into columns, review your document to ensure everything looks how you want it to. Make any edits or adjustments to the content, formatting, or layout if necessary.
Finally, save your document by clicking “File” in the top left corner of the screen and selecting “Save” from the drop-down menu. You can save your document by pressing “Ctrl” + “S” on your keyboard.
How to add columns in Google Docs on the mobile app
Adding columns in the Google Docs mobile app is not currently possible. This feature is only available on the desktop version of Google Docs. However, Google is constantly updating the functionality of its mobile applications, and perhaps soon, this feature will be available on your smartphone or tablet.
To add columns to your document, you must use a desktop or laptop computer. Once you have accessed your document on a desktop or laptop computer, you can follow the instructions in the previous section to add columns to your document.
If you don’t have access to a computer, you can try running the Desktop version of Google Docs in the browser on your mobile device. The main thing is to remember to activate the desktop view of websites in your browser.
What issues when adding columns in Google Docs
Adding columns in Google Docs can sometimes present a few issues or challenges. Here are some of the most common issues that you may encounter when adding columns in Google Docs, along with tips for addressing them:
Formatting errors
One of the most common issues that can occur when adding columns in Google Docs is formatting errors. These may include cut-off or overlapped text, uneven column widths, or misaligned content. To avoid these issues, preview your document and adjust the column widths and spacing as needed before finalizing your document.
Limited column options
Another issue with adding columns in Google Docs is limited column options. Currently, Google Docs only support one, two, or three columns, so if you need more columns than that, you may need to consider using a different tool or application.
Mobile app limitations
As mentioned earlier, adding columns in the Google Docs mobile app is currently impossible. To add columns to your document, you must use the desktop version of Google Docs.
Image placement
If you have images in your document, adding columns can sometimes cause issues with image placement. To avoid this, adjust the column width and spacing to accommodate your images, or consider placing your images separately from your columns.
Compatibility with other applications
Another issue that may arise when adding columns in Google Docs is compatibility. If you plan to export your document to another application, such as Microsoft Word, you may encounter formatting issues or loss of column structure. To avoid these issues, check the formatting of your document after exporting it to ensure that it appears as intended.
Overall, while adding columns in Google Docs can present a few challenges or issues, these can generally be addressed with careful attention to formatting and spacing and previewing and adjusting your document before finalizing it.
Tips for creating columns
Creating columns in Google Docs can help improve your document’s readability and organization. Here are some tips to keep in mind when creating columns:
- Use the right number of columns: The number of columns you use in your document will depend on the content you’re working with and the overall layout of your document. Generally, one or two columns are best for simple documents, while three columns or more may be necessary for more complex documents, such as reports or brochures.
- Adjust the column width: By default, Google Docs will evenly distribute the width of your columns. However, you can adjust the width of individual columns to accommodate your content better. To do this, click and drag the vertical lines between the columns to adjust their width.
- Be consistent: If you’re using columns throughout your document, use them consistently. This means using the same columns and column widths throughout the document to ensure a consistent layout.
- Keep it simple: When creating columns, it’s best to keep things simple. Avoid using too many font styles or sizes, and stick to a consistent color scheme to ensure your document is easily read and visually appealing.
- Check for readability: Before finalizing your document, check for readability. This means ensuring that your columns are spaced correctly, your font size is appropriate, and your text is easy to read. You can do this by previewing your document and making any necessary adjustments.
By following these tips, you can create professional-looking columns in your Google Docs document and improve your content’s overall readability and organization.


