

In simple terms, the BIOS is the firmware that allows the PC to turn on at all. It does hardware initialization and many other interesting things. Like all other programs, the BIOS needs to be updated regularly. Although they don’t come out as often as they do on Windows, it’s worth checking your BIOS occasionally for updates to keep your PC or laptop running smoothly.
Your PC’s BIOS version is displayed in the BIOS setup menu, but you don’t have to reboot to check the version number. There are several ways to find out the BIOS version from Windows, and they work the same on PCs with traditional BIOS or newer UEFI firmware. Well, here’s how you can check and then update BIOS on your Windows PC in a few easy steps.
What are the reasons to update your BIOS?
Most often, fresh firmware is installed so that the motherboard can correctly identify the new hardware – CPU, RAM, and so on. If you are going to replace your CPU with a different generation CPU (for example, Ryzen 3600 to 4600), you will in most cases have to update the BIOS.
The motherboard you bought in the store may have a “raw” version of the BIOS firmware. Then the board won’t have some features that are important to you – for example, the ability to turn off the backlight correctly in sleep mode or the ability to fine-tune the fan speed. Updating the BIOS firmware will solve such problems.
Sometimes hackers find vulnerabilities in motherboards and attack users’ PCs. If your board has been exposed to a potential hacking threat, it is worth checking to see if the manufacturer has patched the security hole and installed a patch.
Another reason to update your motherboard BIOS is to fix various bugs and errors. For example, some menu items that are supposed to be there simply don’t open, work, or are missing. This can also sometimes be solved by updating the BIOS.
How to check the BIOS version on Windows PC
You should know that there are two ways how you check your BIOS version – using a command prompt or using System Information. If you want to use a command prompt, you can follow these instructions:
- First of all, press “Win + R” on your keyboard and enter “cmd”.
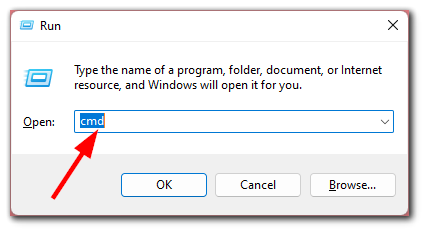
- Then click “OK” or press Enter.
- After that, enter the following command in the prompt and press Enter:
- wmic bios get smbiosbiosversion
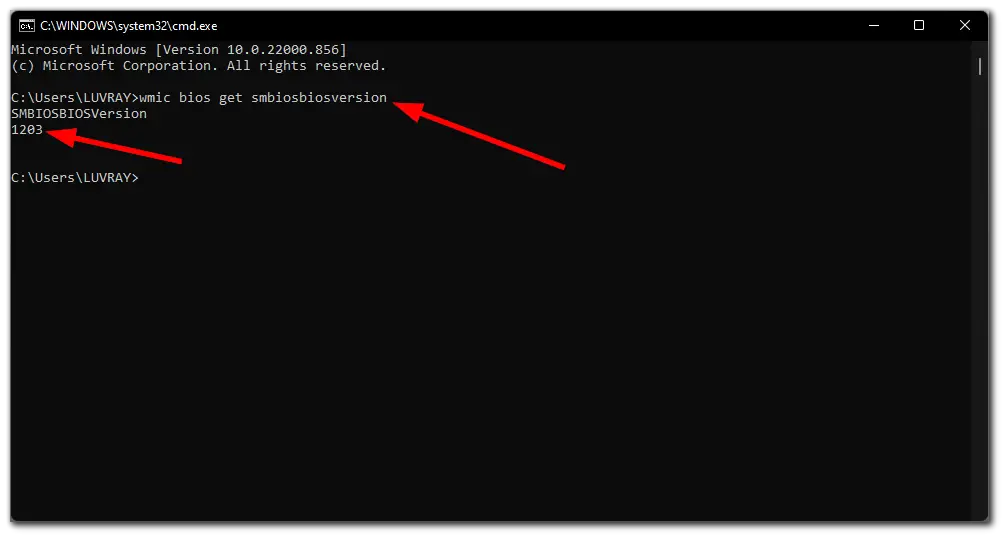
- Finally, you should see the BIOS version or UEFI firmware of your Windows PC.
To check your BIOS version using System Information, just do the following:
- Press “Win + R” and enter “msinfo32”.
- Now, press Enter and a new window will appear.
- You will see the BIOS version number displayed on the System Summary pane.
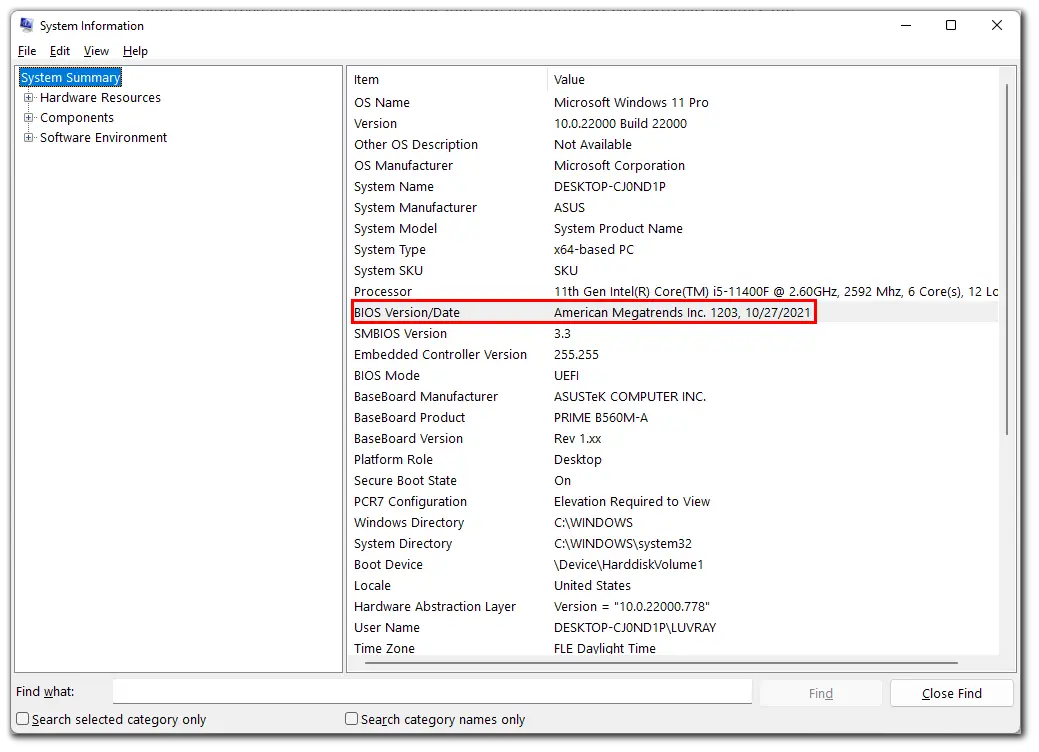
- Just look at the “BIOS Version/Date” field.
Before updating the BIOS, plug the PC into an uninterruptible power supply and make sure that there is no electrical work going on in your house. If you disconnect power while the BIOS is being flashed, the card will almost certainly be damaged.
How to update BIOS on Windows PC
Different motherboards use different utilities and procedures for updating the BIOS. For this reason, there is no single universal set of instructions. However, you will follow the same basic process for all motherboards.
- Find out the exact name and revision of your motherboard by looking at the markings on it or the box under it. This information can also be obtained using the CPU-Z utility on the Mainboard tab.
- Go to the motherboard manufacturer’s website and look for the latest BIOS for your motherboard in the downloads section. Be very careful, because motherboards have different revisions which require different BIOS versions. If you try to install the wrong firmware version, you will damage your motherboard.
- Load the archive with the firmware onto a flash drive pre-formatted in FAT32 format.
- Reboot in the BIOS. Find there an item called Update or Update Firmware. Select it and specify the archive with your firmware on the flash drive.
- Click OK and wait.
- When the process finishes: reboot, remove the flash drive and exhale when you see the bootable Windows logo.
Remember that this is a risky process. If something goes wrong, the computer can restore the BIOS from a backup copy, but not all motherboards have this feature.
Read Also:
- How to reset BIOS password on laptop
- How to check PC or laptop model number in Windows 10
- How to find the serial number of your Windows PC
Is it dangerous to update the BIOS?
Updating the BIOS has always been quite a risky business. First of all, it is dangerous if the power is turned off. There can also be problems with the update file itself. As a result, you may end up with a non-functional PC that is just spinning its fans.
However, if the Boot block (boot sector) isn’t dead, then most manufacturers, at least the big four – Asus, AsRock, Gigabyte, and MSI – definitely have different recovery mechanisms. For example, AsRock and Gigabyte may have two BIOS chipsets unsoldered – a main and a backup. If the first one malfunctions, the board can start with the backup one and perform the recovery procedure. Asus and MSI have the CrashFree BIOS 3 and Flash BIOS Button technologies.


