

Many people work in a field that is associated with various office jobs. This means that employees have to work a lot with various documents and the ability to format text correctly is very valued by employers today.
In fact, correctly formatted text today has become as simple as possible. Because there were created dozens of different apps for typing, which have built-in functions for formatting.
Since today’s world is becoming more and more popular to work remotely on collaborative projects, services like Google Docs are especially popular. This is a cloud-based service for working with documents. You can work on the same document with your colleagues at the same time, and all your edits will be saved online in real-time.
This app has a very large arsenal of very different functions. One of them is the hanging indent feature for your text.
What is the hanging indent feature in Google Docs
A hanging indent is a type of formatting where the first line of your paragraph is located along the left margin of the document. This means that it’s indented to the left of the rest of your paragraph.
When you create a hanging indent, you will need to select the first line of the paragraph and specify how much you want it to be indented in comparison to the rest of the text.
This feature can add practicality to your text and highlight the beginning of Important paragraphs with a new topic, or you can simply add this feature as a decorative element to your document.
How to add a hanging indent to your google document
It’s actually quite easy to do. It will literally take you a few seconds and you can add the formatting you want to your document. To do this, you need to :
- Open the document you want in Google Docs.
- Then enter the text you want.
- Place the cursor at the beginning of the paragraph where you want to put the hanging indent.
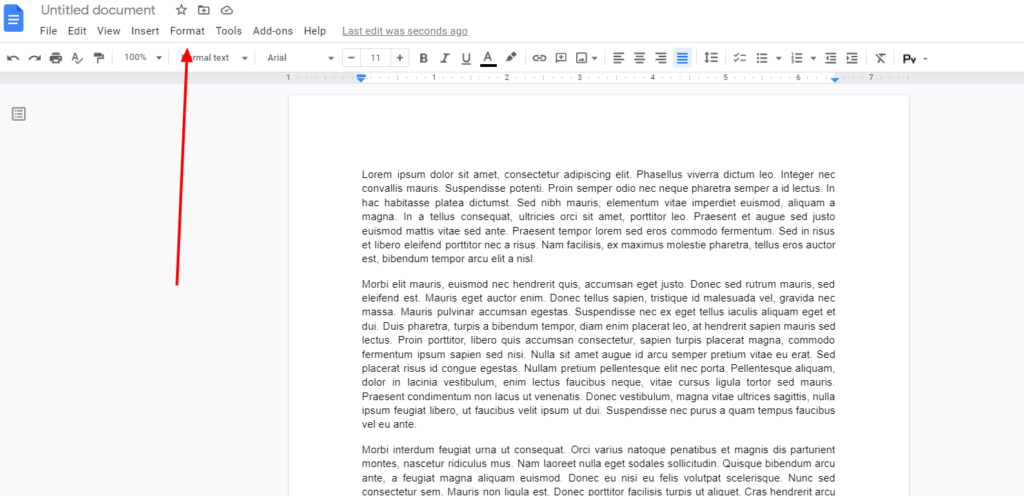
- Then you need to click on the Format button at the top of the toolbar.
- After that, you need to select the item Align & indent.
- In the drop-down menu just click on Indentation options.
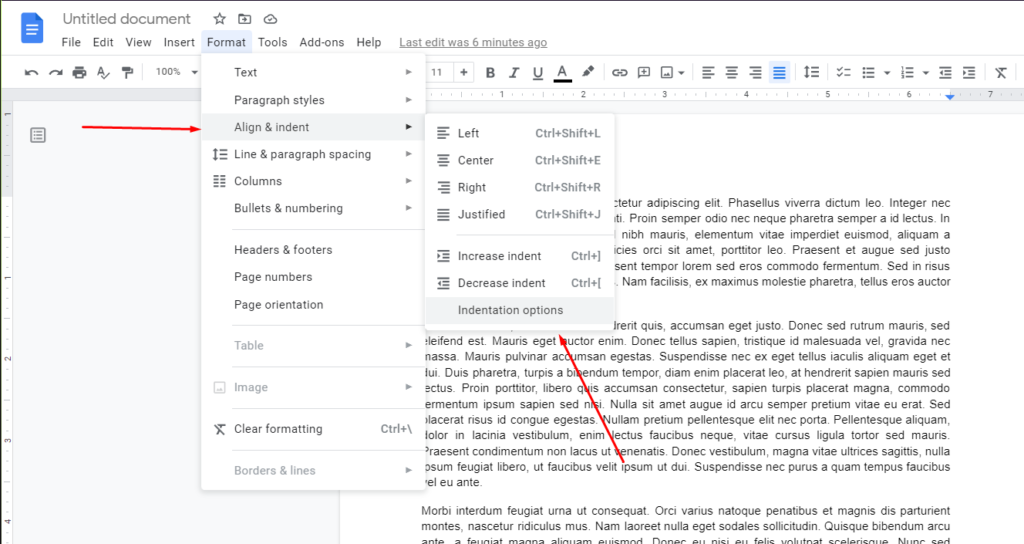
- This will take you to the menu for creating the hanging indent.
- You need to click on the lowest item and from the drop-down list select Hanging.
- Then in the box to the right, specify the indent size for your text.
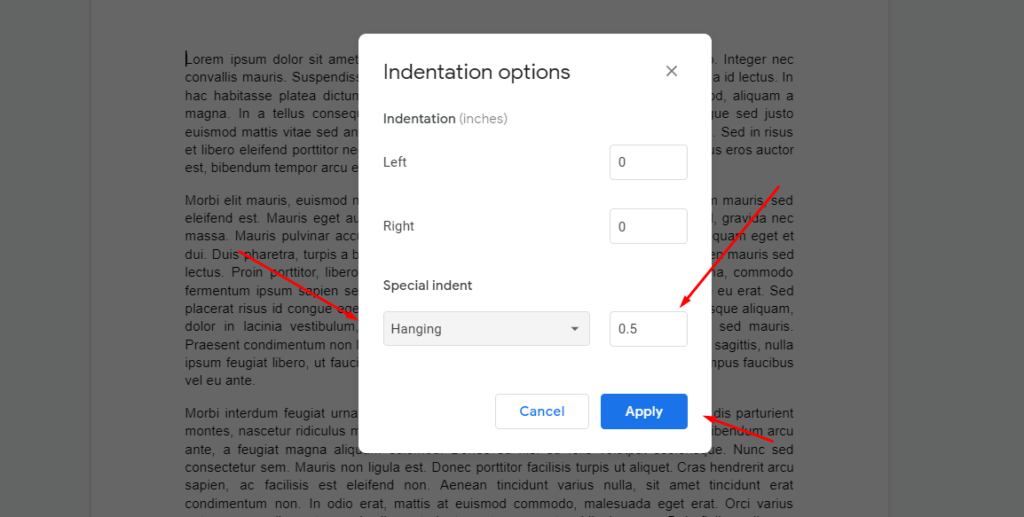
- When you’re ready just click Apply.
This is how you can create a hanging indent in your text. As you can see it’s pretty easy to do. It will literally take you a few seconds.
How else can you create a hanging indent in Google Docs
There is another way to manually create a hanging indent. It’s not as convenient, but it’s pretty fast. To do this, you will need to:
- Open the document you want and then type in the text you want.
- After that, place the cursor at the beginning of the paragraph where you want to create a hanging indent.
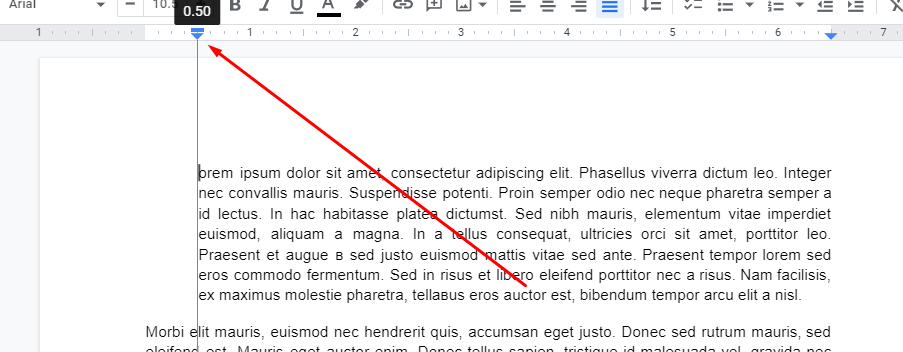
- At the top of the screen you will find a field with the coordinates where your text is printed. It’s located just below the toolbar and looks like a ruler.
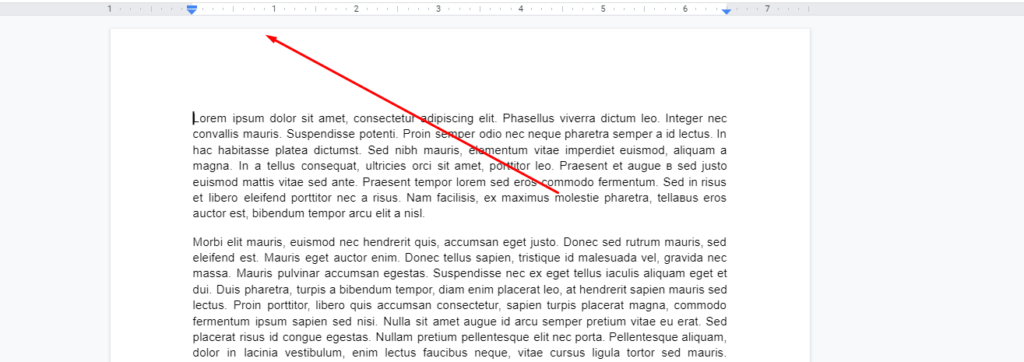
- Here you will also find a blue icon with a triangle pointing down. Click on it and drag it to the right. This allows you to choose the size of your indentation.
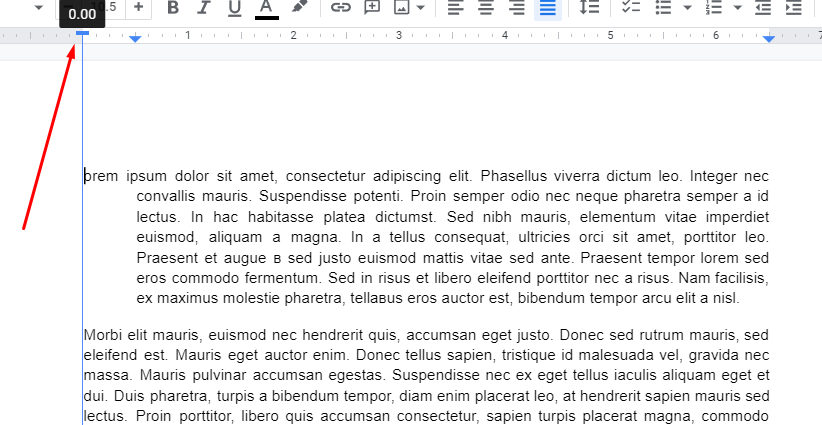
- Then click on the small rectangle that is above the inverted triangle. Drag it to the left side. This way you can create an indent from the rest of the text.
As you can see it will be pretty quick and easy. You can use this to create a hanging indent in any piece of text.


