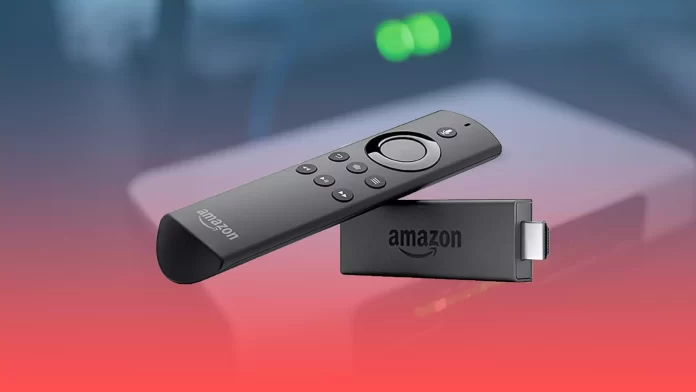
Streaming keeps growing in popularity; nowadays, we can say that’s the next thing in watching movies and series. It’s convenient and easy to use. Moreover, video-streaming devices allow you to enhance your non-Smart TV and turn them into a valuable thing, not just a device to watch broadcasts.
Amazon Fire Stick is one of the most popular streaming devices, and this guide will help you connect your Amazon Fire Stick to Wi-Fi.
Here’s a list of steps to make it happen.
How to connect the Amazon Fire Stick to your TV
The Amazon Fire Stick connects directly to the HDMI port on the back of your TV. Turn on your TV and make sure the correct source input is selected.
How to connect the Amazon Fire Stick to power
Ensure the micro-USB Fire Stick power cord is connected to the Fire Stick, and the other end of the USB cord is plugged into the included power adapter and a power outlet. If your TV has an open USB port, you can connect it to the TV directly instead of using the included adapter.
Use the included adapter and plug the Fire Stick directly into a power outlet if you see a message that the Fire Stick isn’t getting enough power.
How to open settings
Use the directional buttons on the remote control to go to the top of the main screen, then select Settings, which is at the far right of the list of options at the very top.
Press the Home button on the remote control to access the Home menu if you aren’t already on the Home screen. This is the button with the Home image on it.
How to setup network settings
This is the second menu option with an icon from three curved lines resembling a Wi-Fi signal. Use the directional buttons on the remote control to move down and to the right to select the Network option, then press the Select button in the center of the remote control.
Fire Stick will automatically start scanning for nearby networks.
Once you see the name of your home network in the list of nearby networks, use the directional buttons on the remote control to select it, then press the Select button in the center of the remote control.
If you don’t see your preferred network, select Rescan at the bottom of the list.
If your preferred network is hidden, select Join Other Network at the bottom of the list and manually type the name of the network you want to connect to.
If your network has a password, use the remote control to navigate the on-screen keyboard and enter the password for your Wi-Fi network.
If your home network isn’t secured with a password, it will try to connect automatically.
Then press the Connect button. The Fire Stick will connect to your home Wi-Fi network. Once the Fire Stick is connected, Connected will appear in the list of nearby networks under the network name.
You can press the Home button on the remote control to return to the Fire Stick home screen.
Read Also:
- How to change the time on Amazon Fire TV and Fire Stick
- How to install Google Play on Amazon Fire Stick
- How to mirror an Android phone to Fire Stick
How to connect Fire Stick to Wi-Fi without remote
If your remote is broken or its batteries are dead, there are several ways to connect the Fire Stick to Wi-Fi without it. You can use Fire TV Stick App as a remote. It is available both in App Store and Play Store.
Once you have downloaded and installed the app on your device, repeat the steps above to connect your Fire Stick to Wi-Fi but use your smartphone as a remote control.
If your Fire Stick doesn’t connect to your Wi-Fi network, you can use these essential troubleshooting tips:
- Make sure the Internet signal is strong and working on other devices.
- Check that the Wi-Fi password is correct.
- Try rebooting your home network devices. Unplug the router for a few minutes, then plug it back in.
- Restart your Fire Stick.
If you get No Signal on your TV when connecting to Fire Stick, something is wrong with the cable connection or the external device. Disconnect the HDMI cable from the TV and move it to an alternate port. Plug the device back in, and power it back on. Switch the TV to the new HDMI input and see if the problem is resolved.


