

Some Windows 11 users have noticed that after one of the updates, the network adapter keeps disconnecting. Thus, the connection to the Internet disappears completely.
This problem is one of the most common causes of wired network failures. However, there are some methods you can use to fix it.
It’s worth starting with the hardware. You can see if the NIC LED is blinking, the cable is connected tightly, etc. In addition, you may also have to check the software part. Maybe the problem is in the drivers, which need to be updated.
So let’s take a closer look at what you can do to fix your network adapter on Windows 11.
How to fix the network adapter on Windows 11 by checking the hardware
If the network adapter keeps disconnecting, you can follow these hardware troubleshooting steps.
1. Check all the physical connections
Ensure all network cables, optical cables, and NIC are securely and properly inserted into the ports or slots without loosening or disconnecting them. You can try disconnecting the card and inserting it again. If your NIC is still not stable, go to the next step.
2. Check the NIC LED indicator
The network cannot access the physical connection if the LED is off. There may be a problem with the network device or network.
First, you can try plugging the cable or adapter into a different port or slot to see if the port or slot is damaged. If the problem is still unresolved and you have spare wires and NICs, you can replace the old ones to see if they are damaged.
You can install the card on another PC if you don’t have a new NIC or cable.
3. Check your network adapter status
You can use Device Manager to verify that your PC detects your NIC by following these steps:
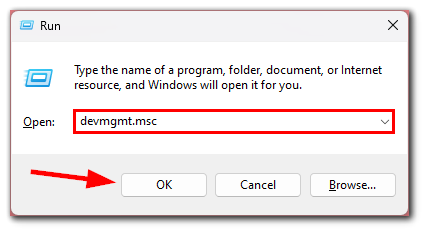
- Press Win + R on your keyboard and enter devmgmt.msc.
- Then press Enter or click OK.
- After that, navigate to Network adapters and select your NIC.
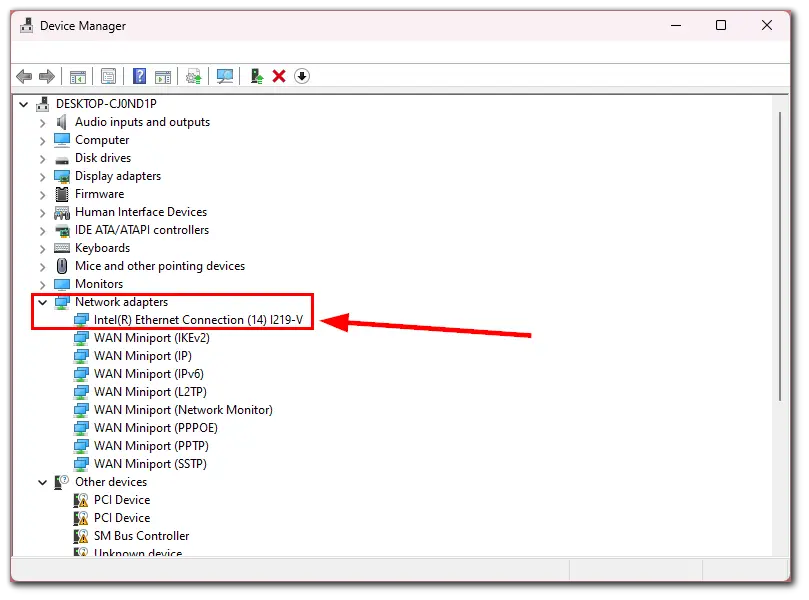
- Now, double-click on it to see the status.
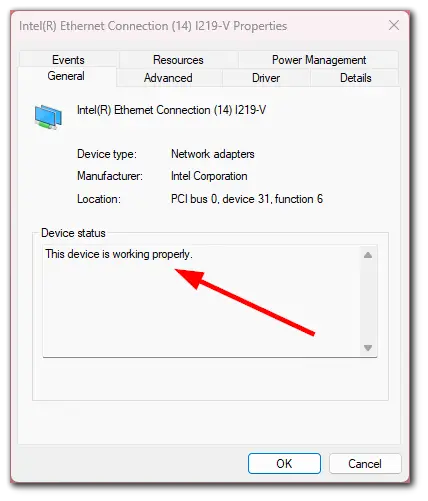
If this page shows the message that this device is working properly, the network card is still working. Otherwise, there may be some problems with your card.
How to update your network adapter driver on Windows 11
The most common way to fix a non-functioning network adapter is to update its driver. To do so, you can follow these steps:
- Press Win + R on your keyboard and enter devmgmt.msc.
- Then press Enter or click OK.
- After that, navigate to Network adapters and select your NIC.
- Now, double-click on it and go to the Driver tab.
- Finally, click Update Driver and finish this process.

Once you have completed the driver update, connect to the Internet and check whether your network adapter is working properly.
If you are still experiencing the same problem even after reinstalling the driver, update your WiFi driver with a third-party driver tool in Windows 11.
What I usually use is DriverPack Solution. This program automatically searches and installs drivers directly from official resources.
How to run the network adapter troubleshooter on Windows 11
In addition to updating the drivers, you can also try running the built-in troubleshooter. Here’s how you can do this:
- Go to the Start menu and enter network adapter in the search field.
- After that, you should see the Find and fix problems with your network adapter option. Click on it.

- Then click Next to start troubleshooting.
- If the program detects a problem, follow its instructions to fix it.
If the troubleshooter didn’t find the problem, but the error is still present, and the network adapter is disconnecting, you can try the following method.
How to reset network settings on Windows 11
If nothing else works, you can try resetting the network settings on your PC. However, you should know that this method will erase all network data, including old configurations, policies, and cache. So do the following:
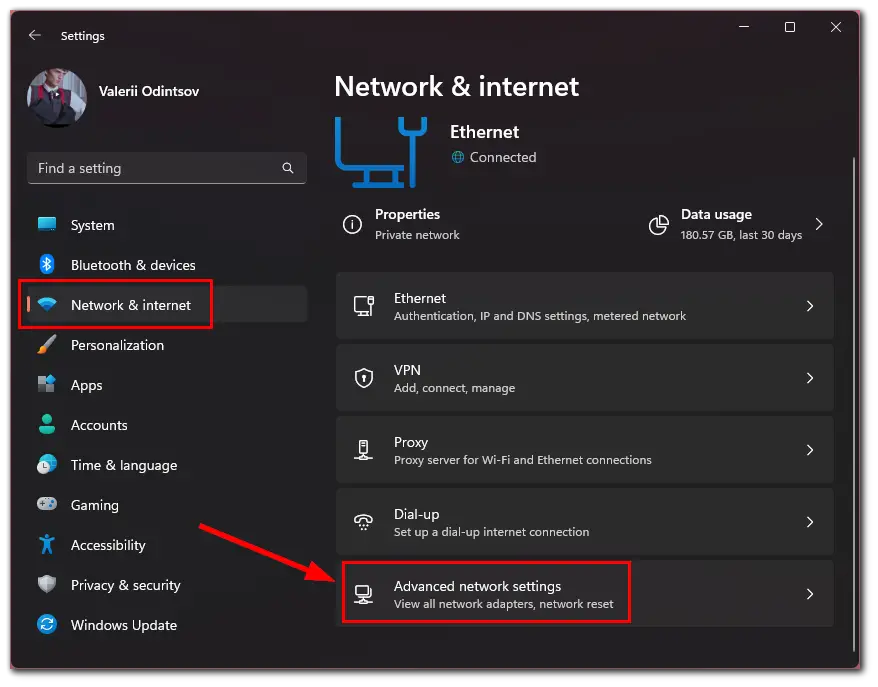
- Press Win + I to open Settings.
- Then go to Network & security and select Advanced network settings.
- Now, click Network reset.
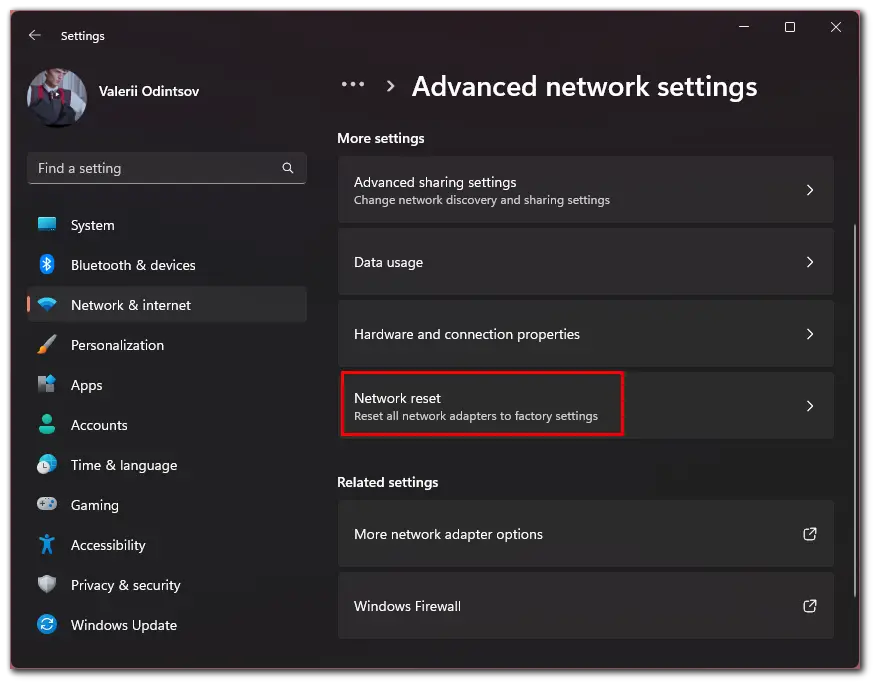
- Finally, click Reset now.
Once you have completed these steps, you will reinstall your network drivers and reset the internet settings to the factory defaults. After that, reboot your PC and check whether this helps.
If none of the above works for you, you will need to contact your ISP for further advice and help.


