

Testing your microphone in Windows is crucial to ensure clear and uninterrupted communication during voice calls, video conferences, gaming sessions, and content creation. Whether you’re using the latest Windows 11 or the reliable Windows 10, understanding how to test your microphone is essential for optimal audio performance.
Microphone issues can be a common frustration for many users. You may encounter problems such as low volume, distorted sound, or the microphone not being detected. These issues can hinder effective communication and impact your overall experience. So, let’s dive into the world of microphone testing in Windows, where we will unlock the potential of your microphone and help you overcome any audio challenges along the way. Get ready to enhance your communication and elevate your audio experience on Windows 10 and 11.
How you can test your microphone in Windows 11
It’s actually quite easy to test your microphone in Windows 11. To do this, you can use your PC Settings. To do this, you need to:
- Open Settings on your PC using the Start menu or the Windows+I key combination.
- Then you need to go to the System tab and select Sound.
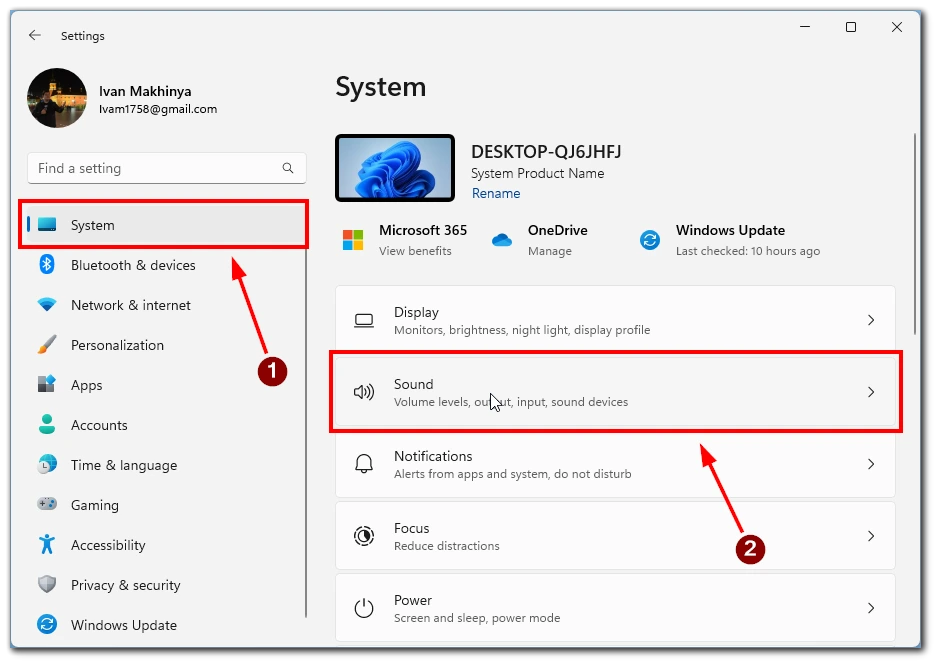
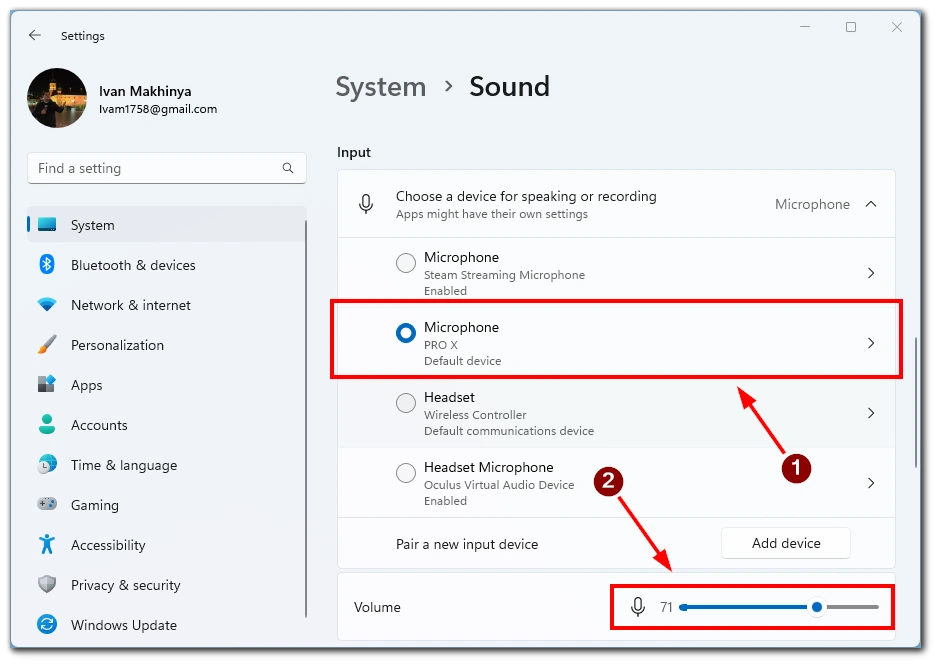
- You should scroll down to the Input section and click on the device you need to test in the list.
- In the next menu, you will find the Start Test button. Then you need to talk for a few seconds and click on Stop Test. Here you will see the test result; if it is less than 100 percent, you may need to increase the microphone volume in the Input Volume section.
With this simple utility already built into your system, you can test and immediately change your microphone volume if needed.
How you can test your microphone on Windows 10
Windows 10 provides a straightforward method to test your microphone directly from the Settings menu. The exact steps differ slightly from Windows 11, as the operating system’s appearance has changed. Follow these steps:
- Click the “Start” button and select the “Settings” gear icon in the left sidebar.
- In the Settings menu, click on the “System” category and select “Sound” from the left sidebar.
- Under the Input section, you’ll find the name of your microphone device. Speak into your microphone, and observe the volume indicator to see if it detects your voice. If the volume indicator doesn’t respond, ensure your microphone is properly connected and configured.
If your microphone is not working, click the “Troubleshoot” button below the volume indicator. Windows will guide you through a series of troubleshooting steps to identify and resolve any issues with your microphone device.
How you can test your microphone using Control Panel
Control Panel is a powerful tool available in Windows 10 and Windows 11 that allows you to access and manage various system settings, including microphone testing. Here’s how you can use Control Panel to test your microphone:
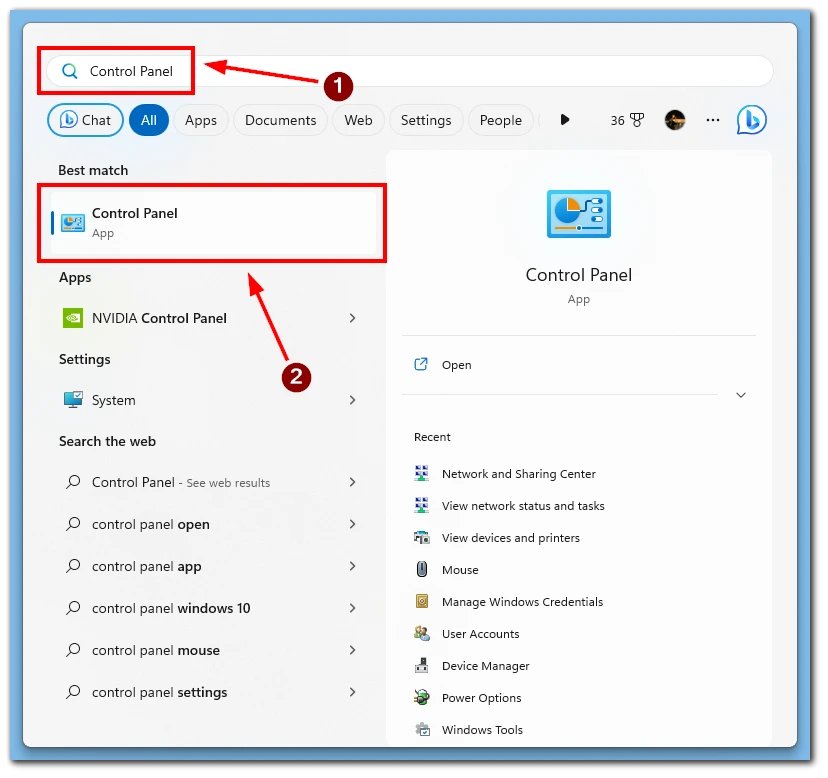
- To open Control Panel, click the “Start” button in the Taskbar. From the Start menu, enter the “Control Panel” in the search box and select it from the results list.
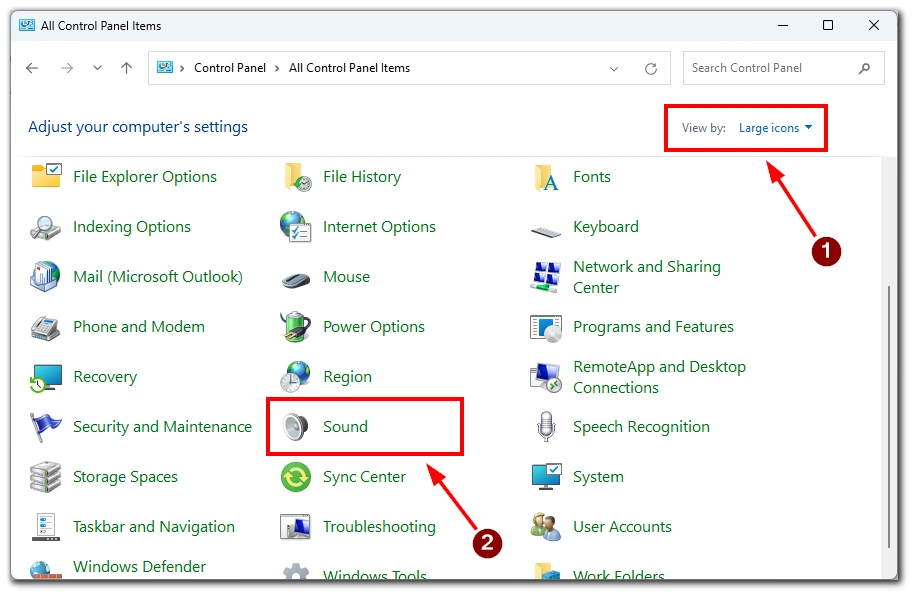
- In the Control Panel window, ensure the view is set to “Large icons” or “Small icons” for easier navigation.
- Look for the “Sound” or “Sound and Audio Devices” option and click on it.
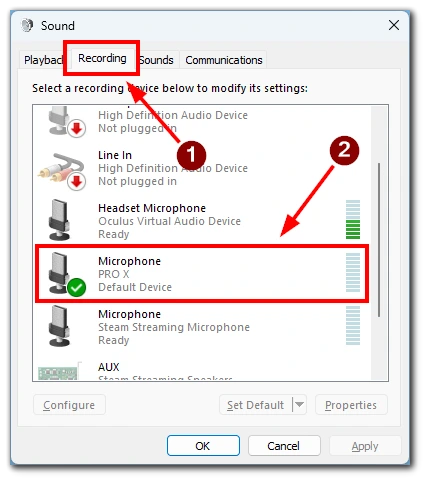
- In the Sound settings window, navigate to the “Recording” tab. Here, you’ll see a list of available recording devices, including your microphone. Speak into your microphone, and observe the volume indicator or audio levels to see if it detects your voice. If the volume indicator doesn’t respond, ensure your microphone is properly connected and configured.
Using the Control Panel, you can effectively test and configure your microphone settings in Windows 10 and 11. It provides a comprehensive range of options to ensure optimal audio quality for voice calls, video conferences, gaming, and content creation.
How to test your microphone with third-party programs
In addition to the built-in tools, you can also check the microphone’s functionality using third-party apps. For example, you can use a program for communication and voice calls, such as Discord. In addition, you can test the microphone using special software for your microphone.
Many device manufacturers release special programs that help you set up your equipment. For example, if you have a backlight, such a program will help control it, and with its help, you can adjust the sensitivity, volume, and other parameters. As an example, you can take the program G Hub from Logitech.
This method also applies to Windows 10 and Windows 11, as all these applications support both operating systems.
How to check the microphone with Discord
If you have Discord on your computer, you can quickly check your microphone using this app. Other similar programs also usually have similar tools to check your microphone. To run a microphone test in Discord, you need to:
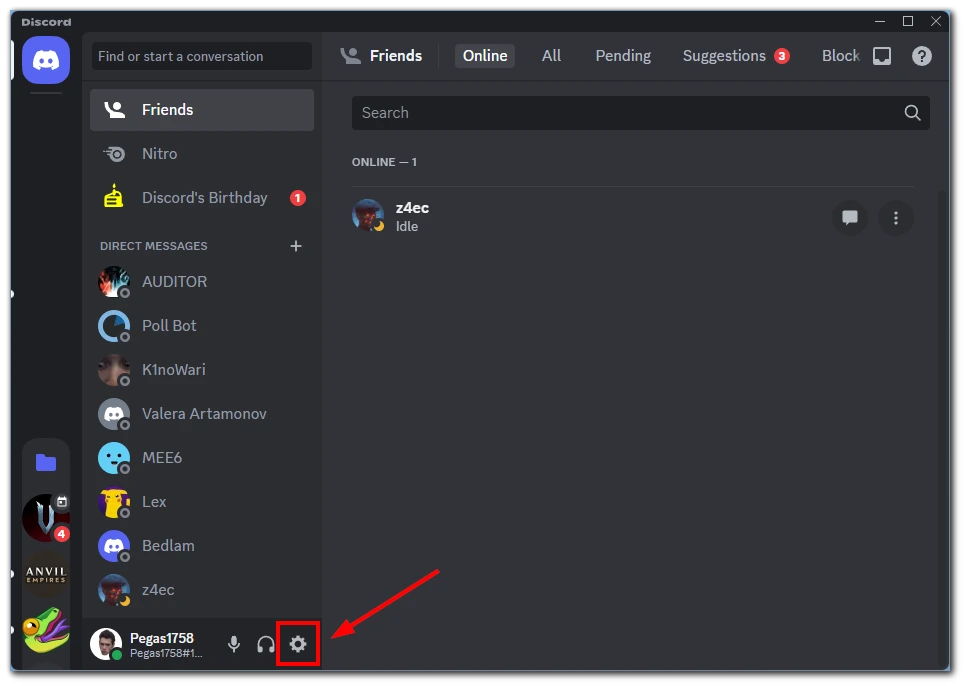
- Open the Discord app on your PC.
- Then you need to click on the gear in the lower-left corner of the window.
- Here you need to go to the Voice & Video tab.
- Next, click the Let’s Check button under the Mic Test tab.
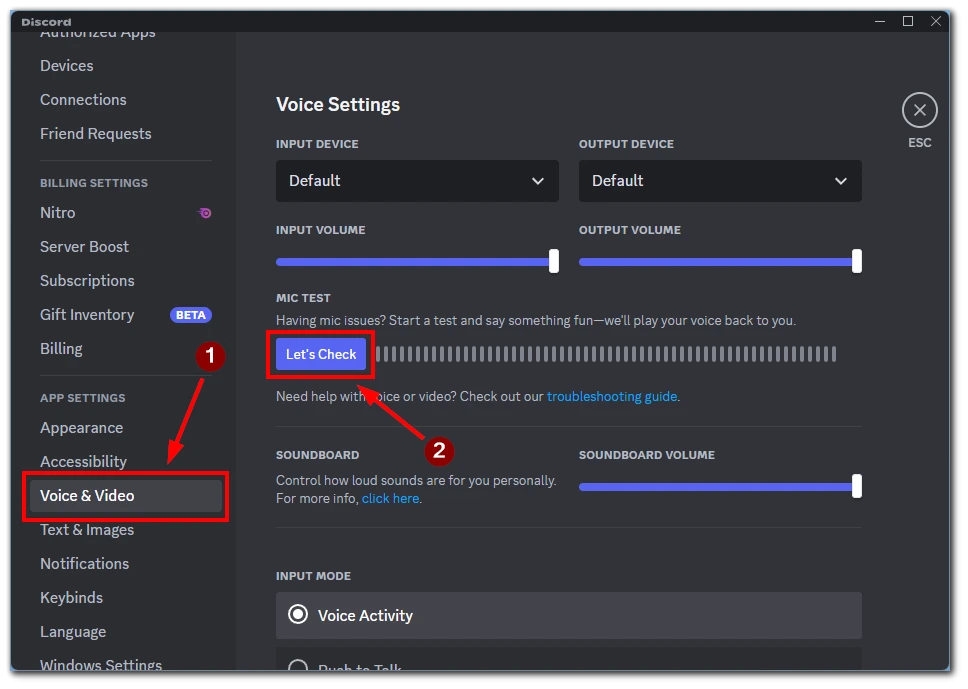
Now you can hear your voice when you talk, and you can check your device’s volume and sound quality.
How to test the microphone with the G Hub app
If your hardware has an app from a developer to set it up, you should install it so your system installs all the up-to-date drivers. Such apps also have a tool for testing your hardware. For example, the Logitech G Hub app has this function.
- First, open the Logitech G Hub app.
- Then you need to select your device in the device list.
- On the next tab, you need to click on the microphone icon on the left side of the screen.
- You have to click on the button with a red circle and then talk into the microphone for a few seconds to start the test. Then stop the recording and play it back to see if the microphone is set up correctly.
Using these simple programs and tools, you can quickly test your microphone. These programs and tools will also help you set up your microphone properly and prepare it for use.


