

Windows 11 is the most modern and powerful operating system that supports most of the applications and programs you need. With Windows 11, you can do anything you need. However, not all features are provided by default. For example, you cannot create and extract archives in Windows without special applications.
7-Zip is one of the most popular and easy-to-use programs for archiving in Windows. With it, you can both create an archive and extract files from it. In addition, this utility is completely free, and you can download it from the official site. Let’s take a closer look at how to use 7-Zip and what you need.
What is a 7-Zip app?
As I described above, 7-zip is an archiver application that allows you to extract or add files to an archive. The peculiarity of this application is quite an extensive list of supported formats. Of course, you can extract files from more archives than you can create. In addition, 7-Zip is an entirely free application.
It is supported on operating systems like: Windows 10 / 8 / 7 / Vista / XP / 2019 / 2016 / 2012 / 2008 / 2003 / 2000. This list does not include Windows 11. However, I have tested it, and on Windows 11, the app runs and works stable. Let me also briefly list the supported formats for extracting and archiving:
- Packing or unpacking: 7z, XZ, BZIP2, GZIP, TAR, ZIP and WIM
- Unpacking only: APFS, AR, ARJ, CAB, CHM, CPIO, CramFS, DMG, EXT, FAT, GPT, HFS, IHEX, ISO, LZH, LZMA, MBR, MSI, NSIS, NTFS, QCOW2, RAR, RPM, SquashFS, UDF, UEFI, VDI, VHD, VHDX, VMDK, WIM, XAR, and Z.
You can download 7-Zip directly from their official website. Although it looks a bit outdated, this should not discourage you. The application is quite powerful and has all the tools common users need. Among the advantages of 7-Zip, the developers themselves point out:
- High compression ratio in 7z format with LZMA and LZMA2 compression.
- For ZIP and GZIP formats, 7-Zip provides a compression ratio that is 2-10% better than the ratio provided by PKZip and WinZip.
- Strong AES-256 encryption in 7z and ZIP formats
- Self-extracting capability for 7z format.
- Integration with Windows Shell.
- Powerful File Manager.
- Powerful command line version.
- Plugin for FAR Manager.
- Localizations for 87 languages.
Now let’s see in detail how exactly 7-Zip works using real examples.
How to extract files from an archive using 7-Zip in Windows 11
If you found one of the formats you are interested in in the list of available formats, you are probably wondering how you can extract the files. It’s straightforward. Among the disadvantages of using 7-Zip, I can only point out the slightly tired design, but it is straight. There are two ways to extract files:
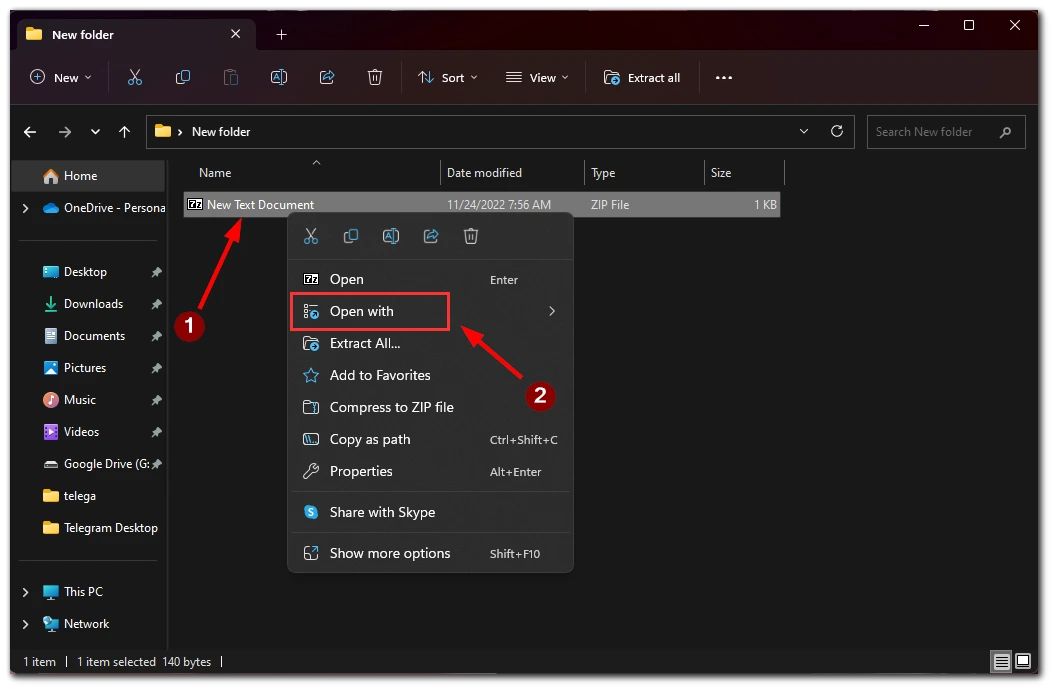
- The first way is to extract files using a popup list. To do this, you must right-click on the archive with your mouse and point to Open Together. In the following drop-down list, find 7-Zip and select it.
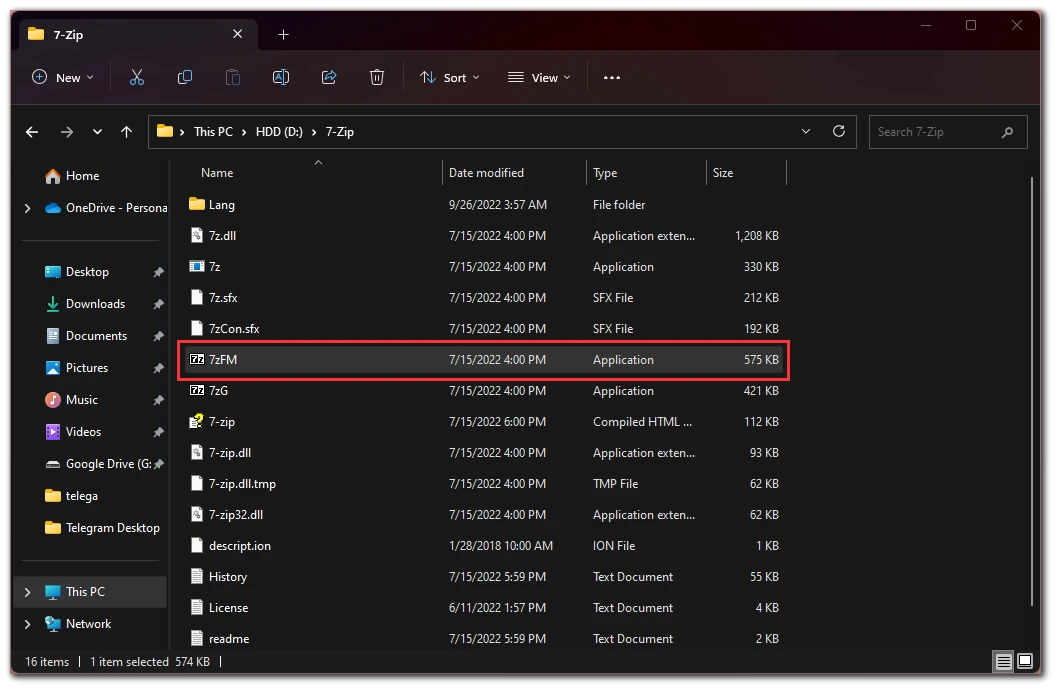
- The second method is suitable for those who did not find the 7-Zip application in the drop-down list. Go to the folder where the application is installed and select the file called 7zFM. After that, you only need to enter the path to your archive in the line below the toolbar.

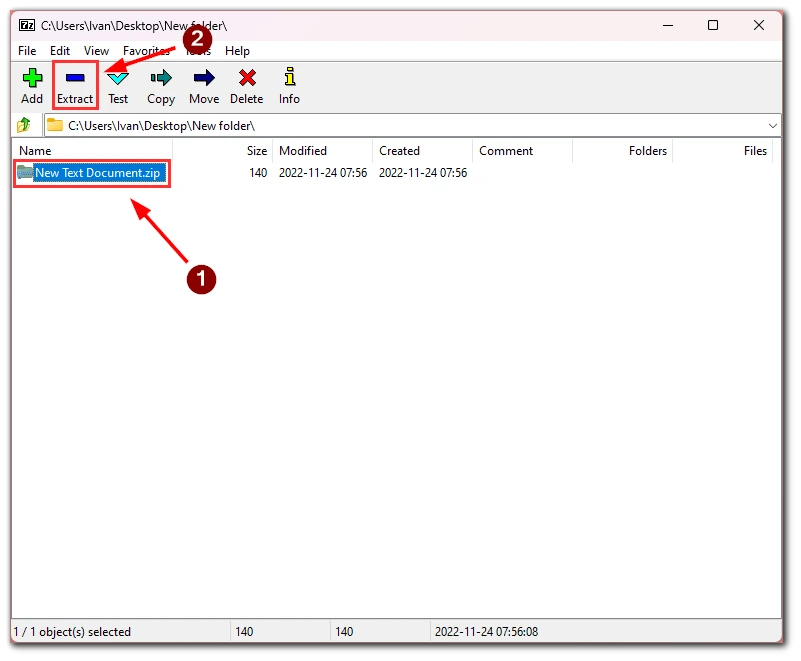
- Then the application itself will open in front of you, where you need to select the files you want and click on Extract.
- In the window that appears, select the path to which you want to extract the files you wish to and additional options if you need them.
Note that some archives have a password, without which you will be unable to unzip them. Usually, the password can be found on the web page where you downloaded the archive. If you can’t find it, try to contact the archive creator.
How to create an archive using 7-Zip in Windows 11
If you are going to make an archive, it will be a bit more complicated. The thing is that you can only develop archives for limited formats. To open the archive creation menu, you will need the following:
- Go to the folder where you have 7-Zip installed.
- Select the 7zFM file.
- Using the address bar below the toolbar, specify the path to the file or files you want to archive.
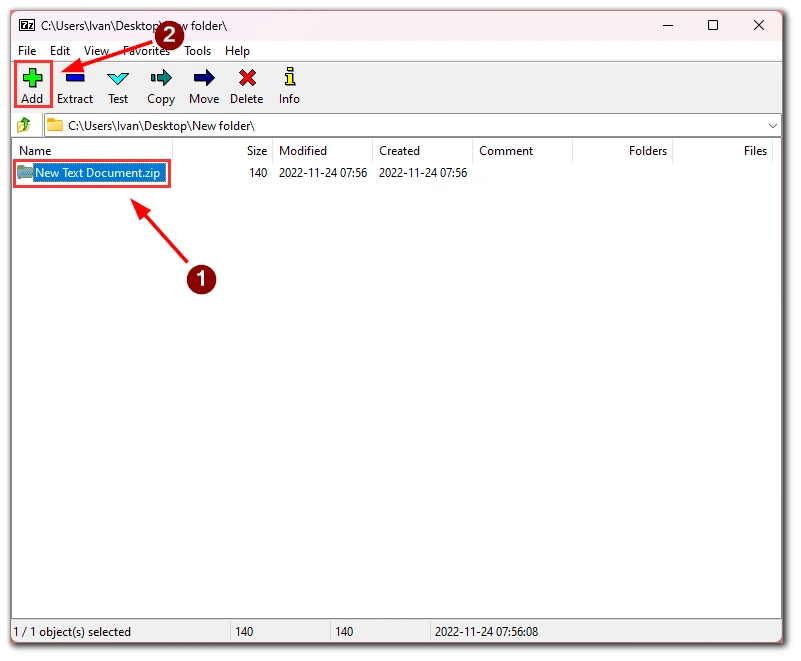
- Highlight those files and click Add in the upper left corner.
- You will be taken to the Archive Creation menu, where you need to specify additional options for archiving and the path to creating the archive. When you are finished, click OK to complete the archive.
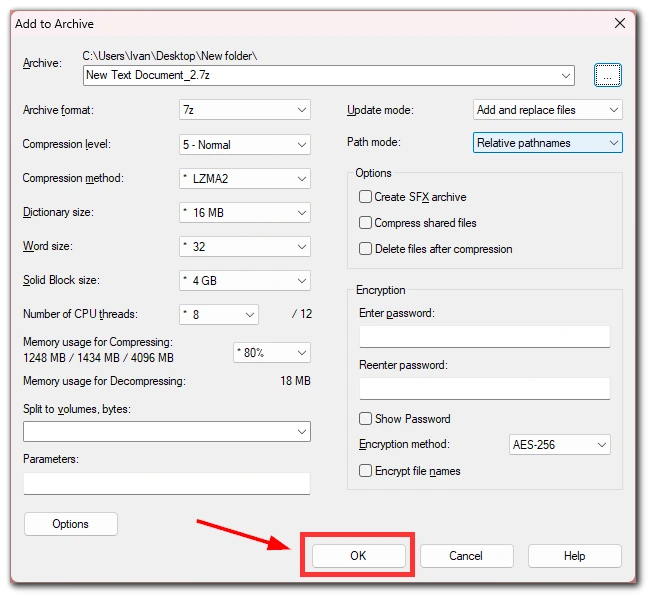
Be very careful when you select the options for archiving. They might be damaged if you want to compress the files too much. I also recommend using a Password to protect your archive from unauthorized visitors. You can set it in the bottom right section.


