

Realtek HD Audio Manager is part of the Realtek HD Audio driver. Therefore, if you can’t launch the Realtek Manager interface or the program has simply disappeared from Control Panel, you should update or reinstall the sound driver itself.
You can do this in a variety of ways. You can update the driver automatically or manually by selecting the desired file. If that doesn’t help, you can uninstall Realtek HD Audio and download and install it again from the official Realtek website.
Actually, there’s nothing complicated about this. So don’t be afraid to make a mistake, but just follow the steps exactly as described below, and you’ll be able to fix your Realtek sound driver.
How to reinstall Realtek HD Audio on Windows 10/11
So here’s what you should do to reinstall Realtek HD Audio on your Windows PC or laptop:
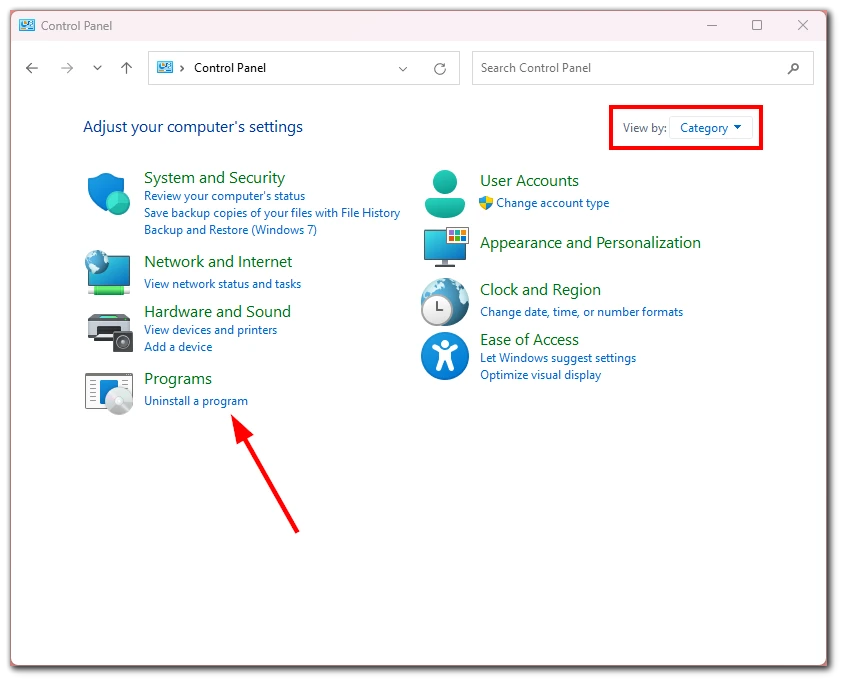
- First, you need to uninstall your Realtek sound driver completely. For this, open Control Panel again, as shown above, but now set “View by” to “Category” and click Uninstall a program under Programs.
- Scroll down and find Realtek High Definition Audio Driver.

- Double-click on it to start the uninstallation process.
- Once uninstalled, restart your computer.
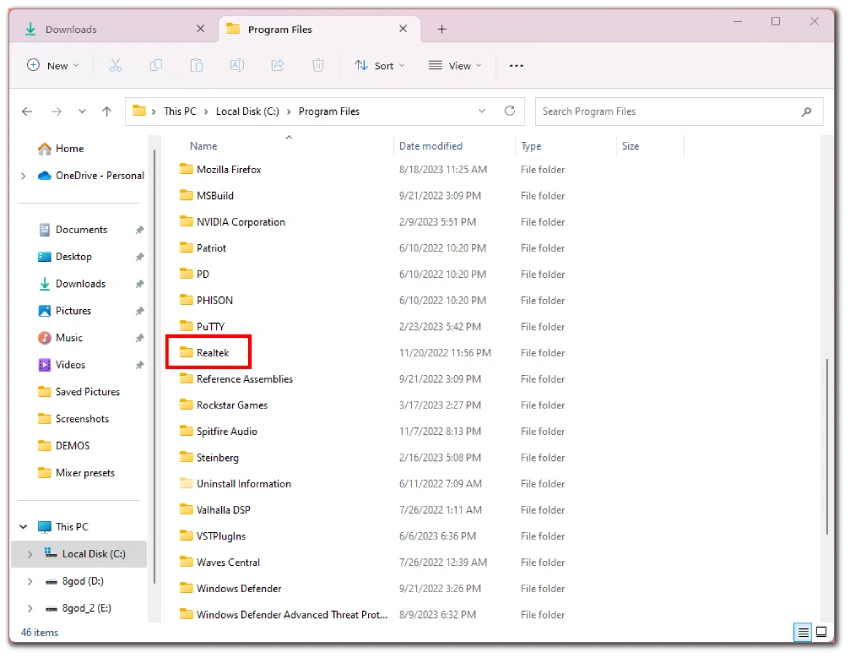
- Now you need to delete old Realtek folders. So open File Explorer and go to your system disk (C).
- Then go to Program Files and delete the Realtek folder.
Once done, you are ready to download and install Realtek HD Audio Driver on your computer again. Follow these steps:
- Click on this link to visit the Realtek official website and download the needed driver.

- Next, check that you accept all terms and click Download this file.
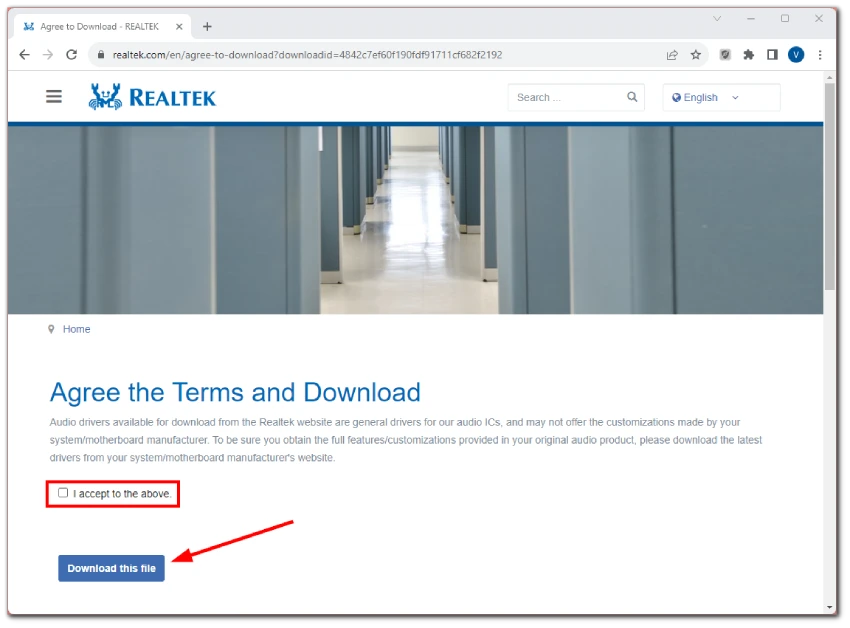
- After you pass the captcha, the download starts.
- Run the downloaded file to start the installation wizard.
- Once completed, restart your computer.
Now that you have restarted your Windows PC or laptop, you should be able to see and launch Realtek HD Audio Manager from the Control Panel.
Why can’t I find Realtek HD Audio Manager in Control Panel?
If it’s still not showing, then open File Explorer and go to this path:
Program Files > Realtek > Audio > HDA
In this folder, you should have the file RAVCpl64.exe.

This file adds the Realtek HD Audio Manager to the Control Panel. So double-click on it, and you should be good to go.
How to update Realtek High Definition Audio driver
Before updating the sound driver, let’s check if Realtek HD Audio Manager is available and working in Control Panel. Here’s how to do it:
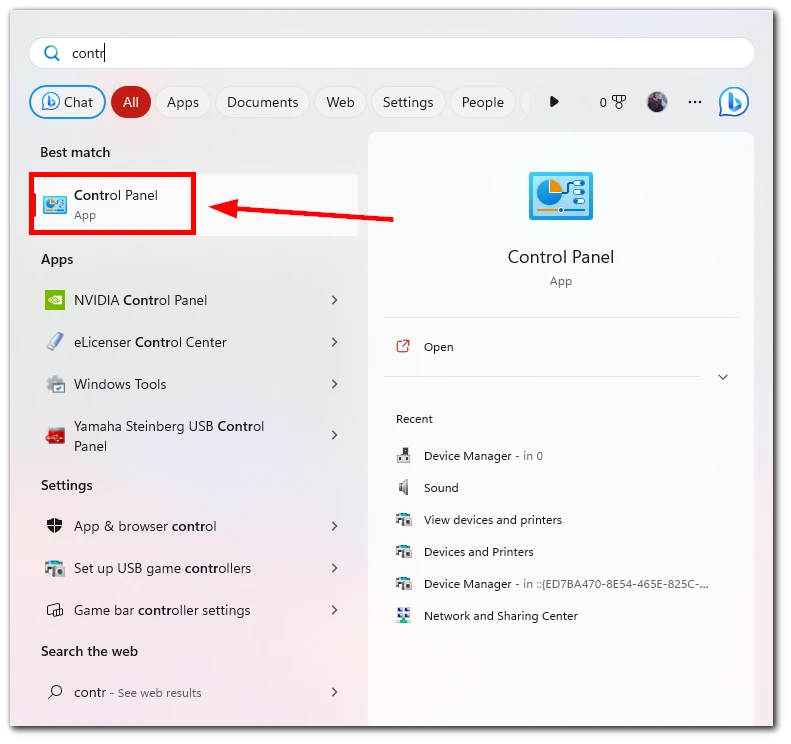
- Open the Start menu and search for Control Panel. Open it.
- In the View by drop-down list, select Large icons.
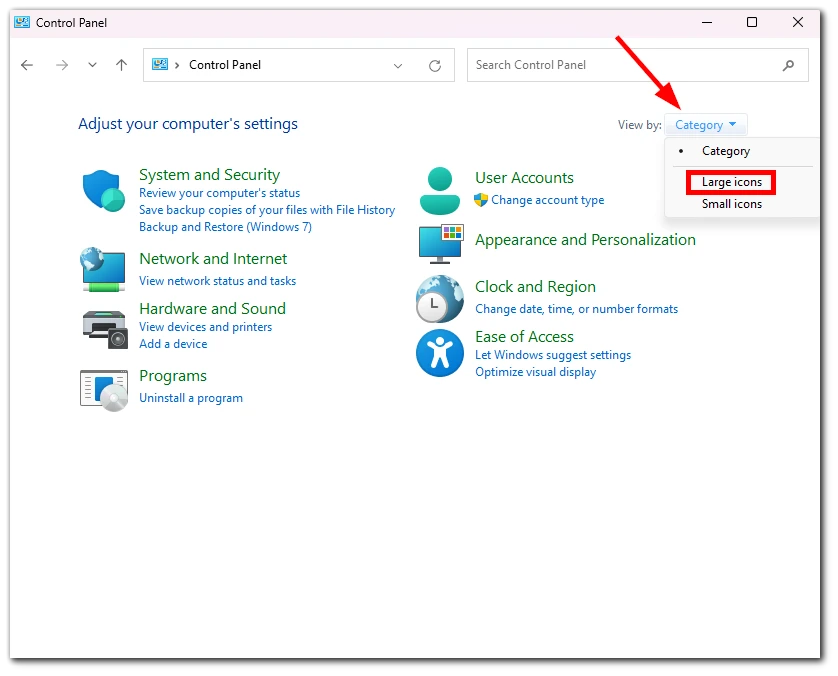
- Now, search for Realtek HD Audio Manager. It should look like this in the screenshot below.
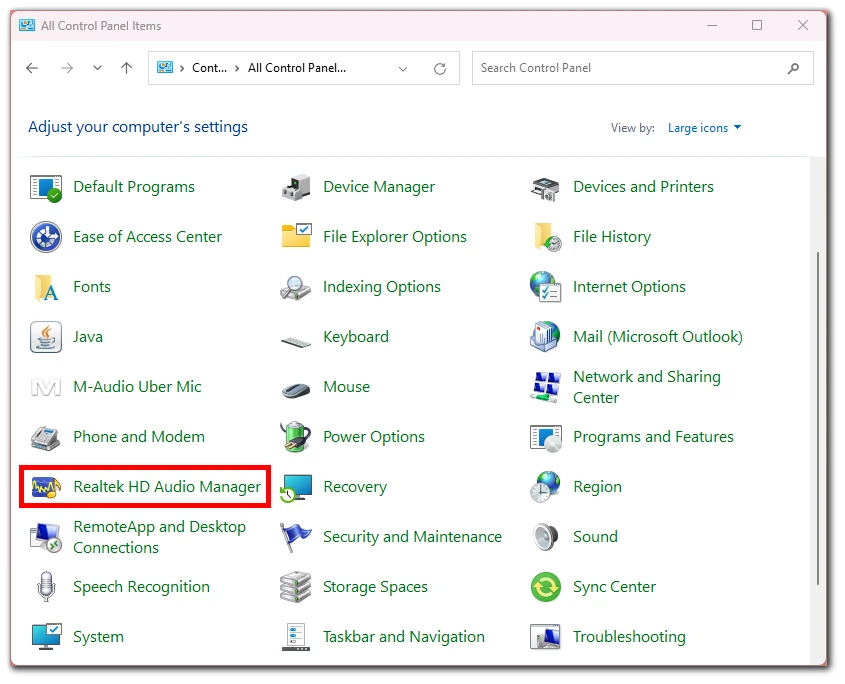
If you can’t find it or its interface isn’t showing after launching, proceed to update the driver. So follow these steps:
- Open the Start menu and search for Device Manager. Alternatively, you can press Win + X and it from the opening list of options.
- After that, expand Sound, video, and game controllers and find Realtek High Definition Audio or something similar (it may not have the word “Realtek” in its name).
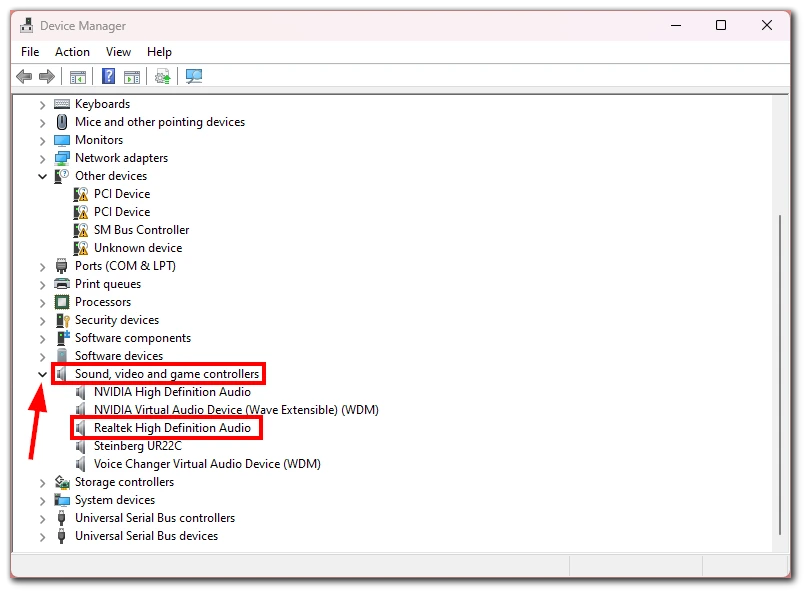
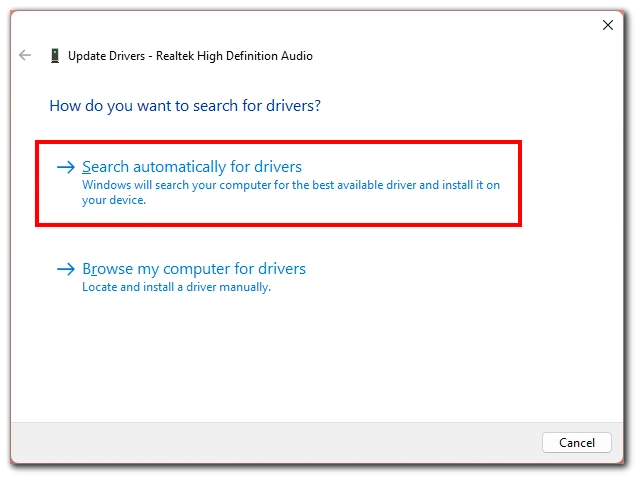
- Right-click the Realtek High Definition Audio driver and select Update driver.
- First, click Search automatically for drivers. If the driver is found, you’re in luck. Install it and check if Realtek HD Audio Manager works as shown above.
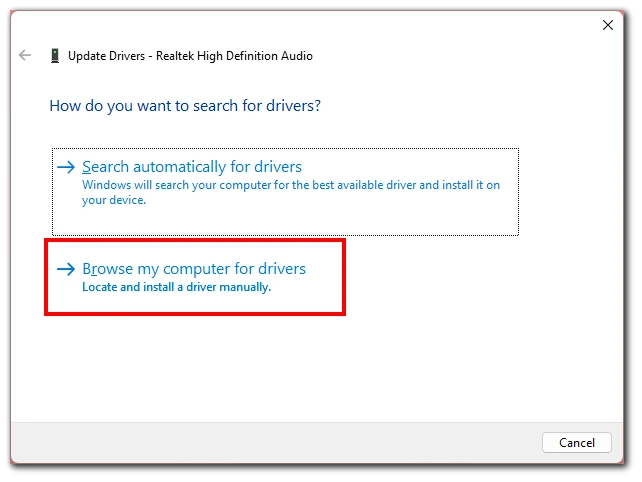
- If Windows didn’t find any updates, return and click Browse my computer for drivers.
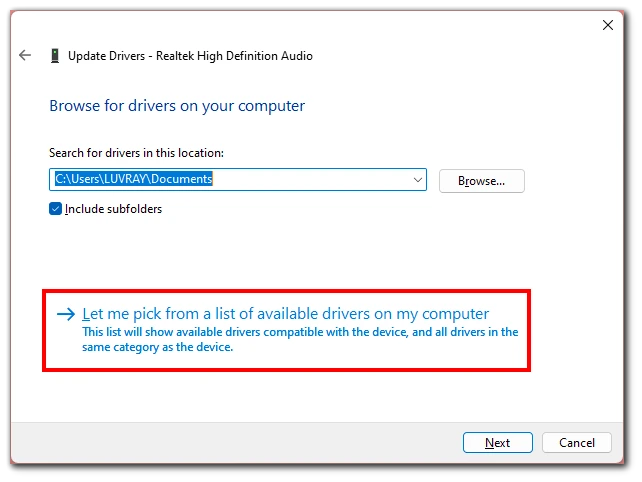
- Then click Let me pick from a list of available drivers on my computer.
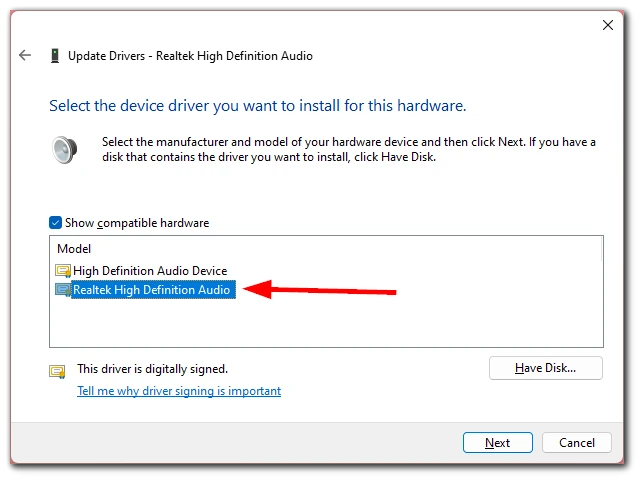
- Select the Realtek High Definition Audio driver and click Next.
Windows will install the driver. Once done, restart your computer so the sound driver works correctly and check whether Realtek HD Audio Manager works.
How to fix Realtek HD Audio missing in Control Panel
If Realtek HD Audio Manager does not appear in the Control Panel, it may be due to the reasons listed below.
Driver issues:
- Ensure that you have the latest Realtek HD Audio drivers installed. Outdated or incompatible drivers can lead to missing or malfunctioning software components.
- If the drivers have become corrupted, they might not function properly, leading to missing components. Uninstall and reinstall the drivers, as already shown above, to resolve this.
Windows Updates:
- Sometimes, Windows updates can interfere with third-party software. Check if any recent Windows updates might have affected the Realtek HD Audio Manager and consider rolling back updates or seeking updates for the audio drivers.
Software Conflicts:
- Other audio-related software or utilities might conflict with the Realtek HD Audio Manager. Disable or uninstall any third-party audio software and restart your system.
How to fix Realtek HD Audio isn’t working
Here’s what you can do if the Realtek HD Audio driver is still not working.
Restore the system to the last backup
If your computer automatically backs up after a while, you can do a restore. For example, there may be a case where a Windows update did not install correctly. Then restoring to backup can help you. Here’s how to do it:
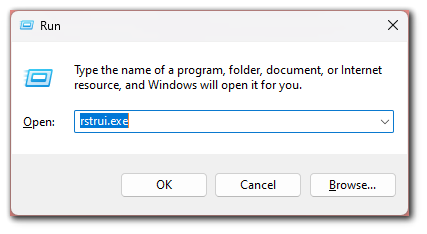
- Press Win + R to open the Run tool.
- Enter rstrui.exe and press OK.
- Click Next.
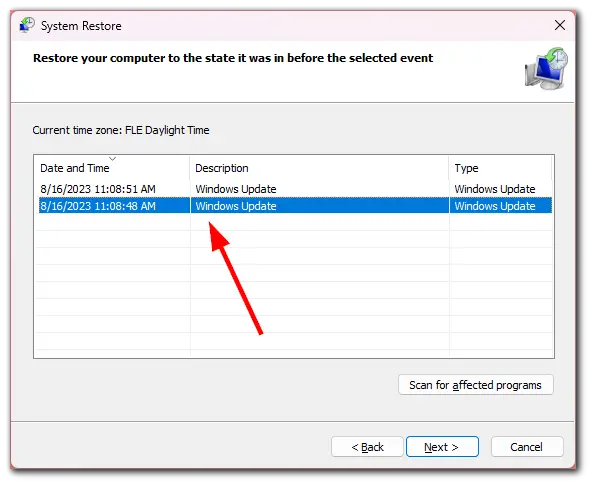
- After that, choose the restore point you want to use and click Next.
- Confirm the action by clicking Finish.
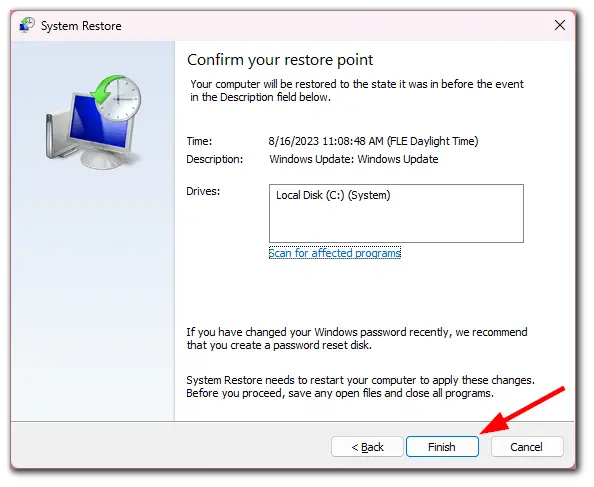
Once this is done, check if the driver appears and works.
Deactivate Microsoft UAA Bus Driver
Microsoft UAA Bus Driver is a system driver developed by Microsoft to provide an architecture and framework for audio devices on Windows. Its purpose is to standardize and simplify how audio devices are recognized, installed, and managed within the Windows environment.
However, it may still conflict with the Realtek HD Audio driver. So you need to disable it to fix the issue. Here’s how:
- Open the Start menu and search for Device Manager. Alternatively, you can press Win + X and it from the opening list of options.
- Expand the System Devices.
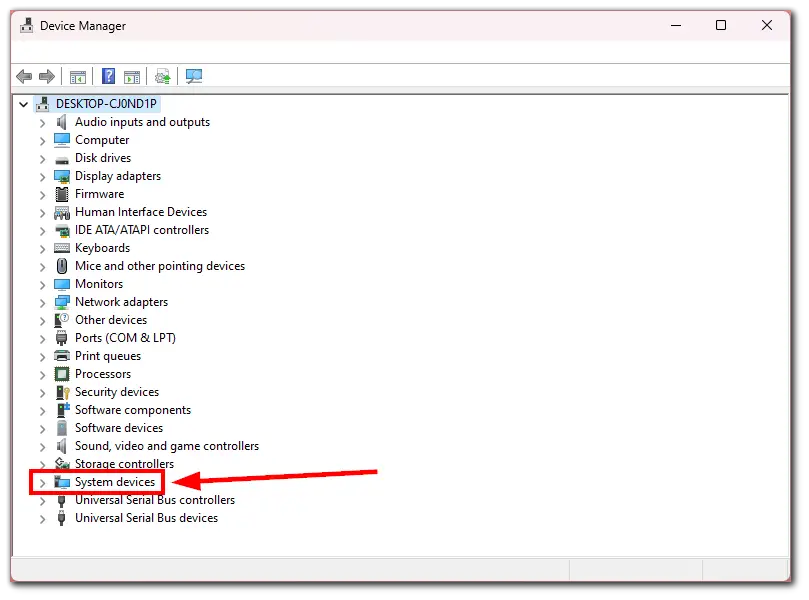
- Find Microsoft UAA Bus Driver for High Definition Audio, right-click on it, and select Disable.
- Now, uninstall the Realtek High Definition Audio driver, as shown in the first paragraph of this article.
- Once uninstalled, return to Device Manager and right-click on the disabled Microsoft driver.
- Select Uninstall.
Once you have completed these steps, you can perform the above steps to reinstall Realtek High Definition Audio.
How to add Realtek HD Audio Manager to Windows startup
Among other things, you can add Realtek HD Audio Manager to Windows startup. Then you will be able to control the volume right from the Taskbar. So do the following:
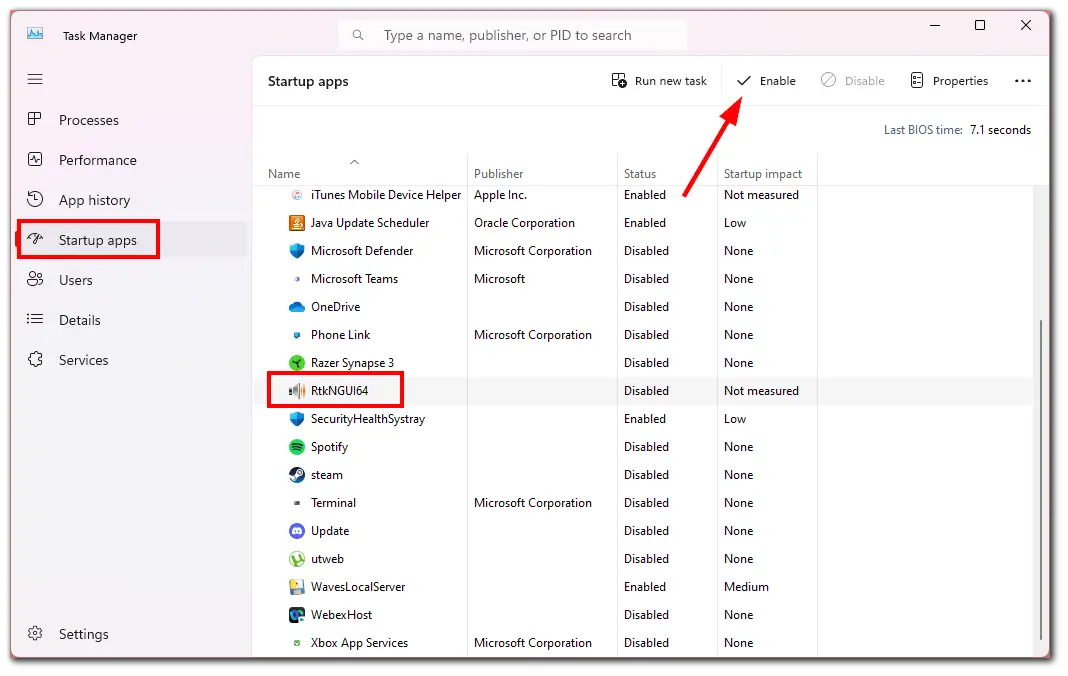
- Press Ctrl + Shift + Esc to open Task Manager and go to the Startup apps tab.
- Find Realtek HD Audio Manager, or it may be named RtkNGUI64.
- Select it and click Enable.
The program will now start with the system automatically.


