

Minecraft has long been a cult game that is incredibly popular among people of all ages and interests. I can say that it is a game with a little bit for everyone. No wonder every year, more and more people download and try Minecraft to see why everyone likes it so much. After Microsoft bought out and re-released Macintraft for Windows, it became much more accessible. Now the game is more stable, and you no longer need to install java to play Minecraft. However, a problem appeared because the Installer of Minecraft refused to work for many users.
If you find on your Windows 11 that the Installer of Minecraft doesn’t work and you can’t install the version of Minecraft you want, there are some simple steps you can take to fix it. First, you should try restarting the installer process and your PC. It may also help if you give more rights to the Installer to make changes or exclude it from the antivirus on your PC. Let’s break down the causes and possible fixes you can take to fix the Minecraft Installer.
Why is the Minecraft installer not working on Windows 11
Let’s start with why your Installer may not work on your Windows 11. The thing is that the original re-release of Minecraft was released for Windows 10. Although Windows 11 has full backward compatibility with Windows 10 and earlier versions, sometimes different system errors can still occur.
I would say that the most popular system error is when a firewall or antivirus blocks the Installer. In this case, your system mistakenly treats the Installer as malware and doesn’t give it the right to download or modify any files on your computer. Besides, Microsoft Installer may conflict with some other running services or processes on your Windows 11.
Also, if you are using the Microsoft Launcher in Windows Store to install Minecraft, the problem may be with Windows Store. The fact is that although Microsoft is trying to develop its store for applications, at the moment, it works pretty unstable, and you may have different problems with it with the installation of applications or programs that are installed through the Microsoft Store. So that may be the problem as well. Let’s look at the most popular solutions to problems with the Minecraft installer.
How to fix the Minecraft installer on Windows 11
Let’s look at some of the most popular fixes you can use if you have problems with the Minecraft Installer. Note that most of these tips are pretty universal, and you can use them for other programs or applications that, for some reason, don’t work on your Windows 11. I also advise you to start with the first fix and move down the list until you find the one that helps you because the cause of the failure can be anything, and you can’t know exactly which will help you.
Restart Your Computer
The first thing you should do is restart your PC. This may seem simple enough, but restarting will allow you to completely shut down all running processes, services, and applications. This will allow you to eliminate problems if it is another process blocking the Installer.
In my experience, I can tell you that restarting your PC can help you solve most kinds of problems with applications and programs that freeze or don’t want to start. So the first thing you should do in case of a system crash is to restart your computer.
Restart the Minecraft Installer
If restarting your PC did not work or the error is repeated, you can also try to force close the Minecraft Installer and restart it. To do this, you can use the task manager on your computer. To do this, you need to:
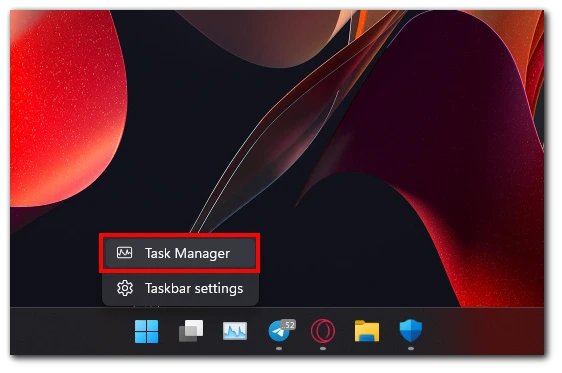
- Open the task manager. To do this, right-click on the taskbar and select it from the drop-down list.
- Then you need to go to the Details tab at the top of the window.
- Here we need to find the process of the Minecraft Installer and right-click on it.
- From the drop-down list, select End Task.

- After that, you can go to the installer location and rerun it.
Note that this method will stop the Minecraft Installer completely. Any changes you didn’t save, or unfinished installation will be automatically interrupted, and you’ll have to start it again.
Run the Minecraft Installer in compatibility mode or as an administrator
Maybe the Installer refuses to work because of compatibility issues with your version of Windows 11 or because Windows doesn’t want to give you enough rights to install and change files. In this case, you can use tools such as compatibility mode with older versions of Windows or run the Installer with administrative rights to let the system know that you trust the application.
Compatibility mode
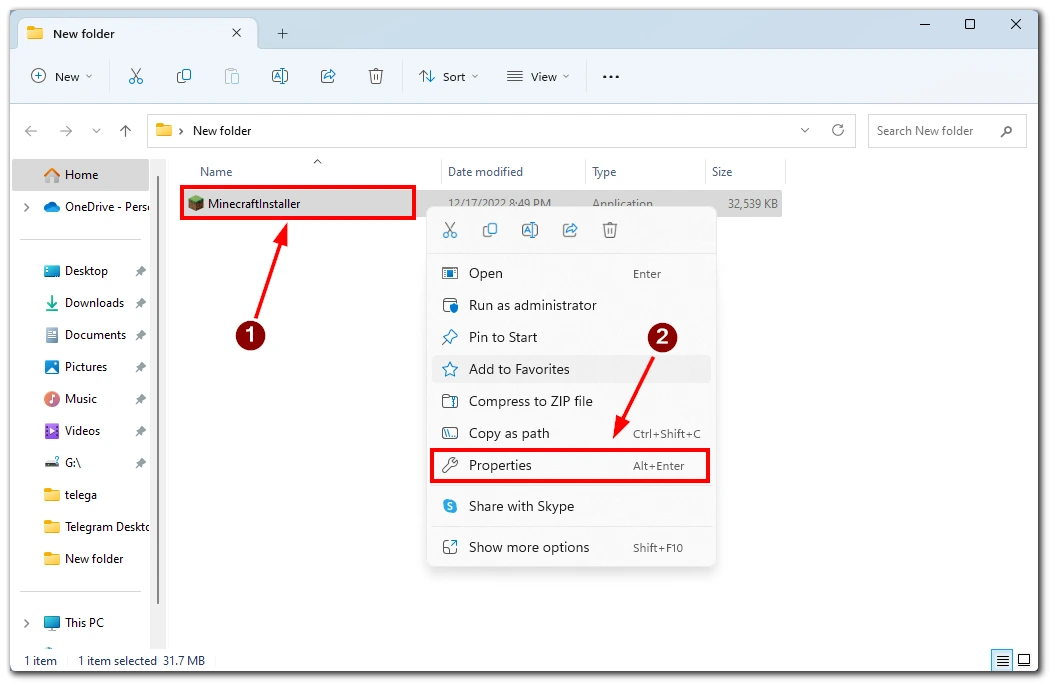
- Right-click on the installer file.
- Select Properties from the drop-down list.
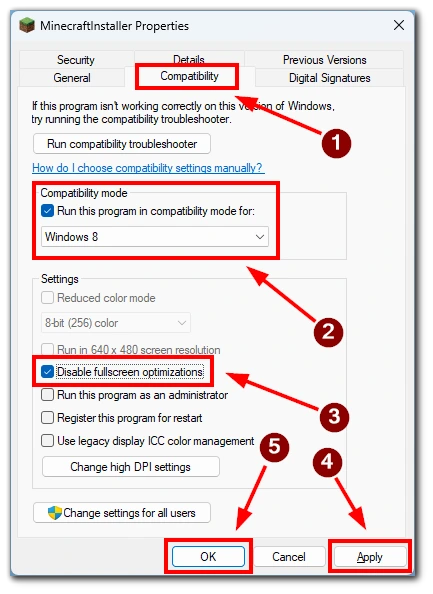
- In the details menu, you should select the Compatibility tab.
- Here, select Windows 8 under Run this program in compatibility mode.
- Also, check the option Disable fullscreen optimization.
- To finish, click Apply and OK at the end to open the Installer.
Administrator Access
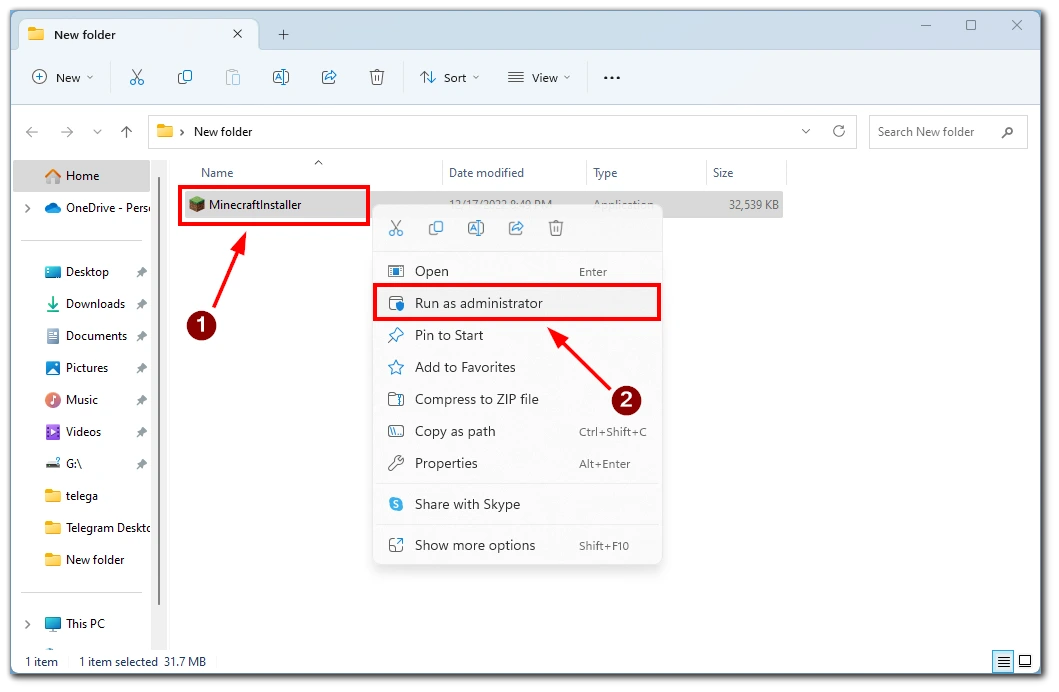
- Right-click on the installer file.
- From the drop-down menu, select Run as administrator.
These tools will help you run the file around any restrictions your system may have placed on it. Note that you should only run a file with administrator access if you know exactly where the file came from and are sure it will not harm your system.
Use the Minecraft Installer from the official website
As I mentioned before, sometimes the problem with the Installer is that you downloaded it via Microsoft Store. In that case, you may need to download the Minecraft Installer from the official website. Note that here you will be offered by default to download the version for Windows 10 or 11.
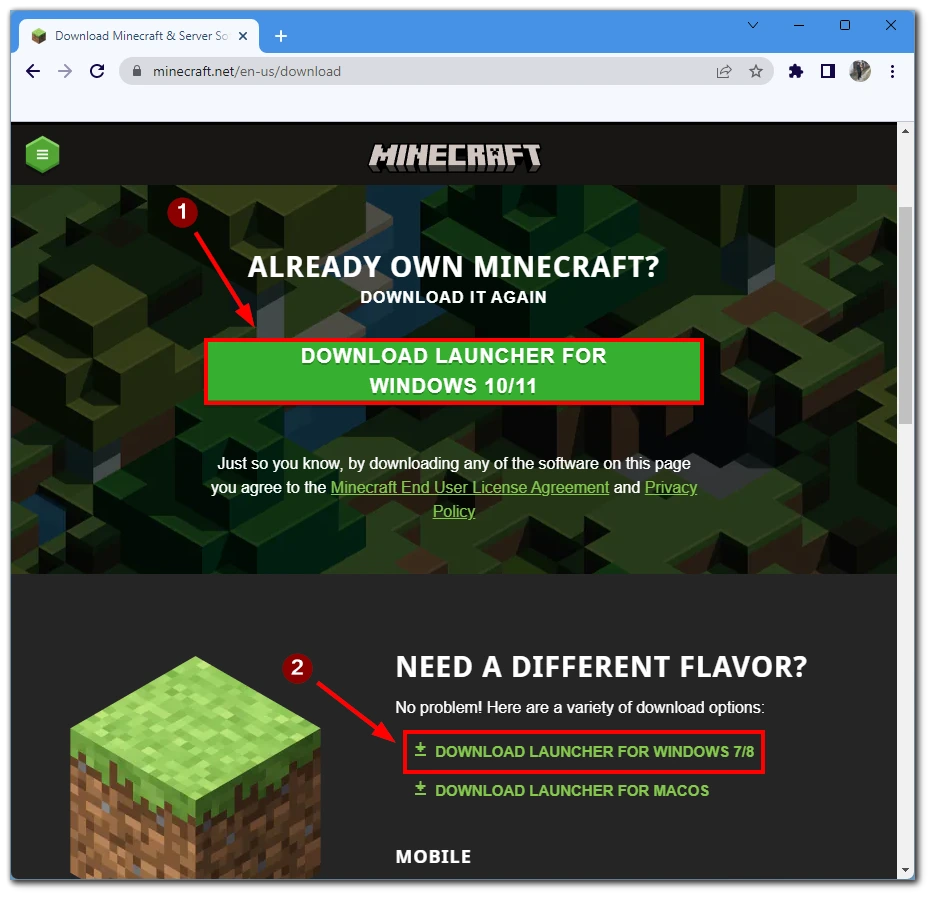
However, you should also look at the installer for Installer 7 or 8, which can be downloaded from the link below. This installer mayInstalleryou have an older system, or the installer for Windows 11 refuses to work on your version of the system for some reason.
Disable antivirus or add Minecraft Installer to the exclusion list
Also, another way to solve this problem which you should try only if you are one hundred percent sure that you downloaded the correct file and it does not cause any harm to your system, is to disable third-party antivirus altogether and add Minecraft Installer to the list of exceptions for the built-in Windows 11 firewall. To do this, you need to:
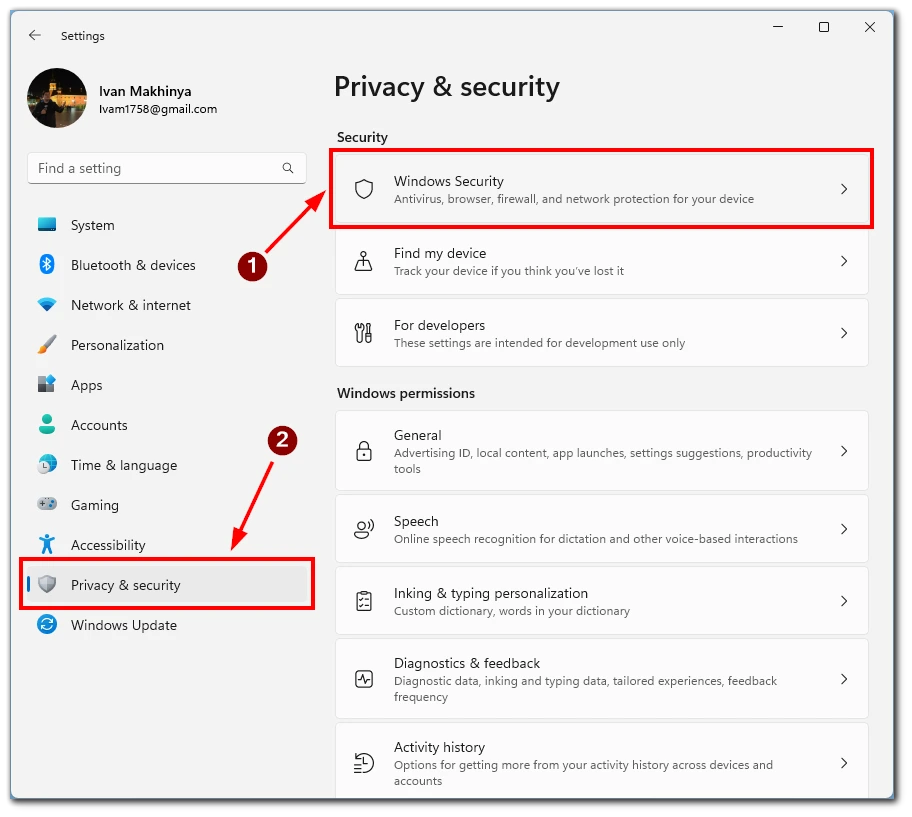
- Go to Settings.
- Here, select the Privacy & Security tab.
- Then you need to click on Windows Protection.
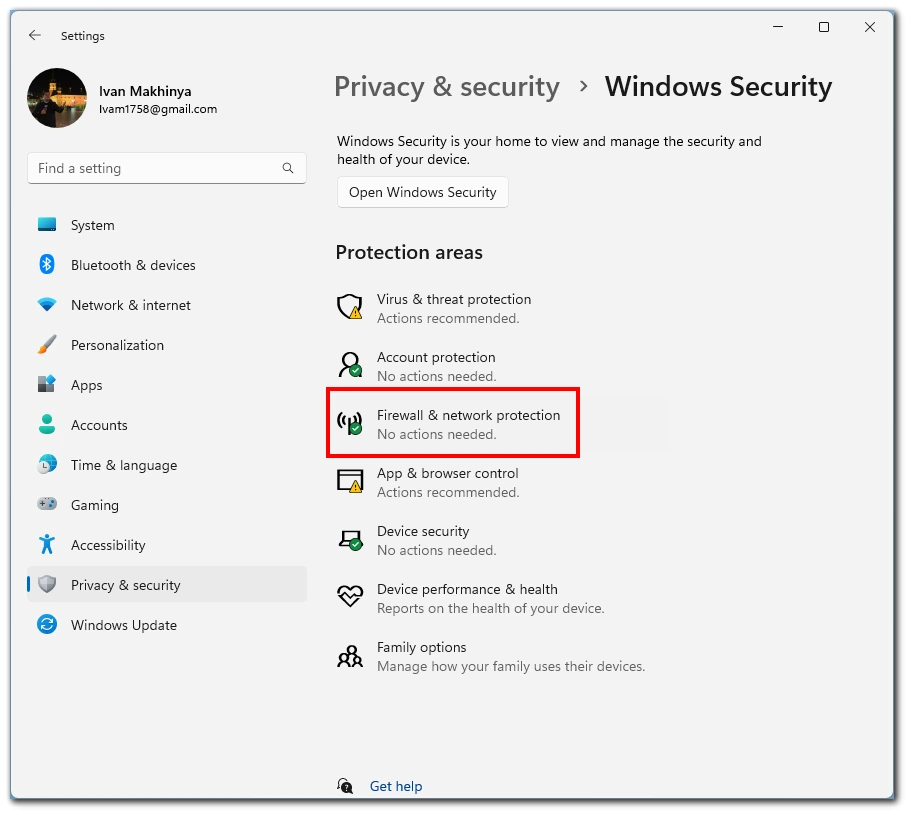
- After that, select Firewall and network protection.
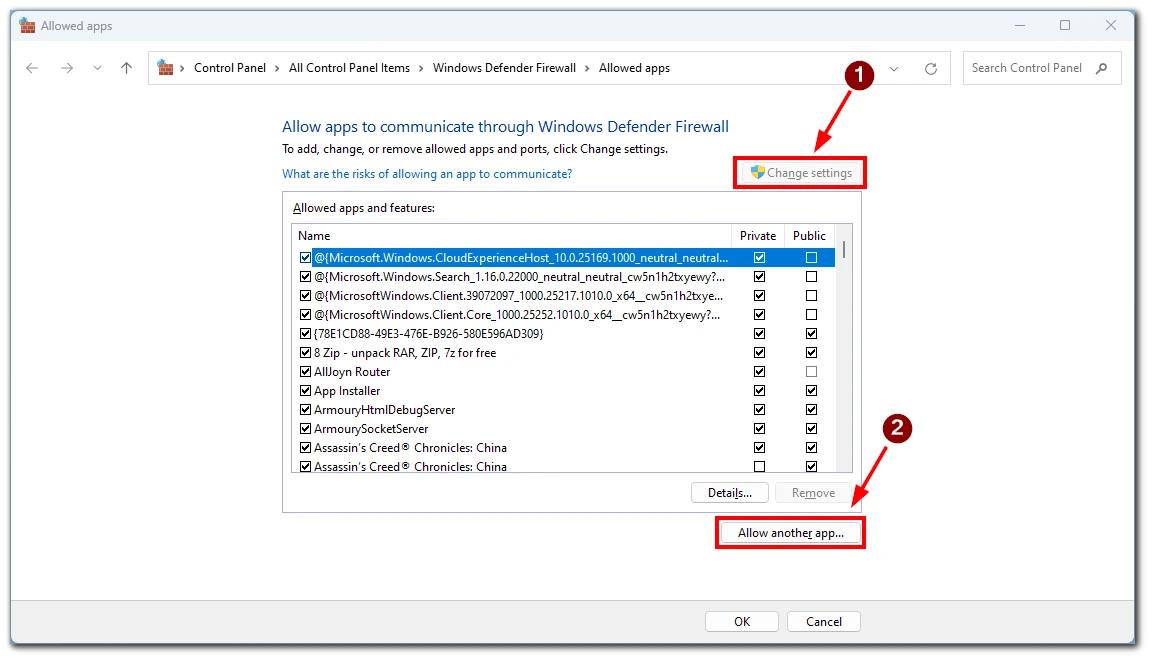
- In the next window, click on Allow an app through the Firewall.
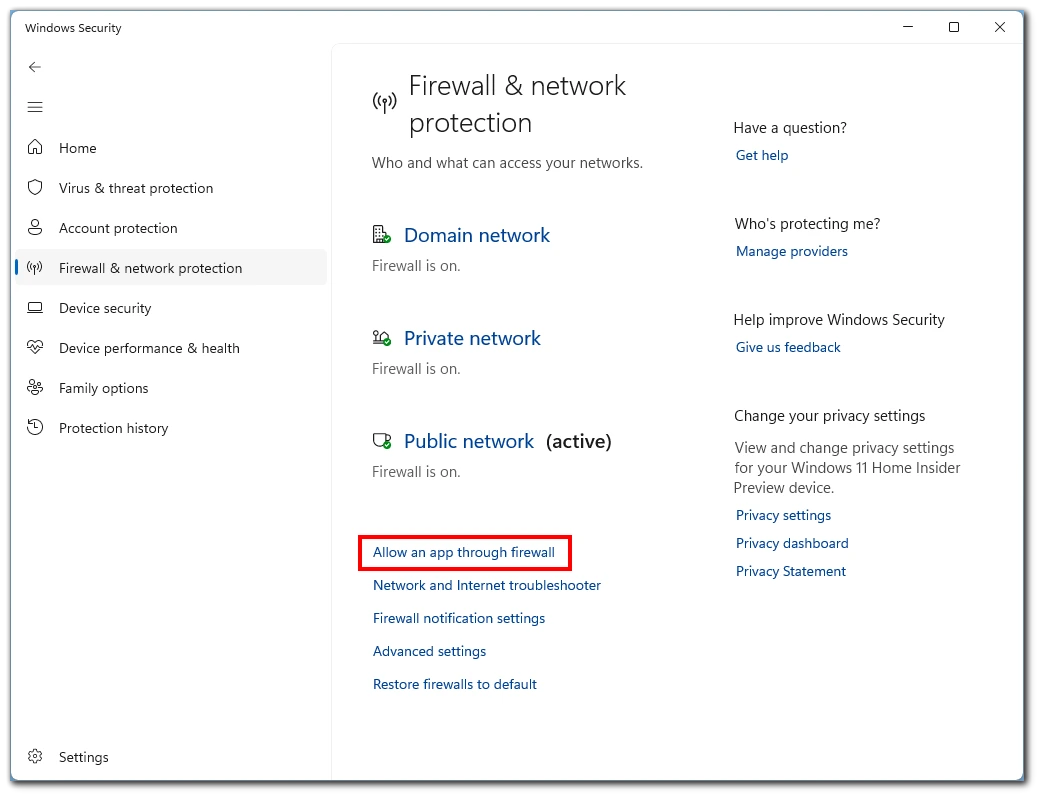
- You will see a list of exceptions. Click the Change Settings button to add a new one and select Allow another application.
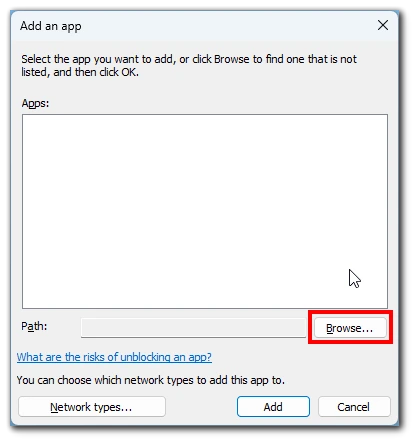
- All you have to do is click on Browse and specify the path to the installer.
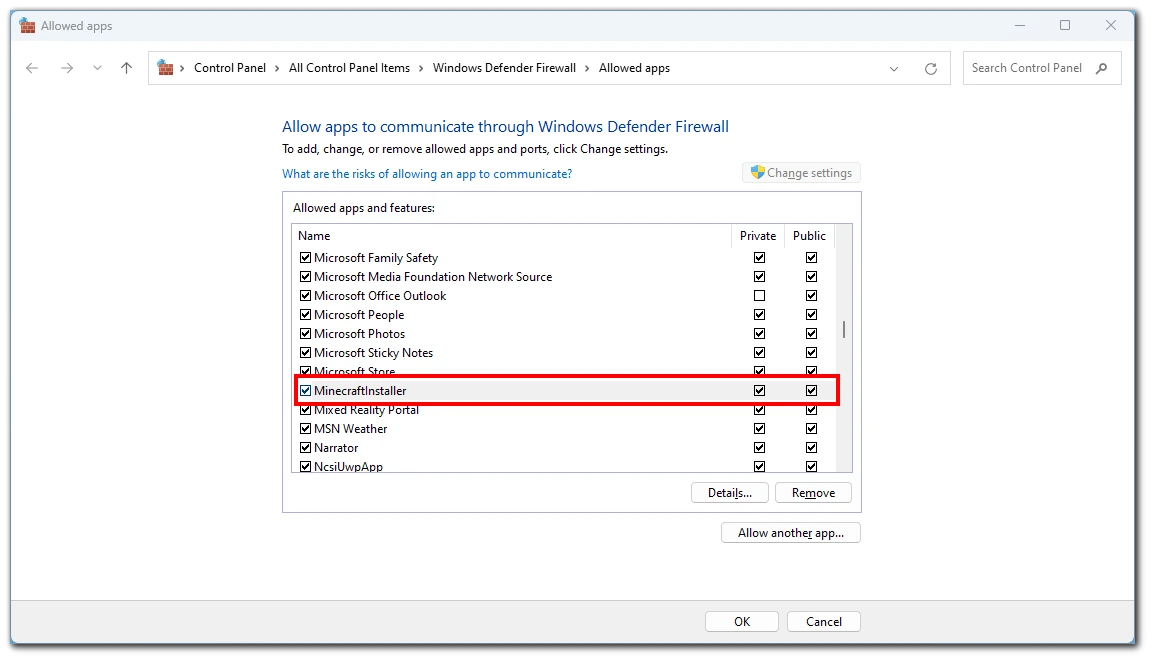
- After that, ensure that both Private and Public networks are checked in the list of exceptions against the Installer.
These actions will help the installer bypass the restrictions imposed by protection systems on third-party applications. Users are often confronted with a firewall blocking legitimate and secure applications because it suspects they could be malicious.


