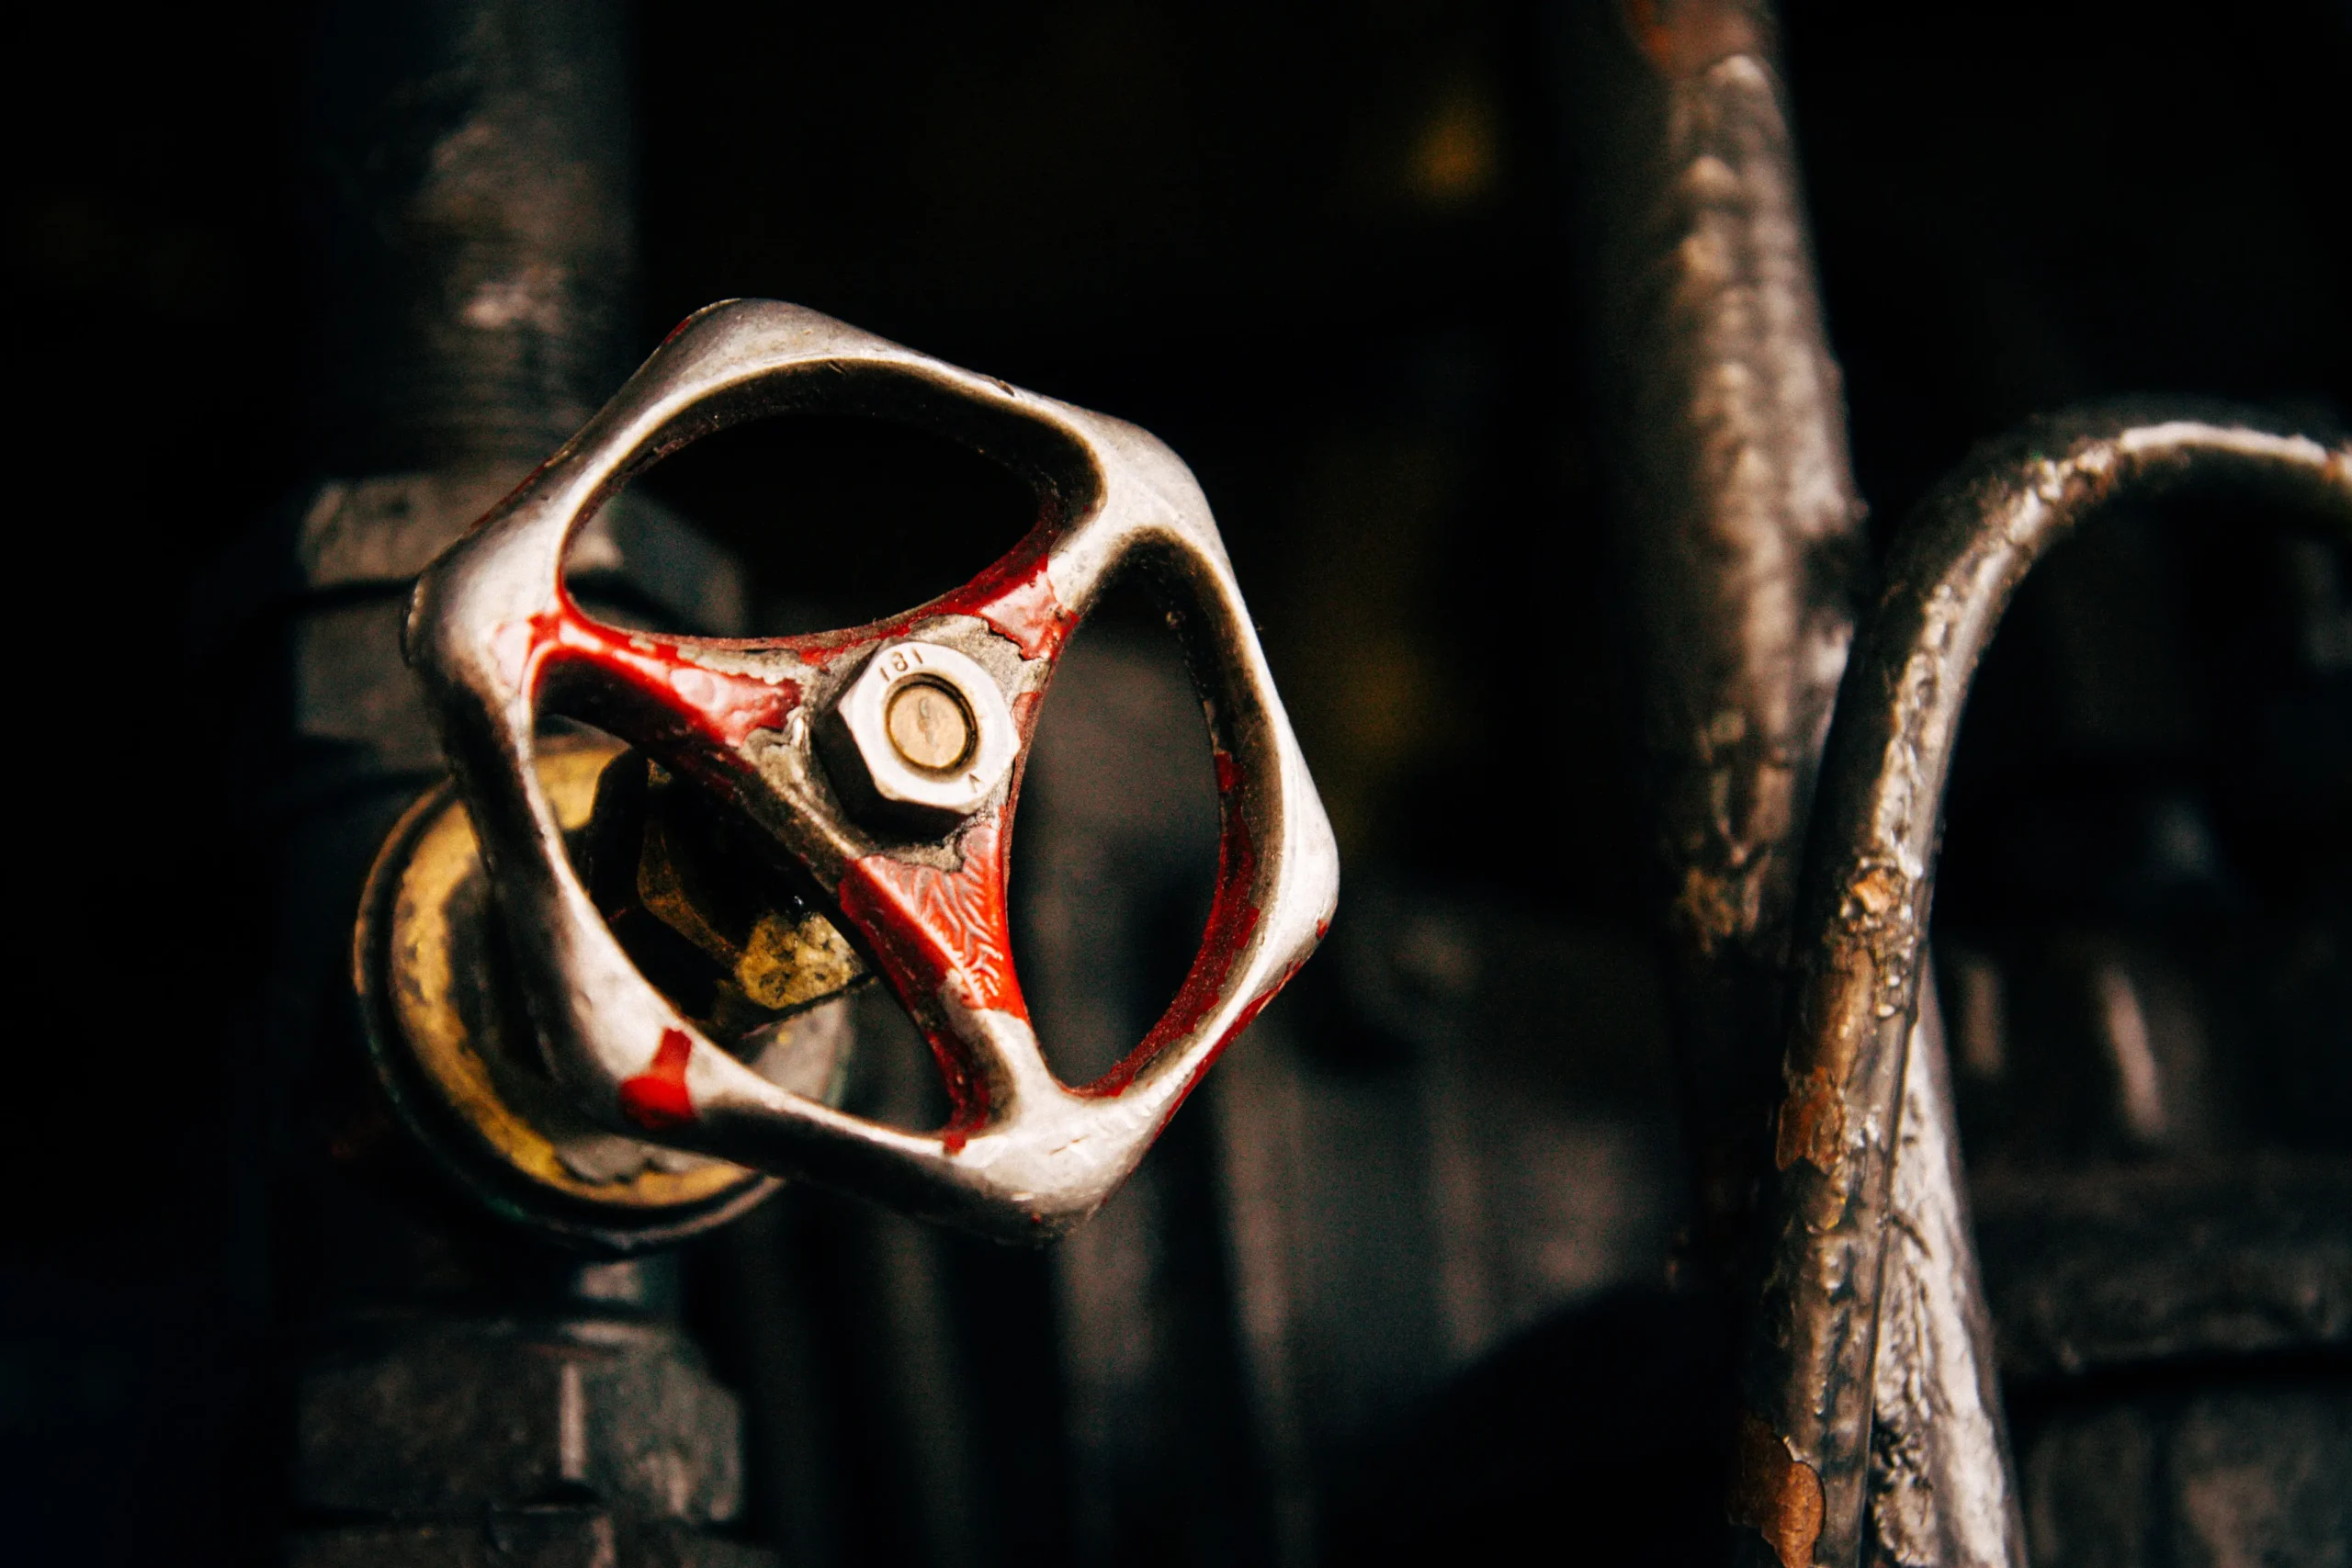
No washing machine can work without a water supply. Of course, they cannot produce water by themselves. Because of this, people designed so that the water supply which is coming outside to the machine, meant to be regulated by the shut-off valve, which is located behind it. It’s extremely important that this valve remains in good working order, as not only does it regulate the water supply, but also the leak tightness depends on it. If it’s damaged, you may find that the room in which you put the washing machine flooded with water. This is especially unpleasant if you live in a multistory building, and you have downstairs neighbors.
How dangerous it is to leave a damaged valve without repair
A characteristic sign that the shut-off valve is damaged is water leakage. It may be small at first, but over time the leakage will damage the valve and the surfaces that are increasingly exposed to it, eroding them, causing mold and a permanent feeling of mustiness and dampness in the room. Although the washing machine itself usually consists of materials that don’t corrode, this doesn’t always apply to the things that may surround it. Ignoring even minimal leaks, you risk one day waking up to the noise of a waterfall or a doorbell from angry neighbors who may believe you flooded them almost on purpose. To avoid something like this, it’s better from time to time to check this valve for wear and tear, and better regularly change at least the o-rings. Regularity means every six months to a year, not every week, of course.
How to fix a valve if it’s leaking
As mentioned above, the easiest way to prevent and rehabilitate a damaged valve is to replace the o-rings or bushings. This isn’t difficult to do, all you need to do is:
- Turn off the water before repairing.
- Move the washing machine away from the valve and disconnect the water hose.
- Disassemble the valve. As all the valves are different, a more detailed description of the dismantling process isn’t possible, but unchangeable is that you have to make considerable efforts in order to unscrew all the fasteners on a valve like this.
- Remove all the worn o-rings, bushings and teflon rings.
- Replace them with new ones and reassemble the valve.
Note that quite often the hose connecting the washing machine to the valve can be the cause of the leakage. Check the hose and valve connection, and try to test the hose for leaks by using a water supply from another source, if you have one. If the hose is cracked, it cannot be repaired and can only be replaced with a new one.
How to fix valve if you cannot figure out the problem
Sometimes a leak can be caused by an inherently poor assembly. In such cases, use a wrench to tighten all fasteners on the valve more firmly. To do this, of course, in advance, turn off the water in the house. After that, tighten the fasteners as strongly as possible and turn on the water to check whether had you fixed the problem or not.
If all of the above didn’t help, then there are two possibilities: either you’re looking for a leak in the wrong place, or you cannot determine exactly what is damaged in the valve. In both cases, you’re better off calling a master plumber to solve the problem.


