

JSON is a text-based data exchange format based on a multi-paradigm programming language. Its primary purpose is to store and transmit a structured stream of information. By using simple rules for forming character constructs in JavaScript, a person can provide an easy and reliable way to store any information, whether a simple number, whole strings, or a vast number of different objects expressed in simple text.
In addition, the JSON format combines objects and data structures as a set of components, thus forming program units that allow you to store and process complex records of several variables of different types. Once a file has been created, the strings can easily be redirected to another location on the Web via any data path. This is because the string is plain text. So, here’s how to convert a JSON file to Microsoft Excel.
What is a JSON file
First, let’s find out what JSON files are and where you might come across them. This will help you understand if you should use Excel or if you should use another service to open the file. If you are not interested in the details, you can skip to the next section, where you will find more information about how to import JSON into Excel.
JSON stands for JavaScript Object Notation. It is a file that stores information mainly used in JavaScript programming. That means JSON is primarily used in web applications and online storage. JSON files are often transferred between the server and the user.
In JSON, a document is written as a key-value pair. So you can easily read it by importing it as a unique table in Excel. This is the easiest way for a non-technical person to view a JSON file. Its extension is .json. So if you see a file with this extension in a web application, it is probably a document with some imported data. To view them in Excel, you can use the steps below.
How to import a JSON file into an XLSX file
If you want to import a JSON file into an XLSX file, you have to follow these steps:
- First, open Microsoft Excel on your computer and create a new spreadsheet.
- Then, click on the “Data” tab in Excel’s ribbon at the top.
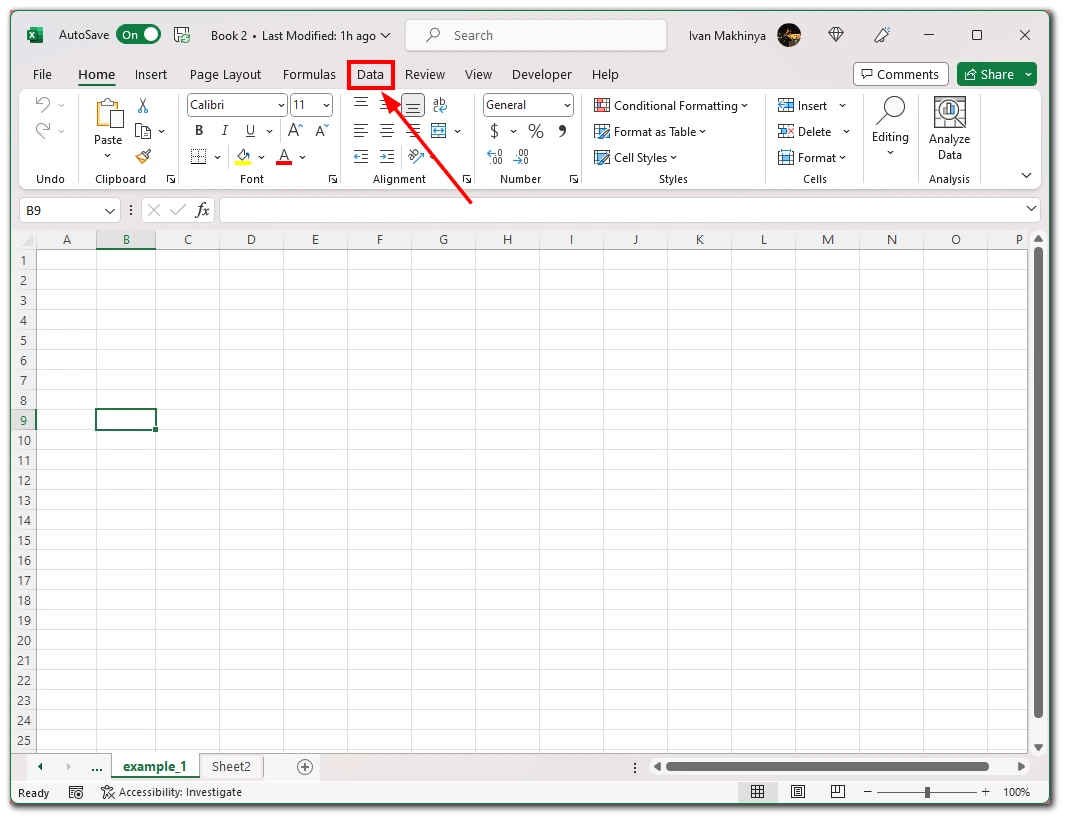
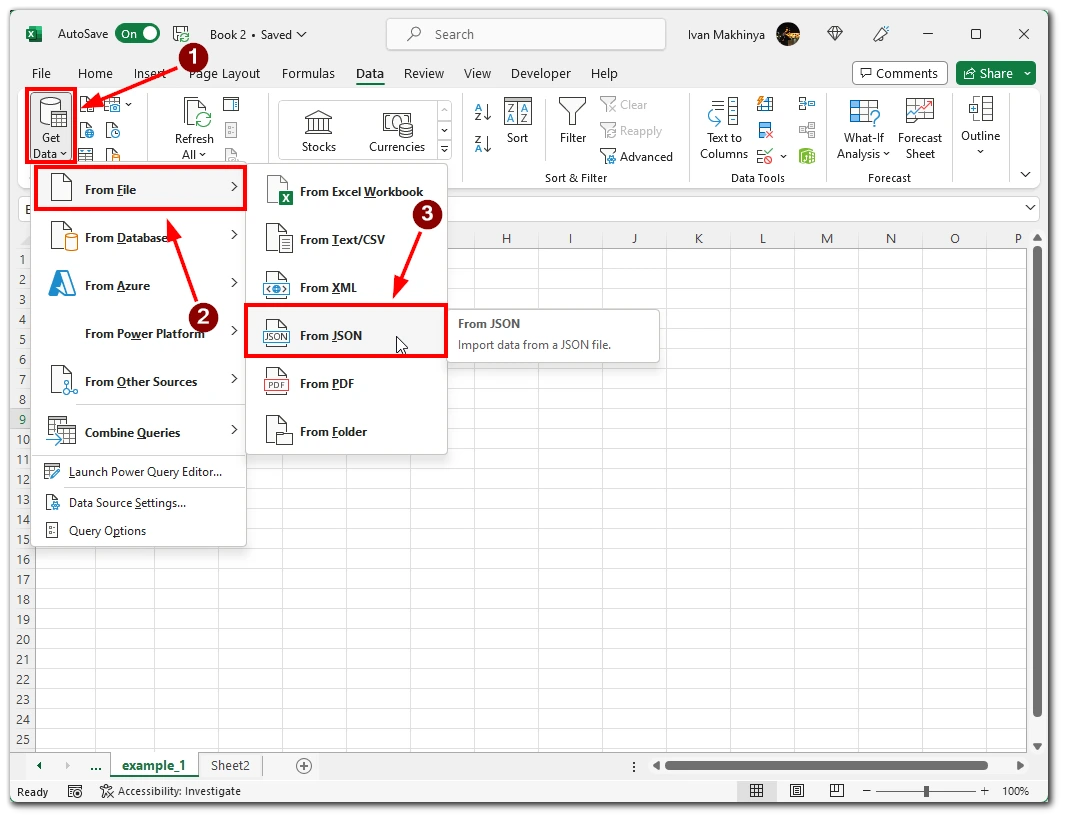
- In the “Get & Transform Data” section, click on “Get Data” and select “From File”.
- After that, click on the “From JSON” option.
- You will see the standard “Import” window on your computer. Here, open the folder where your JSON file is located. Double-click the file to attach it to Excel.
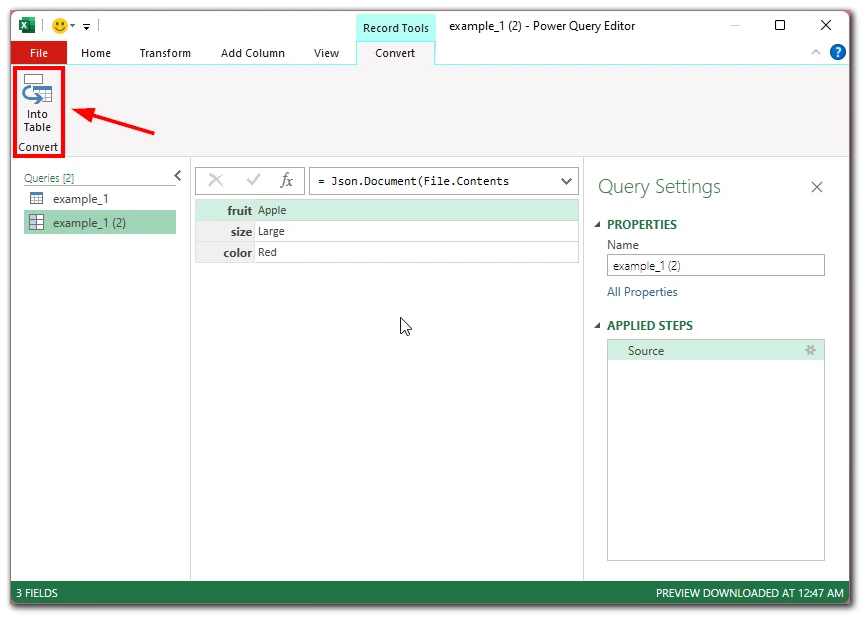
- Excel will open a “Power Query Editor” window. This is where you decide how the JSON data will be loaded into your spreadsheet.
- At the top of the window, click on the “Into Table” option. This will turn your data into a spreadsheet.
- Now, click “OK”.
- To select which columns to leave in the spreadsheet, click the double arrow icon next to “Column1”.
- Next, select the columns you want to save. Then uncheck the “Use original column name as prefix” option and click “OK”.
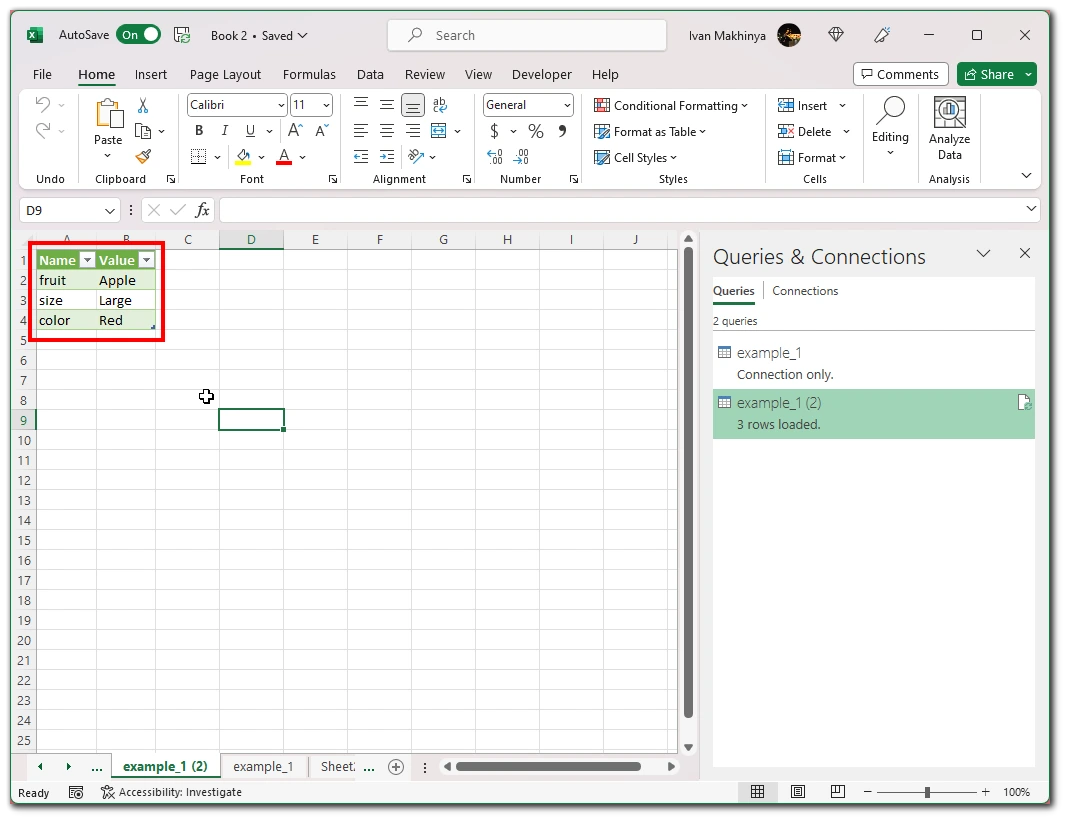
- Your JSON file data should now be displayed in Excel-style columns and rows.
- If you want to delete or change the position of columns, right-click the column and select the appropriate option.
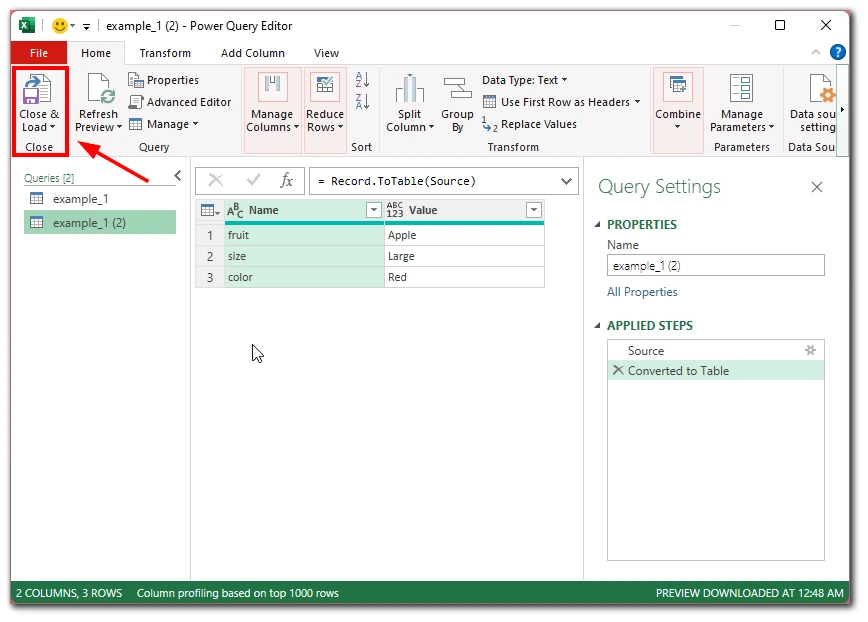
- You can add your JSON data to an Excel spreadsheet by clicking “Close and Load” in the upper left corner of the window.
- Your Excel spreadsheet now has data in JSON format. You can use this data however you want. For example, you can remove table formatting or even convert the table to a range.
- Finally, to save this JSON data in Excel format, click “File” in the upper left corner of Excel and click “Save”.
Once you have completed these steps, the Excel version of your JSON file with the .xlsx extension is now available in the specified folder.
How to create a JSON file
The JSON format is usually used to handle (store and use) proprietary information. This is usually a staffing schedule that neither the developer nor the audience of the web resource should see.
There are several ways to create a file with an appropriate extension. First, it can be done using the usual text editor, which is part of the Microsoft Windows operating system. To do this, open Notepad, insert the appropriate code and save the document in the usual and only available extension. After that, you need to change it to the desired variant.
The second way involves the use of third-party services. The most popular is JSON Editor Online. It’s much more convenient than Notepad. The interface of the service is presented as two working areas.
In the first zone, the work on the data formation directly takes place; in the second zone, the tools for this are placed. After the creation process, you must click on the button “Save” and choose how to save the result: to disk or online.
As already mentioned, using the online service is much more convenient than Notepad. This is because the service automatically detects syntax errors and highlights them so the user can notice the omissions and correct them immediately.


