

Does your Google Slides presentation look dull and boring? Are you looking for ways to spruce things up a bit? Adding animations and transitions to your presentation is one of the easiest things you can do to add appeal. Plus, animations also allow you to display multiple objects one by one on a slide, giving you the opportunity to focus on a particular topic before moving on to the next. You just can’t achieve this effect with a static slide.
Like Microsoft PowerPoint, Google Slides includes support for animations and transitions that will give those gray numbers and charts a much-needed facelift. If you don’t know how to add animations to Google Slides, you’ve come to the right place. Here’s how to add animation to Google Slides.
How do Google Slides animations and transitions work
Transitions occur as you move from one slide to another during a presentation. Google slides contain transitions that dissolve, disappear, slide, flip, turn on a cube, and bounce in the gallery.
Animations highlight text and images on a slide. Animations help deal with eye movement by indicating where your audience should look during the presentation. Google Slides contains animations that appear, disappear, fade, fly, zoom, and rotate.
The smaller the better when using transitions and animations in Google Slides. You want your audience to be captivated by your cool graphic movements, but you don’t want them to be distracted by a constantly moving presentation. Limit your use of transitions and animations to keep your audience focused on you and the topic of your presentation.
Here’re a few more recommendations:
- Don’t overdo it. Think about your audience, the purpose of your presentation, and the image you want to demonstrate. Then choose your transitions and animations wisely.
- Automate the animation as much as possible. Set up the animation so that it automatically starts with or after the previous animation. If you’re focused on starting the next animation, you’re not focused on your audience.
- Avoid rotating and bouncing slides. Choose subtle animations and transitions that fade and dissolve. Complex movements can be distracting.
- Use animations to focus your audience. Create animations to help your audience focus on the content of your presentation. Use animations to highlight important points, ideas, and concepts.
How to add animations to Google Slides
Adding animations to objects in Google Slides is a fairly simple process. Just follow these steps to add animations to any object:
- First of all, you should open the presentation to which you want to add the animation.
- Then, select the slide with the objects you want to animate.
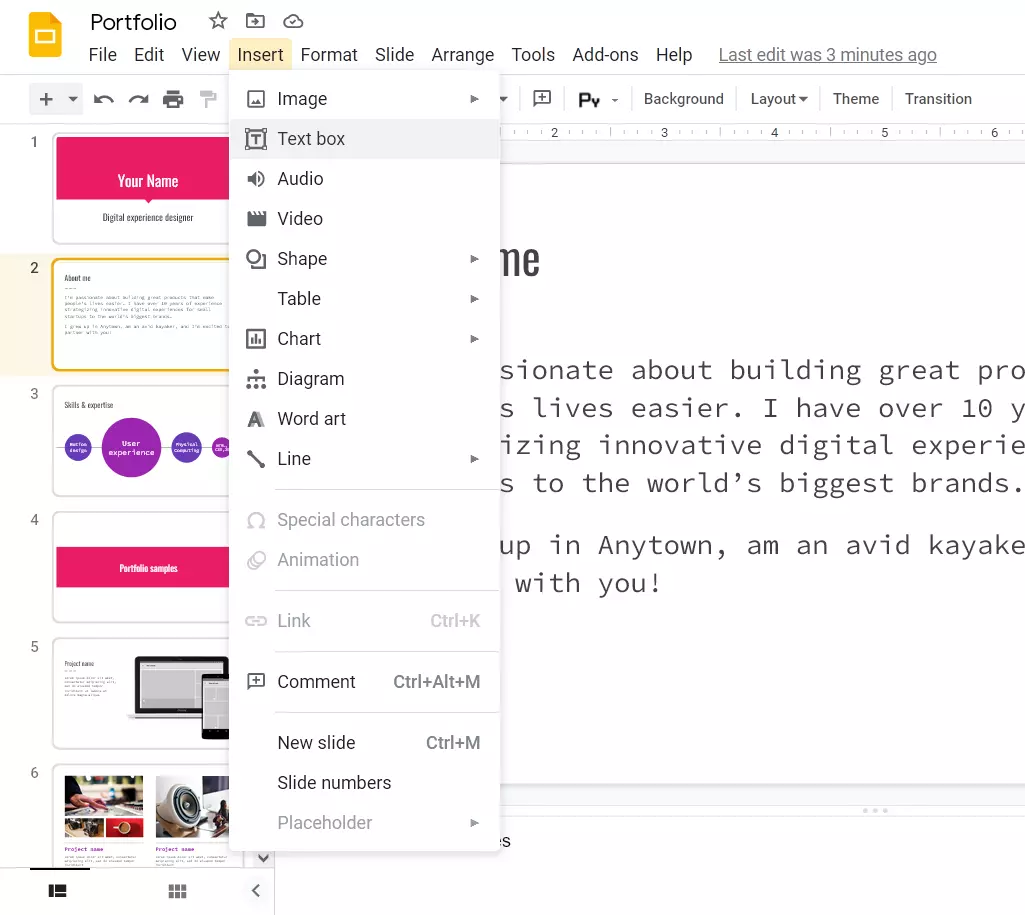
- Click “Insert” on the top toolbar to open the drop-down menu.
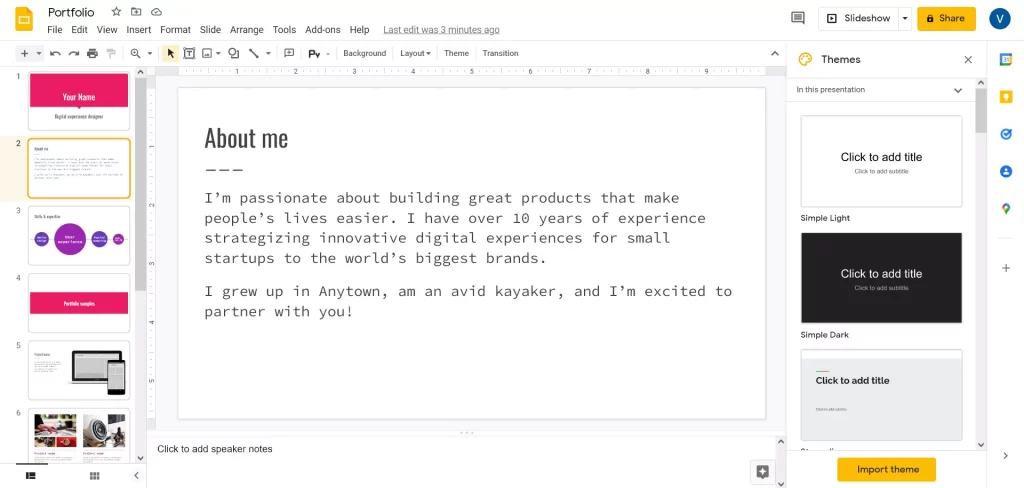
- After that, you should select the “Animation” option from the drop-down menu. The “Transitions” panel will appear on the right side of your presentation. Using this panel, you can add animations to specific objects and add transitions between slides.
- Then, you should select the object you want to animate by left-clicking on it. You will know that the object is selected when it has a blue frame around it.
- After that, click on “+ Select object for animation” in the “Transitions” panel to do whatever you need to do.
- The object should now be added to the panel and you can select the animation by clicking the first drop-down menu directly below it.
- You can choose how to start the animation in the following drop-down menu. Allows you to play the animation on click, immediately after the previous animation, or next to the previous animation.
- The slider just below the previous menu allows you to adjust the speed of the animation. You can move it to the left to slow down the animation, or to the right to speed it up.
Once all this is done, you can click the “Play” button to see what the animation looks like. If you don’t like something, you can easily go back to the “Transitions” panel and make the necessary changes.
How to add a header or footer to Google Slides by inserting a text box
One way to add a header or footer to Google Slides is to insert a text box. The text box can then be moved to the top or bottom of the slide and formatted to your liking. So, if you want to do so, you have to follow these steps:
- First of all, open the Google Slides web page and create a presentation.
- After that, select the slide where you want to add a header or footer.
- Next, click on the “Text Box” button in the toolbar or click “Insert” and select “Text Box”.
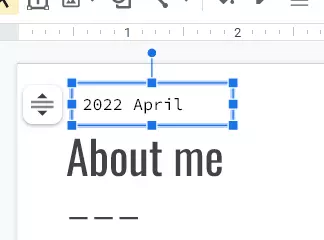
- Then, drag to draw the desired text box size, or just click to place the box, and then type the text.
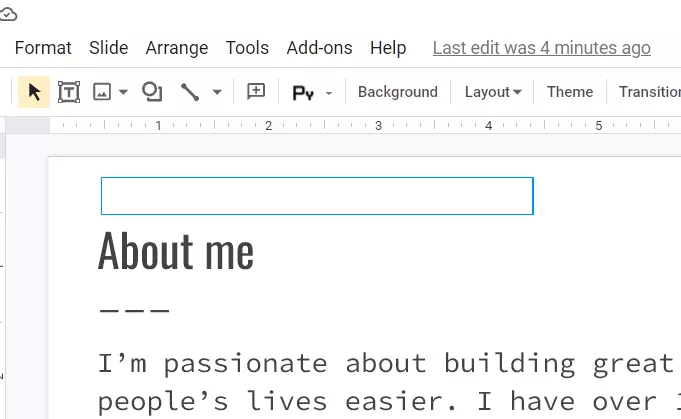
- Finally, move the text box by dragging it to the top of the slide as a header or footer.
Once you have completed these steps, you will be able to add a header or footer to your Google Slides presentation by inserting a text box.
You can copy the text box and paste it to other slides. However, if you want each slide to have the same header or footer, you can edit the master slide.
So, as you can see, there’s nothing difficult in managing your actions in Google Slides. The interface is such easy, that all the processes are quite straightforward and all your action won’t take a lot of efforts.


