

Suppose you’re on a metered internet connection and want to avoid downloading large updates or using a custom build of Windows that you don’t want to be updated. In that case, you can easily turn off automatic updates. But it can’t be done forever.
Microsoft allows you only to pause this process, not turn it off completely. The maximum period is 5 weeks (or 35 days) for both Windows 10 and 11. For this, you need to navigate to the Windows Update tab in Settings and select Pause Updates.
Let’s look at how it works in more detail on Windows 10 and 11 below.
How to pause automatic updates on Windows
Note: Before we begin, you should know that disabling automatic updates may leave your system vulnerable to security risks and prevent you from receiving important patches. So only consider doing it if you have a valid reason and are willing to manage updates to maintain system security manually.
Windows 10
If you’re using Windows 10, follow these steps:
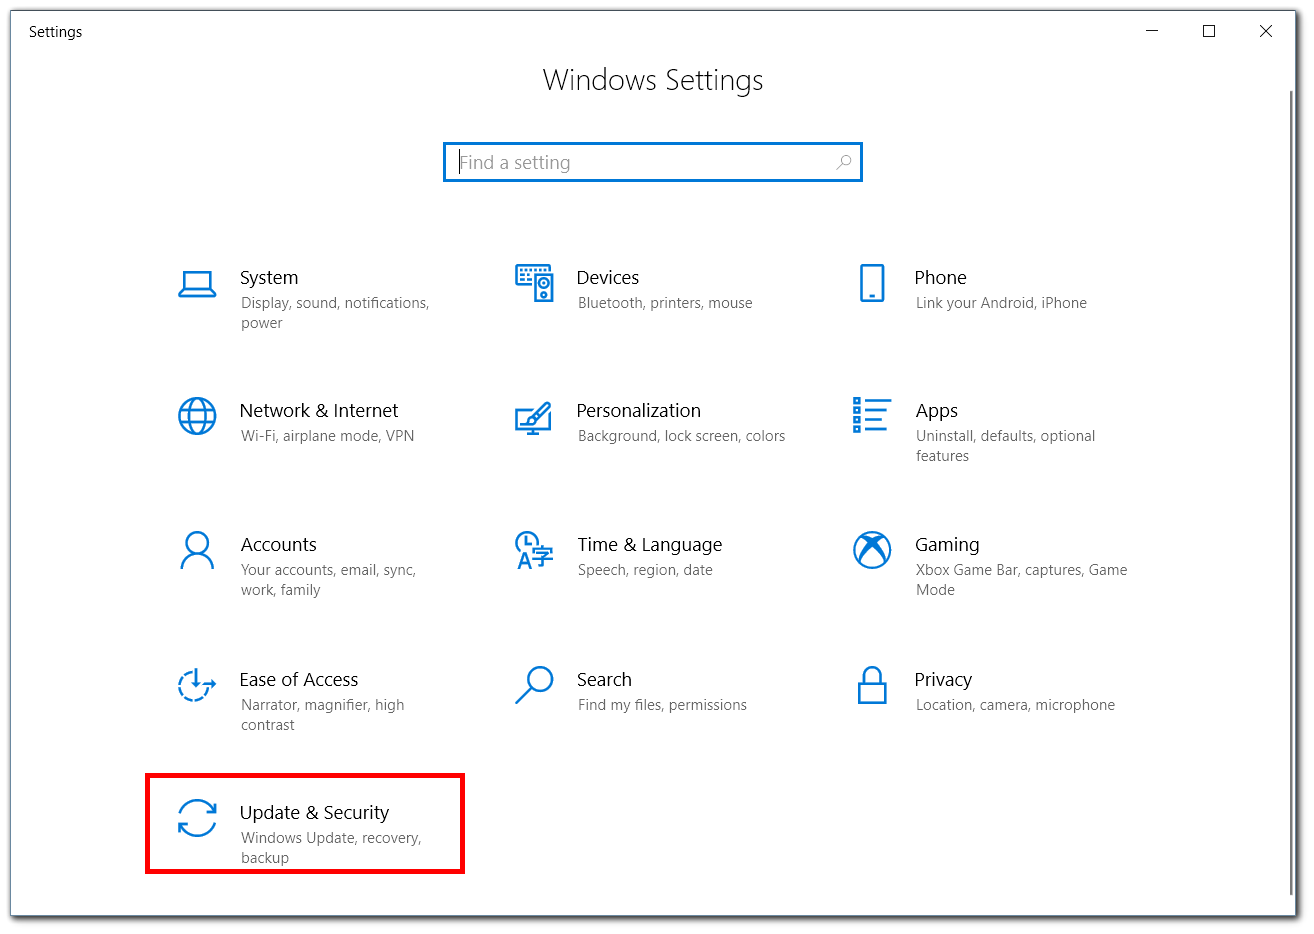
- Open Settings from the Start menu.
- Go to the Update & Security section.
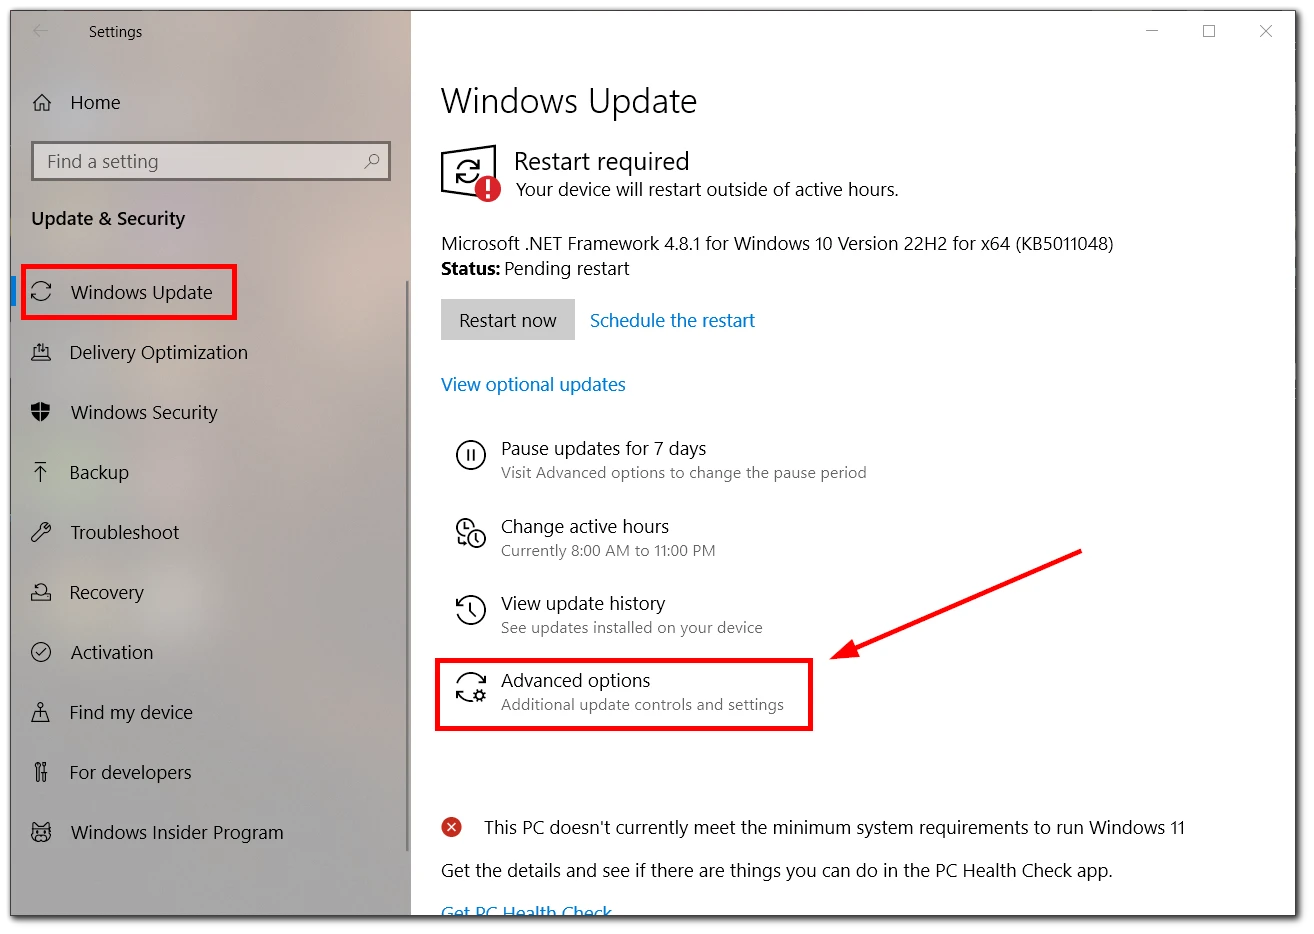
- After that, in the Windows Update tab, select Advanced options.
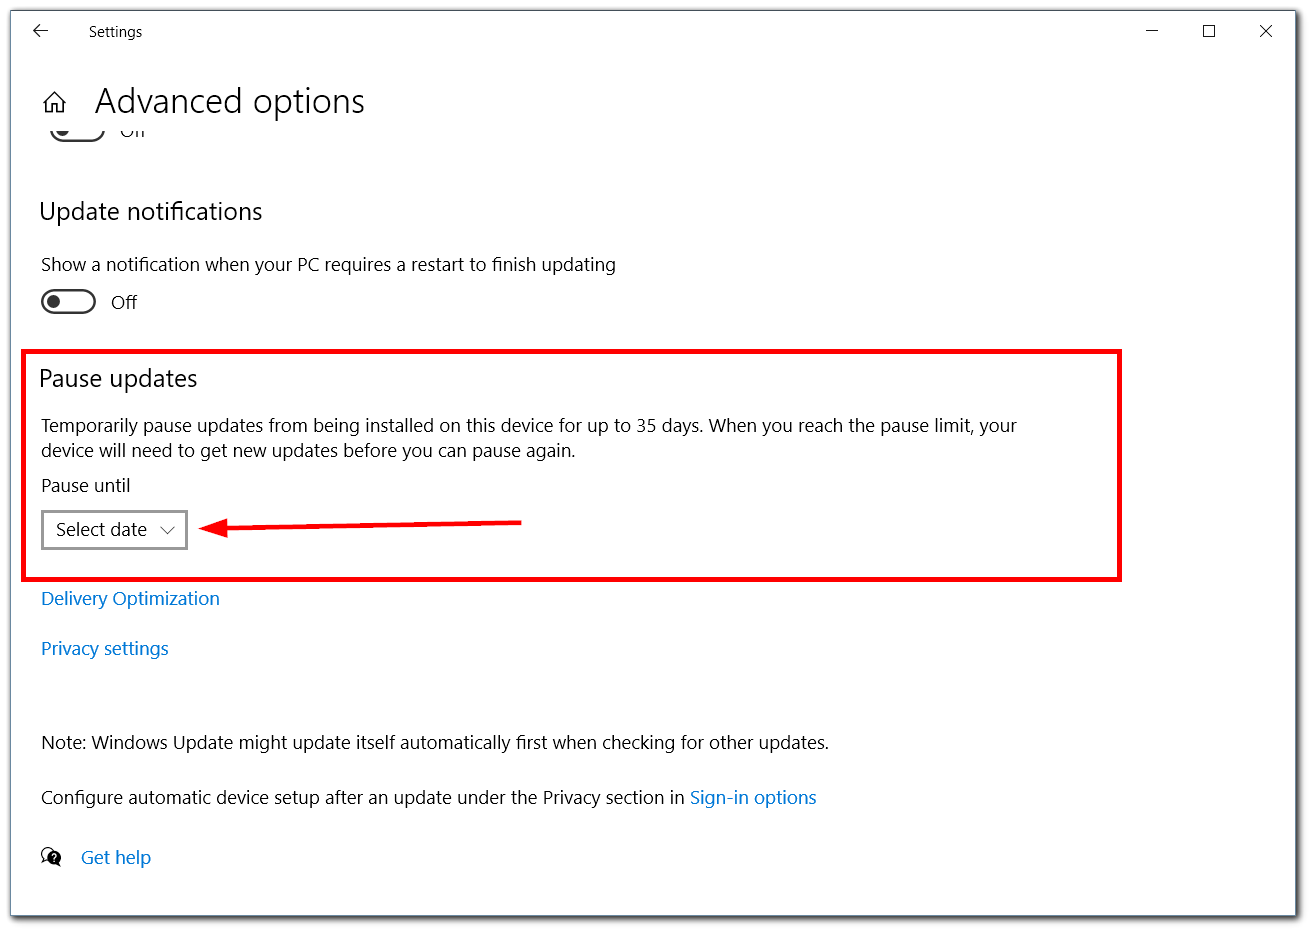
- Finally, under Pause updates, use the drop-down menu and choose how long you want to pause updates.
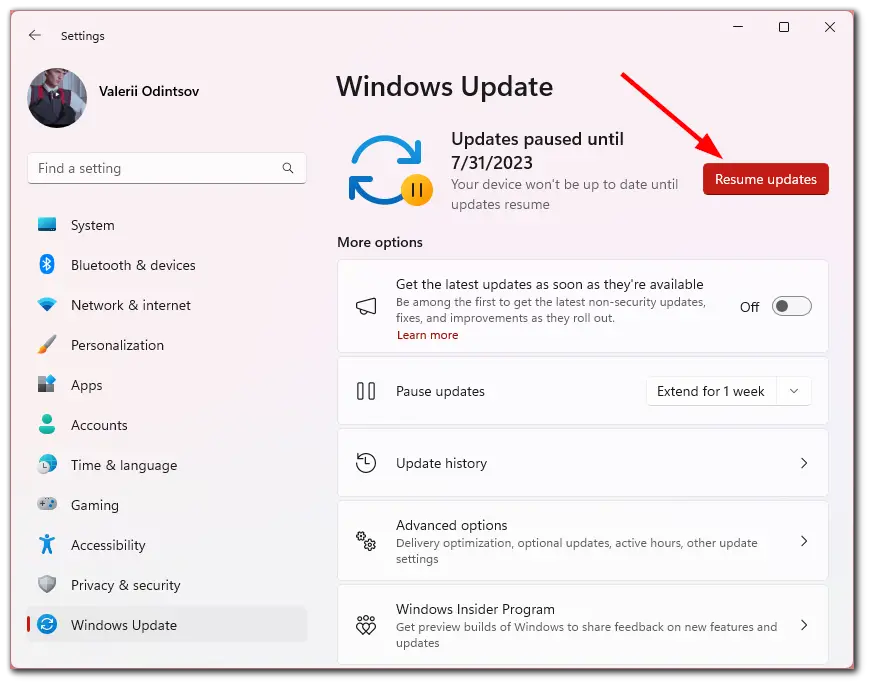
- If you want to turn automatic updates back on, go to Windows Update and click Resume updates.

Windows 11
If you’re using Windows 11, do the following:
- Open Settings from the Start menu.
- Go to the Windows Update tab.
- After that, next to the Pause updates option, click on the arrow icon to open the drop-down list and choose how long you want to pause automatic updates.

- To turn automatic updates back on, go to Windows Update and click Resume updates.
After you complete these steps, updates will no longer be downloaded until the day you specify. When the pause time expires, you will need to install the last available patch to make the option available again.
How to turn off automatic updates on Windows via Services
An alternative way to turn off automatic Windows updates is to disable the associated service. Here’s how:
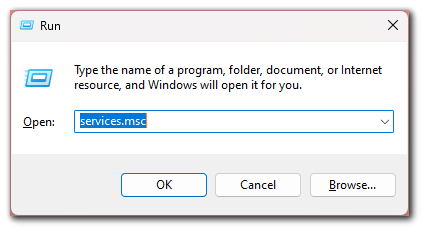
- Press Win + R to open the Run dialog.
- Type “services.msc” and press Enter.
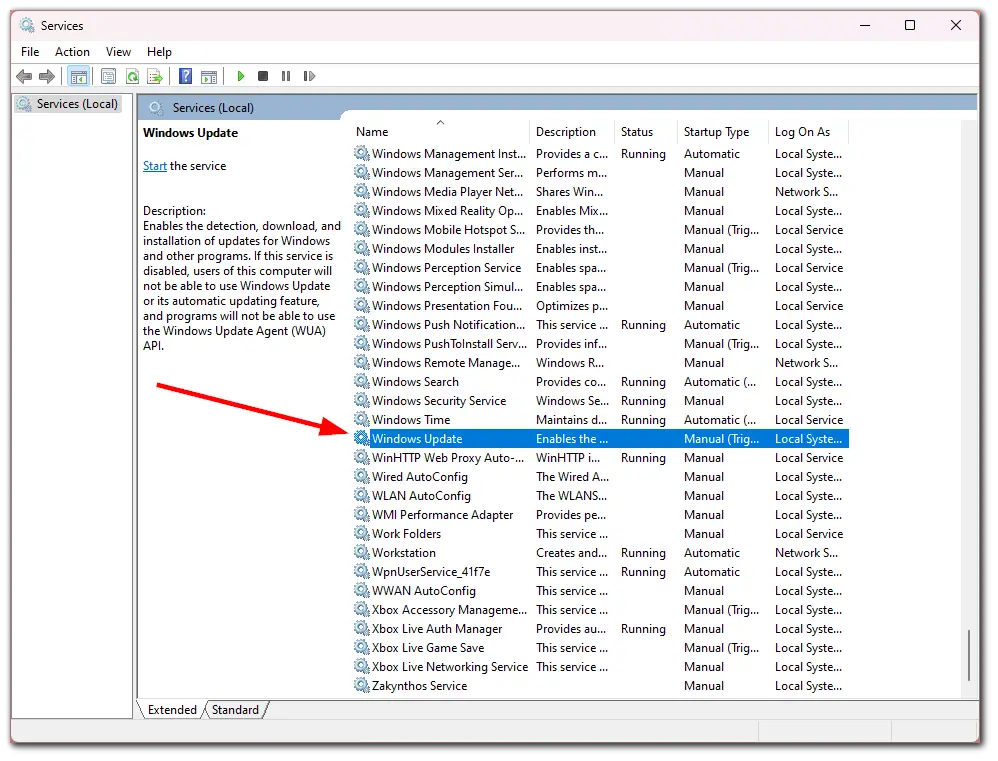
- Next, scroll down to the Windows Update service.
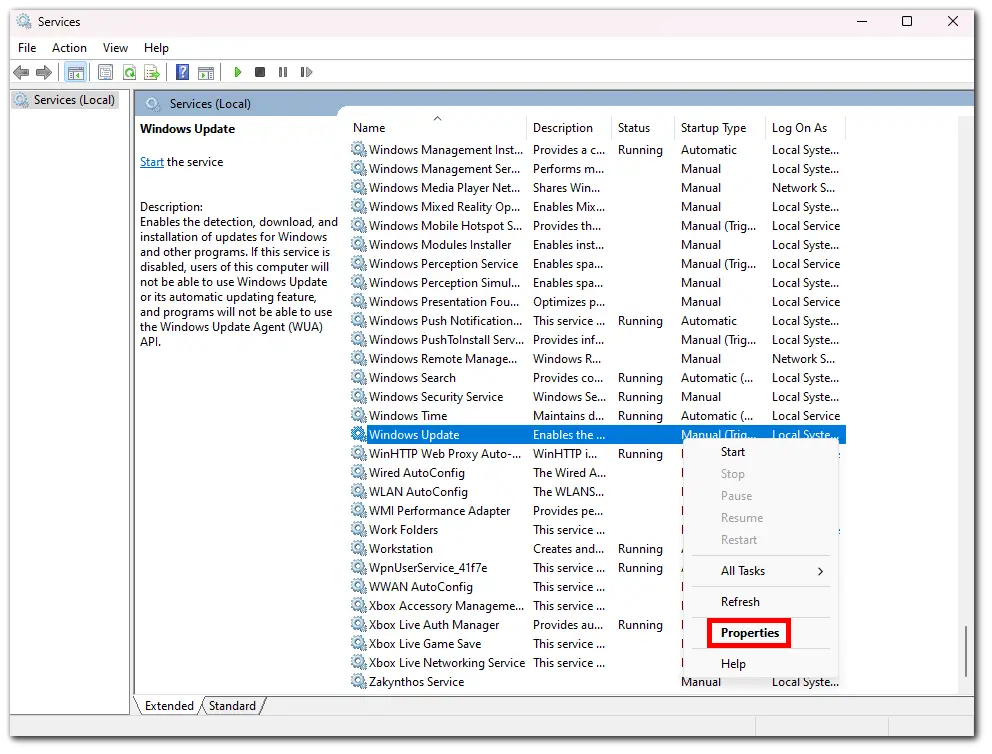
- Right-click on the service and select Properties.
- In the Startup type drop-down list, select Disabled.

- Finally, click Apply to confirm and then OK.
Once you have completed these steps, the system will stop automatically downloading updates. However, you can manually update your Windows 10 using the settings menu.
How to turn off automatic updates using Group Policy Editor
If you’re using Windows 10 Pro, you can use the Local Group Policy Editor to prevent updates from automatically downloading and installing. So here’s how:
- Press Win + R to open the Run dialog.
- Type “gpedit.msc” and press Enter.
- Then click on the top result to launch the Local Group Policy Editor.
- After that, navigate to the “Computer Configuration – Administrative Templates – Windows Components – Windows Update” path.
- Next, double-click on the Configure Automatic Updates policy on the right screen.
- Now, select the Disabled option to turn off automatic updates permanently on Windows 10.
- Click on the Apply button and select OK.
- Restart your computer.
Once you have completed these steps, the system will stop automatically downloading updates. However, you can still manually update your Windows 10 using the settings menu.
Security risks of disabling Windows automatic updates
Turning off automatic updates can make your computer more vulnerable to security threats like viruses, malware, and ransomware.
This is because security updates are often released to patch vulnerabilities in Windows. If you turn off automatic updates, you may not receive these security updates, which could expose your computer to attack.
Is there third-party software to stop automatic updates on Windows?
Yes, several third-party software programs can be used to stop automatic updates on Windows. Some of these programs include:
It is important to note that using third-party software to turn off automatic updates can make your computer more vulnerable to security threats. As such, it is essential only to use these programs if you have a specific reason.
In addition, it is important to remember that Microsoft may release security updates that are incompatible with third-party software that blocks automatic updates. As such, it is important to check for and install security updates regularly manually, even if you use a third-party program to block automatic updates.
Ultimately, the decision of whether or not to use third-party software to turn off automatic updates is a personal one. However, it is important to carefully weigh the risks and benefits before deciding.


