

Google Chrome is a popular web browser known for its speed, versatility, and extensive range of extensions. While extensions enhance the browsing experience, there may be instances when you need to start Chrome without them, either to troubleshoot issues or improve performance. However, there is no built-in function to open Chrome without extensions. For this reason, you will have to use some tricks to use Chrome without extensions.
How to start Google Chrome without extensions using the run window
Starting Google Chrome without extensions using the Run window is a straightforward method that allows you to launch the browser without any installed extensions. Follow the step-by-step instructions below to start Google Chrome without extensions using the Run window on Windows:
- Before proceeding, close any existing Chrome windows or tabs to ensure a clean start without extensions.
- To open the Run window, press the
Windows key + R. Alternatively, you can use the Start menu search, type “Run” in the search bar, and click on the “Run” app in the search results. - In the Run dialog box, you need to enter a command instructing Google Chrome to start without any extensions enabled. Type the following command in the text field:
"C:\Program Files\Google\Chrome\Application\chrome.exe" --disable-extensions
Include a space between “chrome.exe” and “–disable-extensions.” Also if you have 64x Windows, then replace “Program Files” with “Program Files (x86)”.
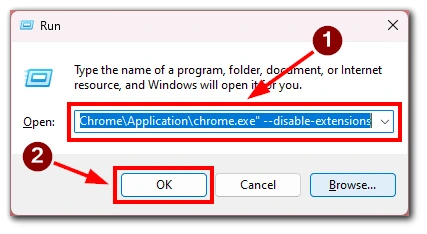
- After entering the command, click the “OK” button or press Enter. Google Chrome will now launch without any installed extensions enabled.
If you have a different installation path for Chrome or if you’re using a different version of Windows, the command may vary slightly. However, the command “chrome.exe –disable-extensions” should work in most cases.
By following these steps, you can easily start Google Chrome without extensions using the Run window on Windows. This method provides a quick and convenient way to launch Chrome cleanly, allowing you to troubleshoot extension-related issues or experience a simplified browsing environment.
How to always start Google Chrome without extensions
If you always prefer to start Google Chrome without extensions, you can use modifying Chrome’s properties or create a separate shortcut. You can ensure that the browser launches without any extensions every time. Here are the detailed steps for this:
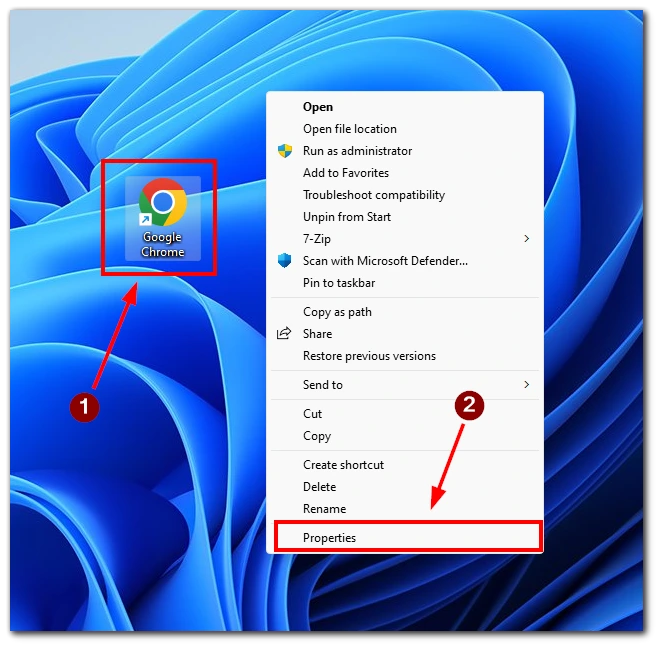
- Find the shortcut you use to launch Google Chrome. It may be on your desktop, taskbar, or Start menu.
- Right-click the Chrome shortcut and select “Properties” from the context menu. A properties window will appear.
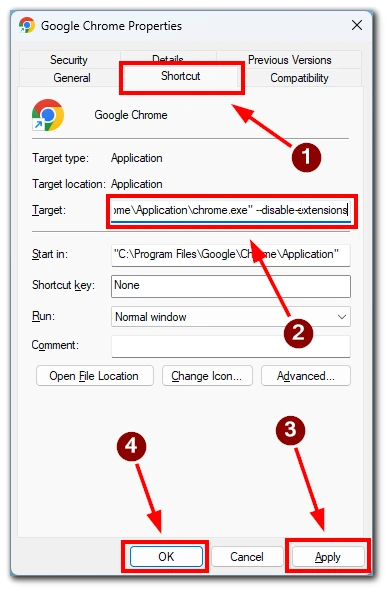
- In the properties window, go to the “Shortcut” tab.
- After that, locate the “Target” field. It should display the path to the Chrome executable file (chrome.exe) enclosed in quotation marks.
- At the end of the text in the “Target” field, outside the closing quotation marks, add a space followed by the flag:
--disable-extensions- For example, the modified target should look like this: “
C:\Program Files\Google\Chrome\Application\chrome.exe" --disable-extensions
- For example, the modified target should look like this: “
- Click on the “Apply” button and then “OK” to save the changes.
Now, whenever you use this modified shortcut to launch Google Chrome, it will start without any extensions enabled. Also, if you don’t want to modify your main shortcut, you can create and modify a copy. That way, you will have one shortcut that runs Chrome with extensions and one that runs Chrome without extensions.
How to turn off or remove Google Chrome extensions
Google Chrome provides easy ways to turn off or remove extensions based on your preference. Whether you want to temporarily disable or completely remove an extension from your browser, follow the detailed instructions below to manage your Chrome extensions effectively.
- Launch Google Chrome and click on the three-dot menu icon in the top-right corner of the browser window.
- From the dropdown menu, hover over “More tools” and select “Extensions.”
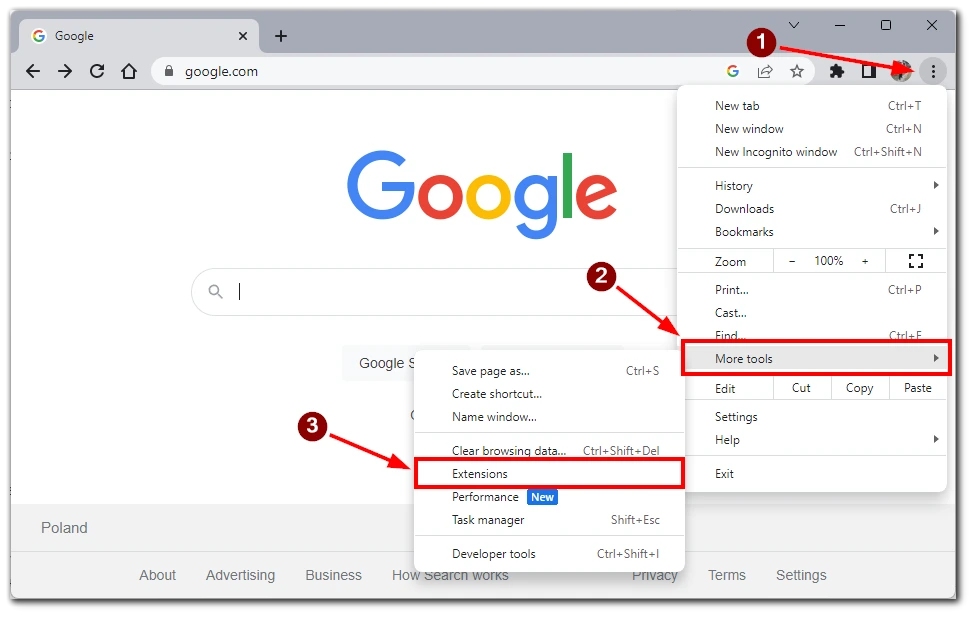
- In the Extensions settings page, you will see a list of all installed extensions. Locate the extension you wish to turn off.
- To turn off the extension, toggle off the switch or uncheck the box next to the extension’s name. This action will disable the extension, preventing it from running and affecting your browsing experience.

Once you have disabled the extension, close the Extensions settings page. The changes will take effect immediately, and the extension will remain disabled until you choose to enable it again.
If you need to remove the extension permanently, click the “Remove” button. This will remove the extension on your Chrome. To reactivate it, you must download and install the extension again.
How to restore Google Chrome to default settings
If you have accumulated too many extensions and removing them one by one is not an option, you can reset your browser to default settings and remove all extensions simultaneously. This process will reset various browser settings, including startup pages, search engines, extensions, etc. Follow the detailed instructions below to restore Google Chrome to default settings.
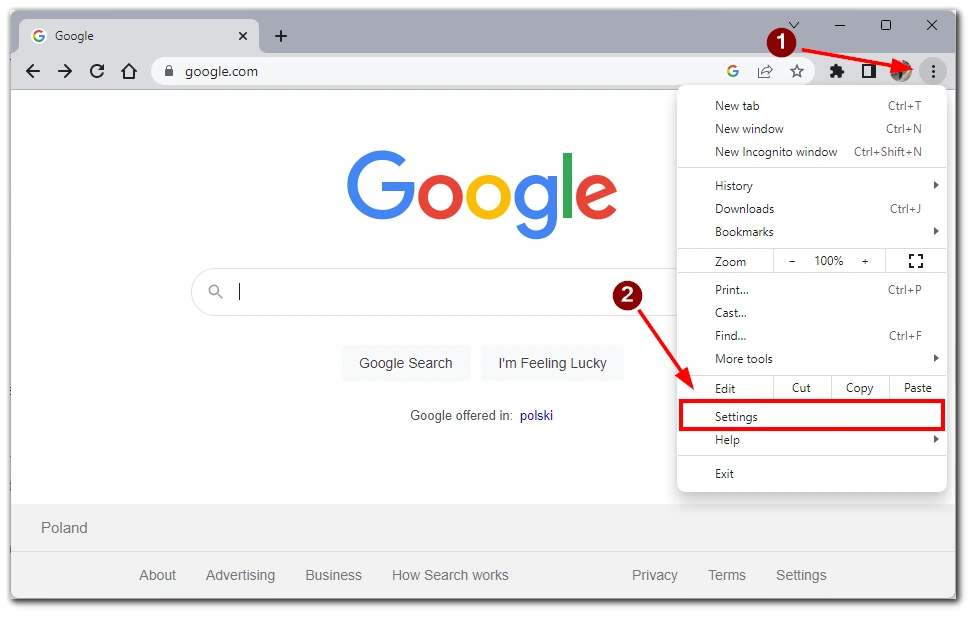
- Launch Google Chrome and click on the three-dot menu icon in the top-right corner of the browser window.
- From the dropdown menu, hover over “Settings” and click on it.
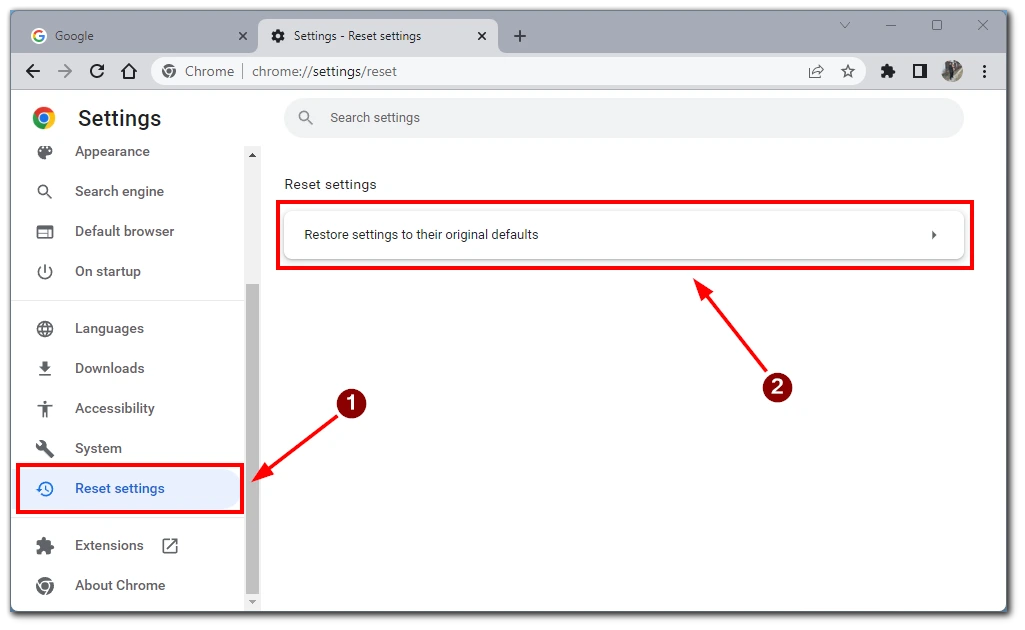
- Scroll down and find the “Reset settings” section on the left side of the window. This section contains the options to reset Chrome to default settings.
- In the “Reset settings” section, click the “Restore settings to their original defaults” option. A confirmation dialog box will appear.
Read the information in the confirmation dialog box carefully, as it explains what will happen when you reset Chrome. If you want to proceed, click the “Reset settings” button.
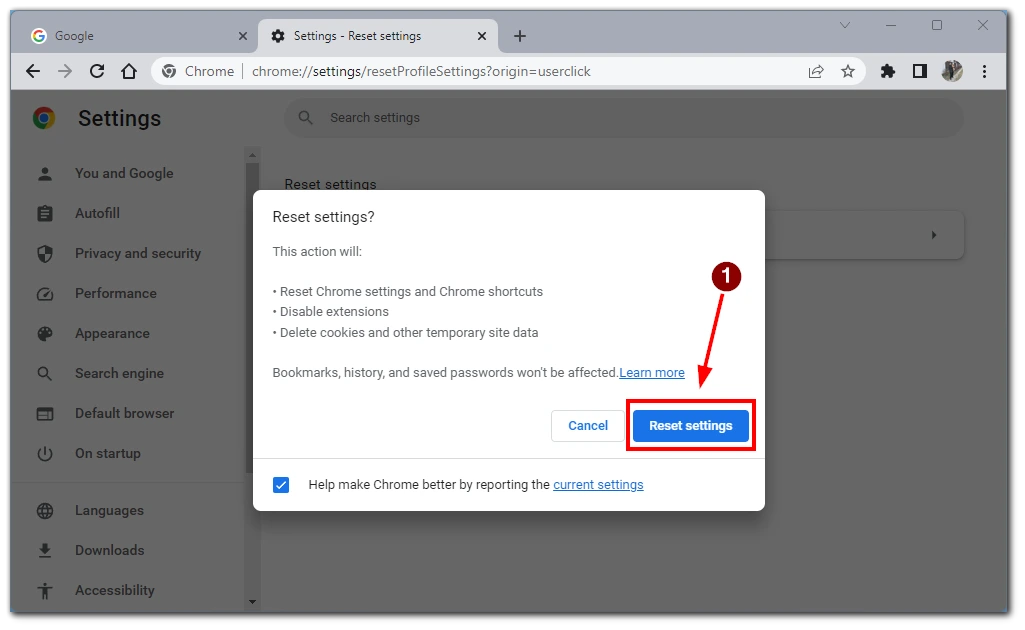
Chrome will now start the process of resetting to default settings. This may take a few moments. During this process, Chrome will close and reopen automatically.
Note: Resetting Chrome to default settings will remove your browsing history, cookies, and other saved data. However, it won’t delete your bookmarks. If you want to preserve your bookmarks, export them beforehand.
Following these steps, you can easily restore Google Chrome to default settings. This process can help resolve various issues or provide a clean slate for a fresh browsing experience.


