

If you often work with several programs on your computer, switching between them can be time-consuming, tiring, and simply inconvenient. Although the Alt + Tab combination greatly simplifies this action, Windows 11 allows you to make it even easier.
Windows 11 has several multitasking features that allow you to split the screen. Usually, they are all enabled by default and work almost identically. You can use them to easily divide your screen into 2, 3, and 4 parts. Moreover, you can even divide your screen into three equal columns. And one of the features even allows you to create a new desktop.
So here’s how it works. Let’s first ensure that the multitasking feature is enabled on your Windows 11 PC.
How to enable the multitasking feature on Windows 11
This feature is called Snap windows. Follows these steps to ensure it’s enabled on your Windows 11 PC:
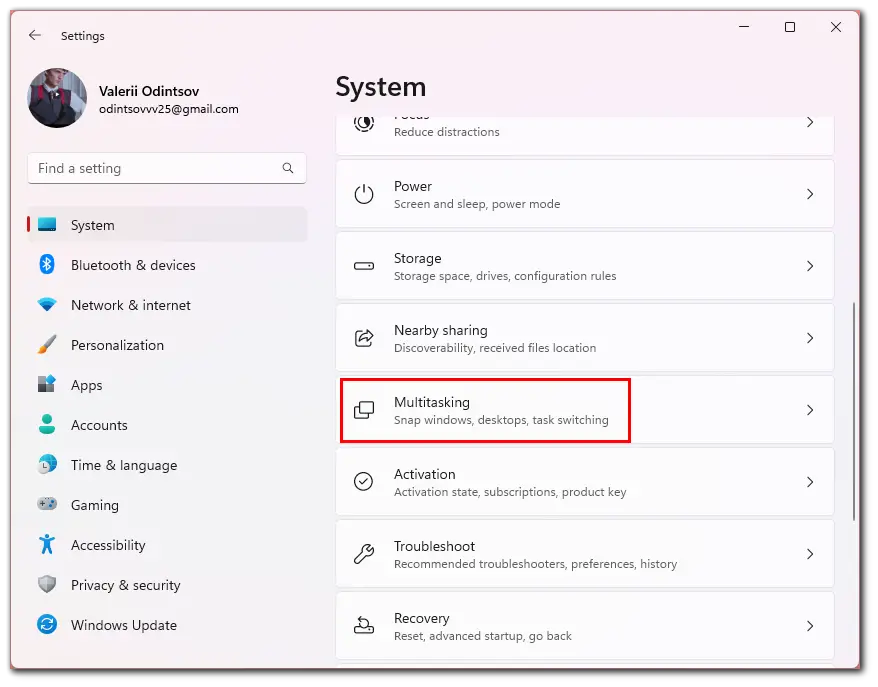
- Press Win + I to open Settings and go to System.
- After that, scroll down and select Multitasking.
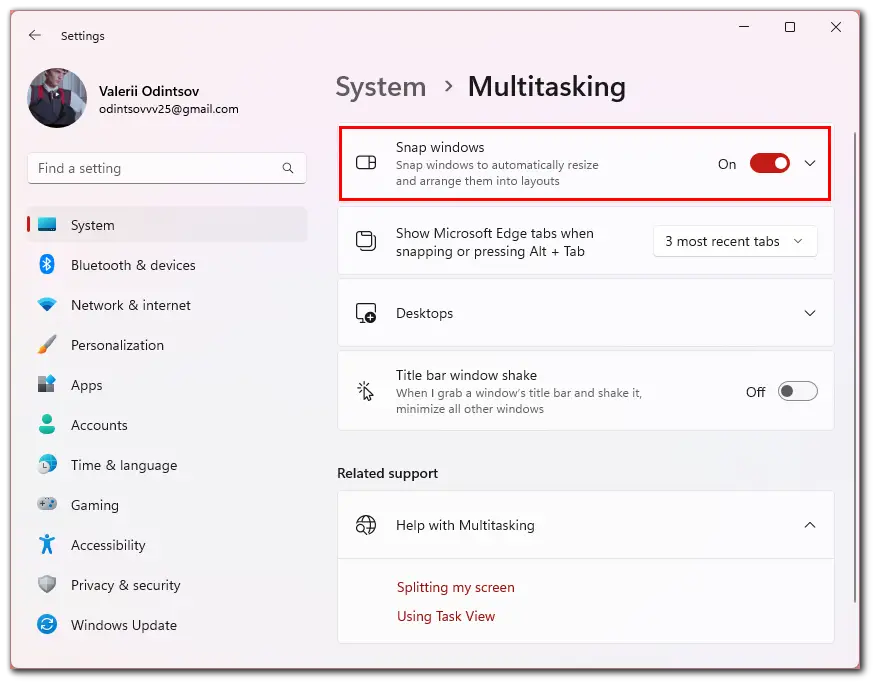
- Now, ensure Snap windows is enabled.
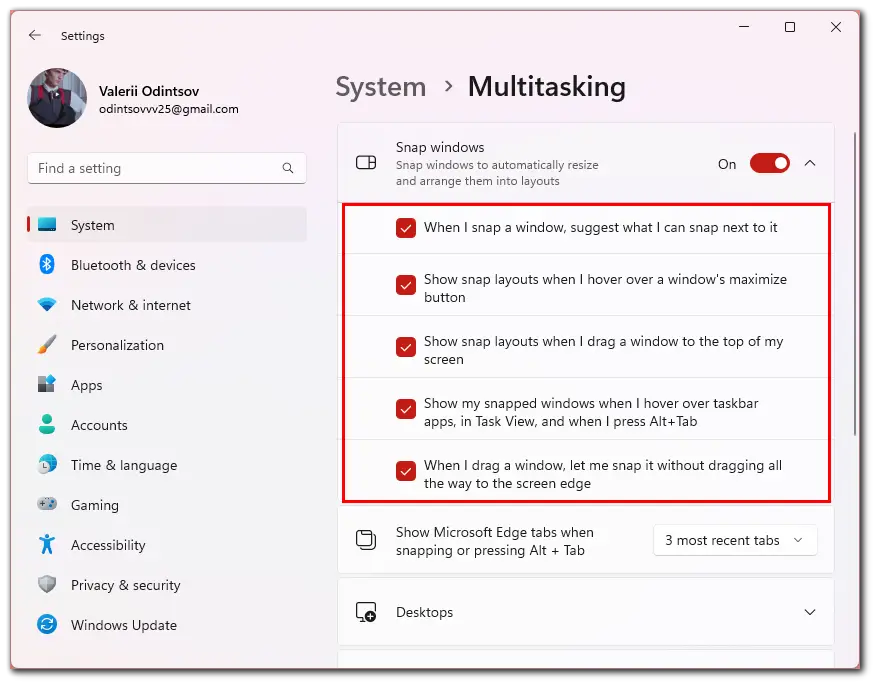
- Also, after you click on this feature, ensure all the checkboxes are checked.
Once you have completed these steps, you can use the Snap windows feature.
How to use Snap windows to split screen
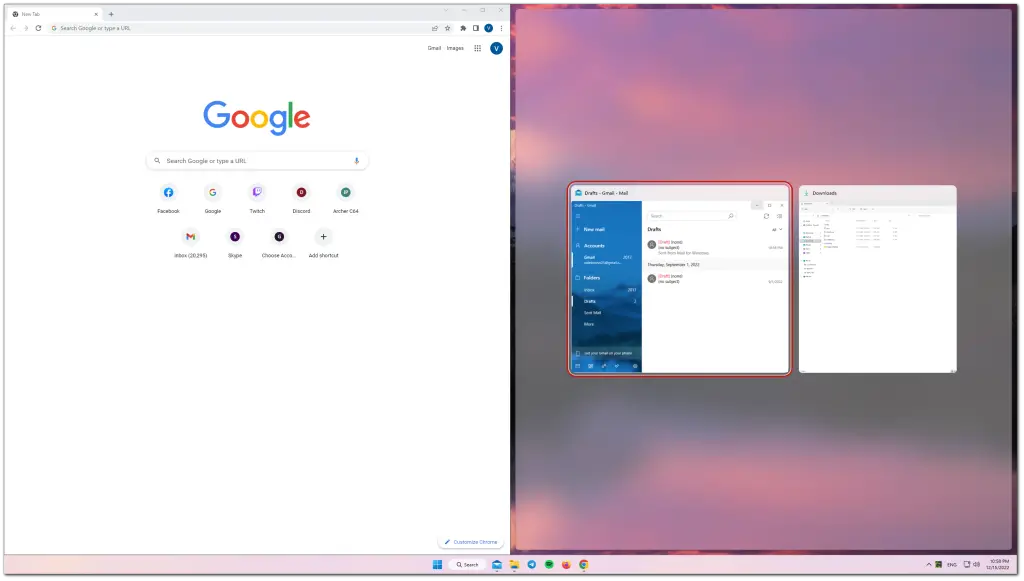
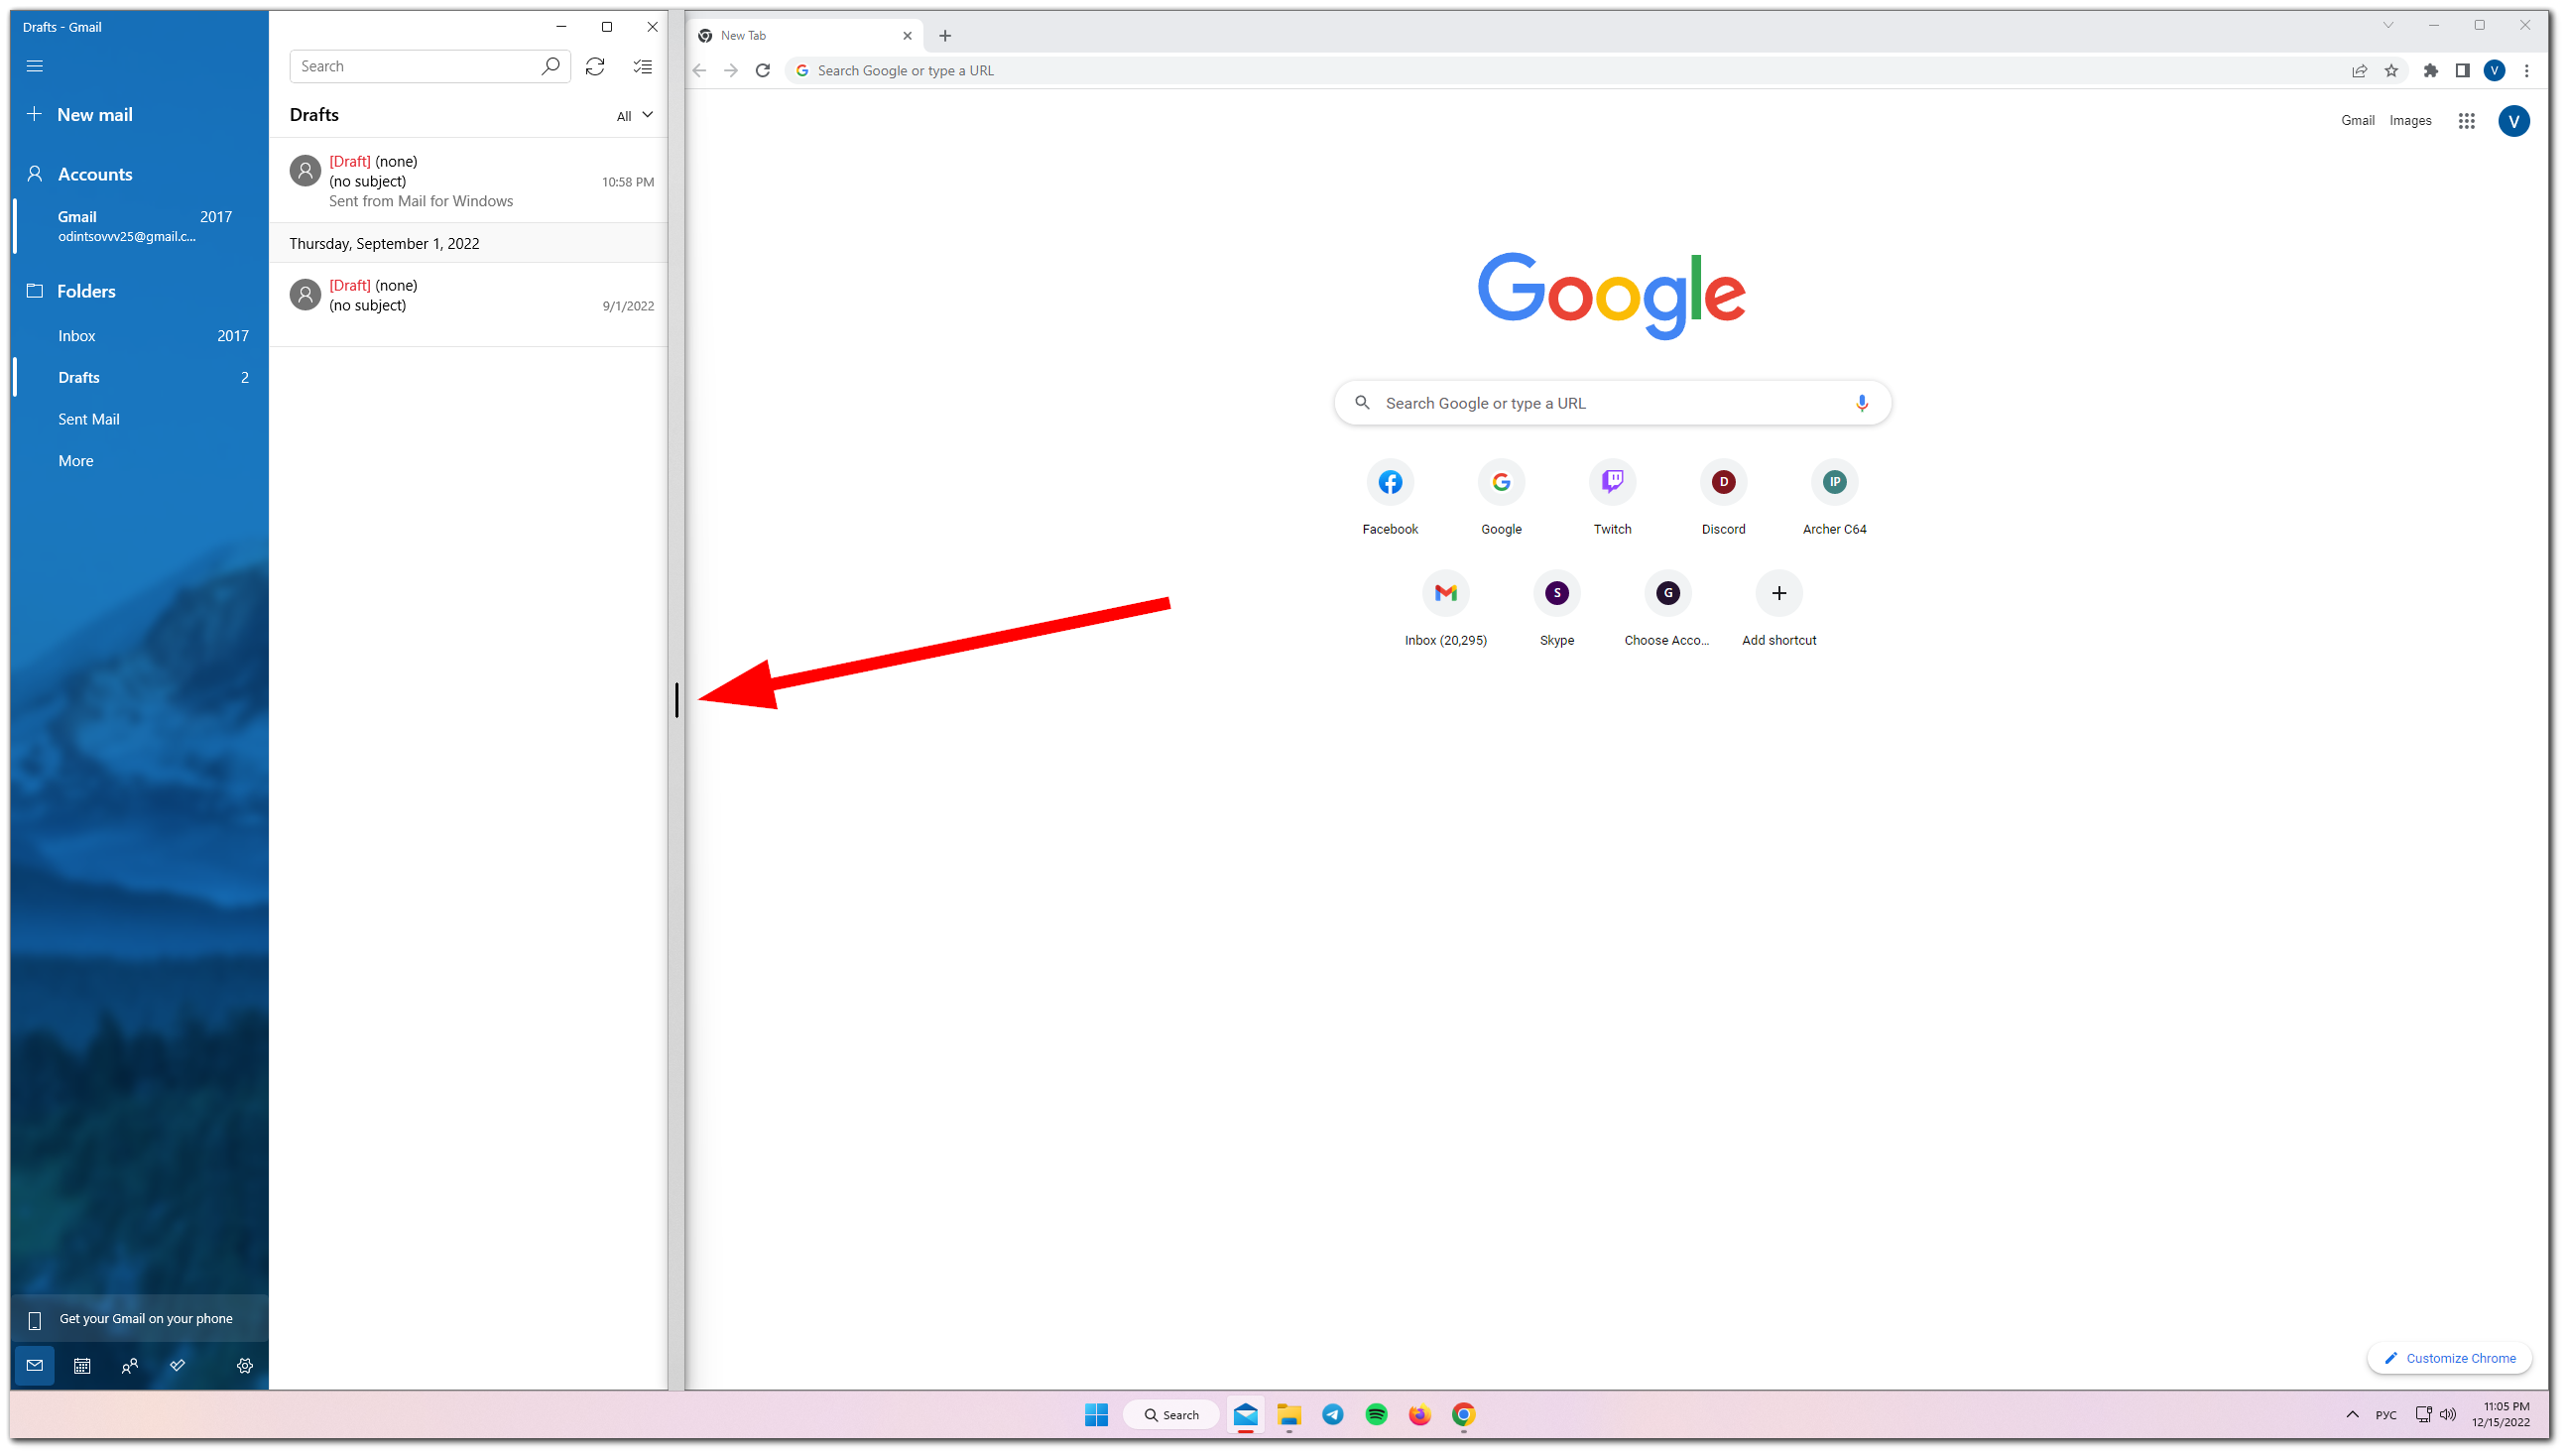
The most common and obvious method for splitting your screen is the Win + Right or Left Arrow keys combination. In this case, your screen is divided into two parts. The window you have open moves to the right or left, and on the other half, you will see a menu of available windows where you can choose which one you want to open as a second.
When both windows are open, you can resize them by hovering your cursor between them. A vertical bar appears that you can drag to resize your workspace. So here’s what it looks like.
In addition, you can also choose the window layout you want right away. With the Win + Z combination, you will see 6 options for different numbers of windows. Here’s what it looks like.
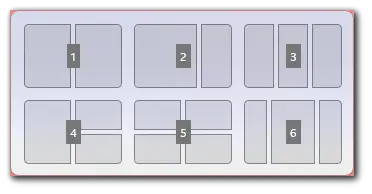
Just click on the desired option to open the desired number of frames. Here’s what version 6 looks like: a window in the middle and columns on the sides.

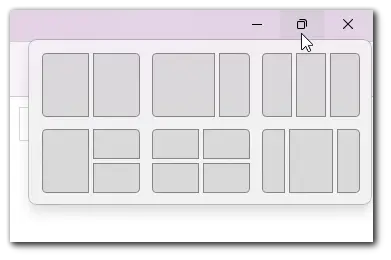
You can also hover over the window expansion icon to pop up a menu of split options.
As you can see, there’s really nothing complicated about splitting the screen on Windows 11. Microsoft has tried adding several screen-splitting methods to maximize user flexibility. However, there is something else you should know about.
How to use virtual desktops on Windows 11
This method can hardly be called screen sharing. It is more of a division of the workspace. The trick is to create a new separate desktop where you can open the same programs, files, etc. This is what surprised me about Windows 11.
So if you want to create virtual desktops, you can follow these steps:
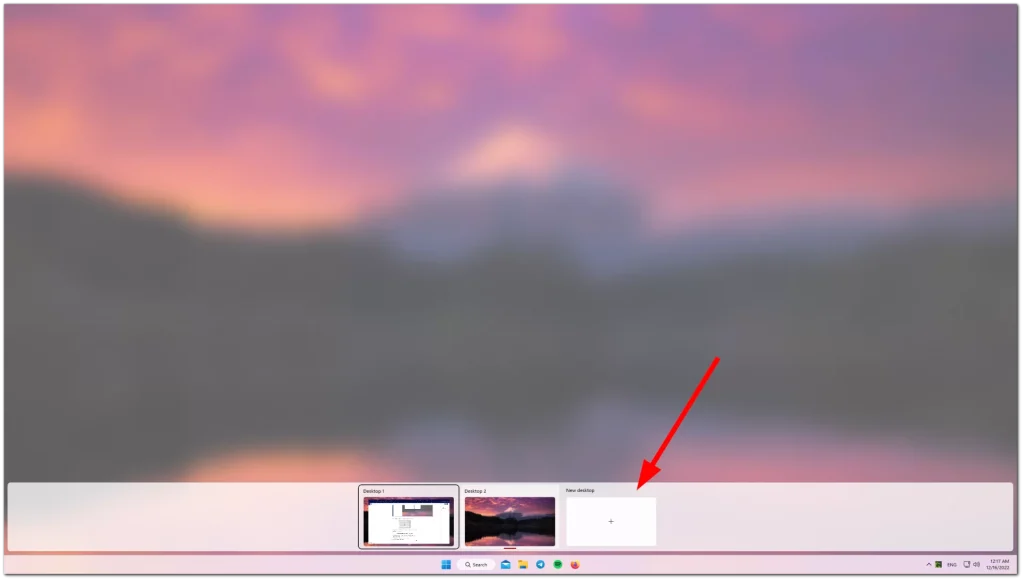
- Press Win + Tab to the Virtual Desktops menu.
- Then click on + to create a new desktop.
What’s also great is that you can change the background and the name of the desktop. For example, you can use one for work and the other for entertainment (naming them accordingly). In this way, you will separate the two activities.
Of course, nothing can replace the use of multiple monitors at the same time. However, the Split Screen feature still makes working in Windows 11 more straightforward and versatile.


