

Sometimes you may need to know how long your Windows PC has been running since it was turned on. In other words, system uptime will tell you how much time has passed since your PC last restarted or rebooted.
With this data, you will be able to analyze the performance of your system. For example, you can track when an error occurred, whether it appeared immediately after you turned on your PC or later.
There are several ways you can check the system runtime. This can be done using Task Manager, PowerShell, and Control Panel.
So let’s take a closer look at each method.
How to see system uptime on Windows 11 using Task Manager
If you want to check the system uptime quickly on your Windows 11 PC, you can use Task Manager. So here’s what you should do:
- Press Ctrl + Shift + Esc on your keyboard to open Task Manager.
- Then go to the Performance tab and select CPU.
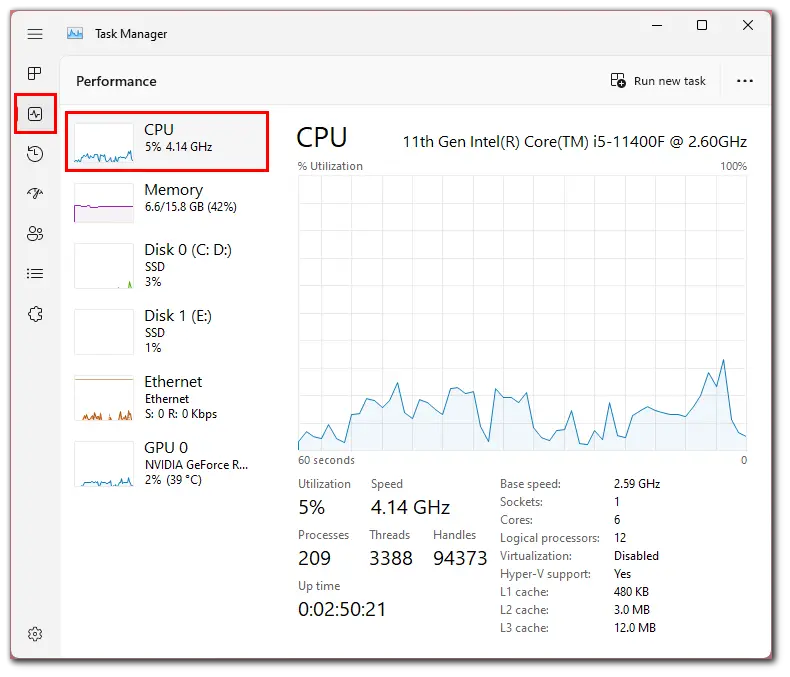
- Finally, you should see Up time at the bottom.
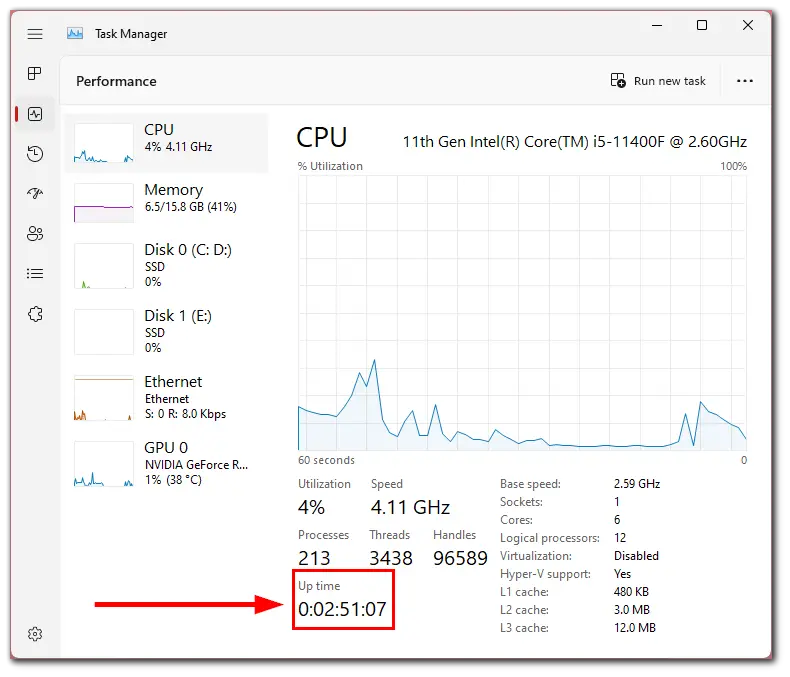
As you can see in the screenshot, my Windows PC has already been running for 2 hours and 51 minutes. This is the easiest method how you can find out system uptime. Nevertheless, read the next paragraph if you prefer to use the console to see more detailed information.
How to see system uptime on Windows 11 using PowerShell
If you want to check system uptime on your Windows 11 PC using PowerShell, you can follow these steps:
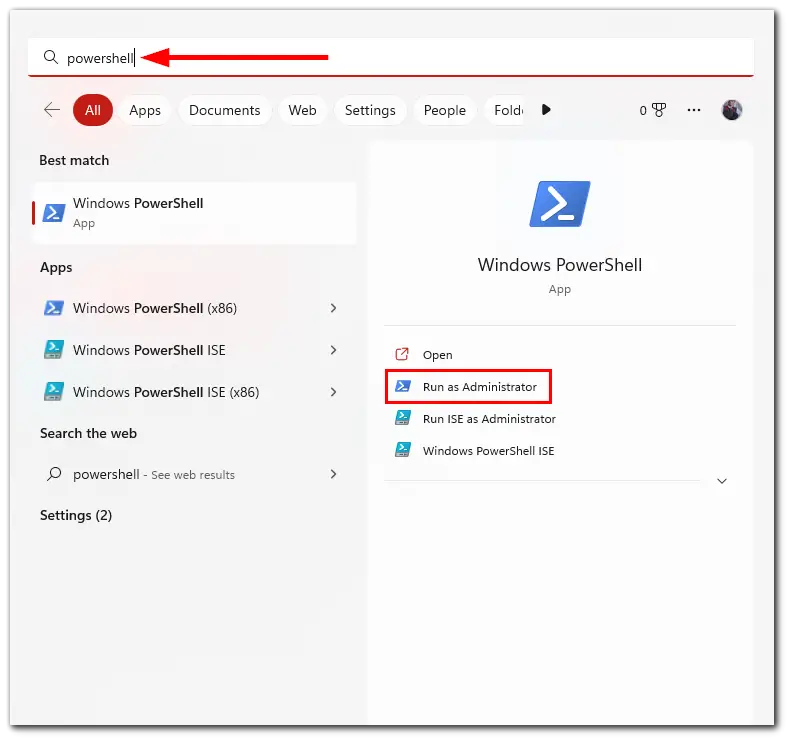
- Open the Start menu and type in PowerShell in the search bar.
- After that, click Run as Administrator.
- Then type the following command and press Enter:
- (get-date) – (gcim Win32_OperatingSystem).LastBootUpTime
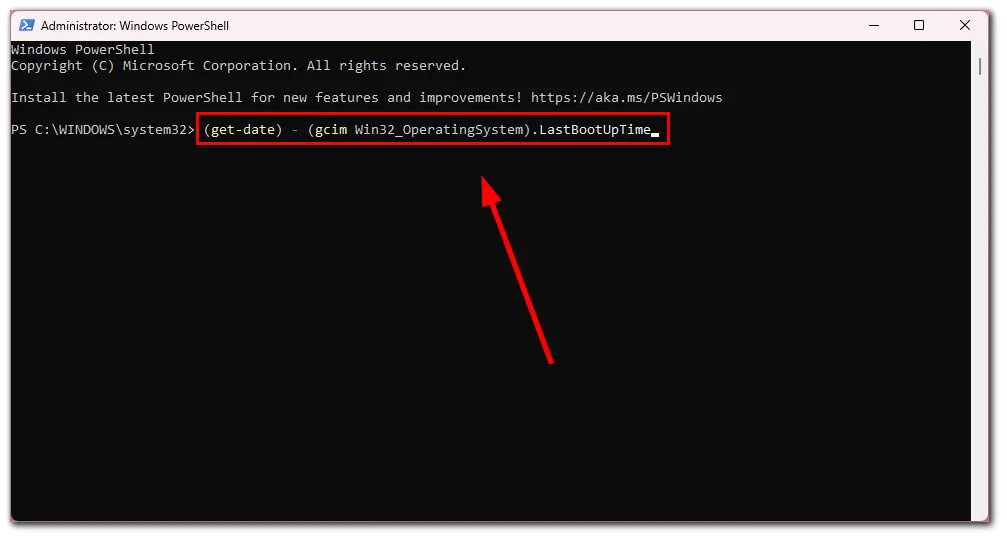
- Finally, you should see the information about the system uptime of your PC.
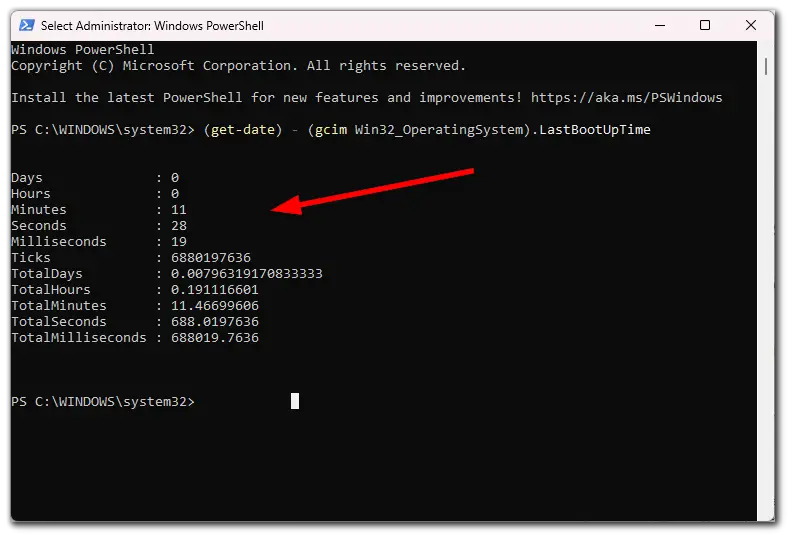
You will see data from days to milliseconds. This way, you can learn and use this information in more detail.
How to see system uptime on Windows 11 via Control Panel
If you want to check system uptime using Control Panel on your Windows 11 PC, you can follow these instructions:
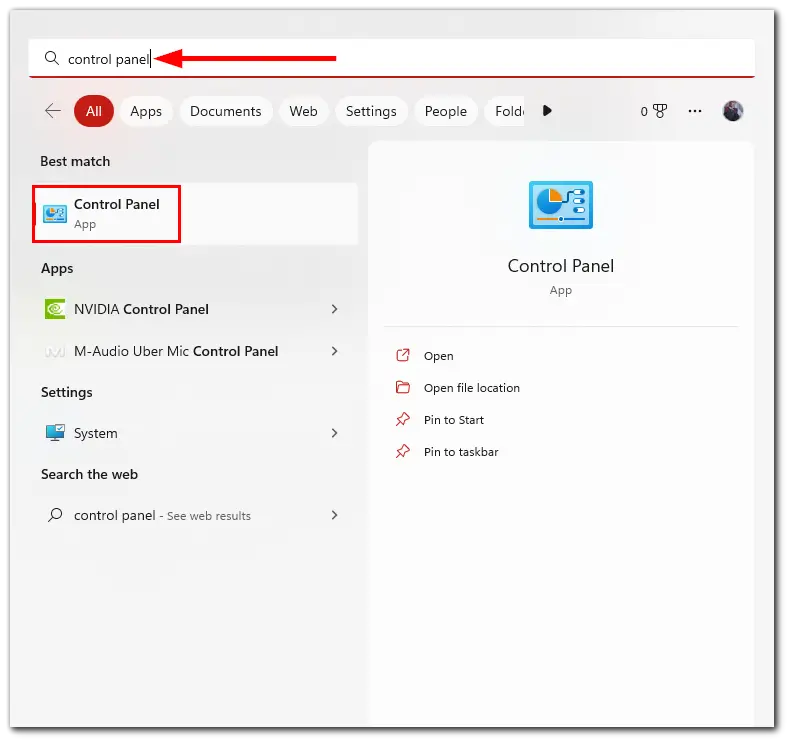
- Open the Start menu and type in Control Panel in the search bar.
- Click on it to open.
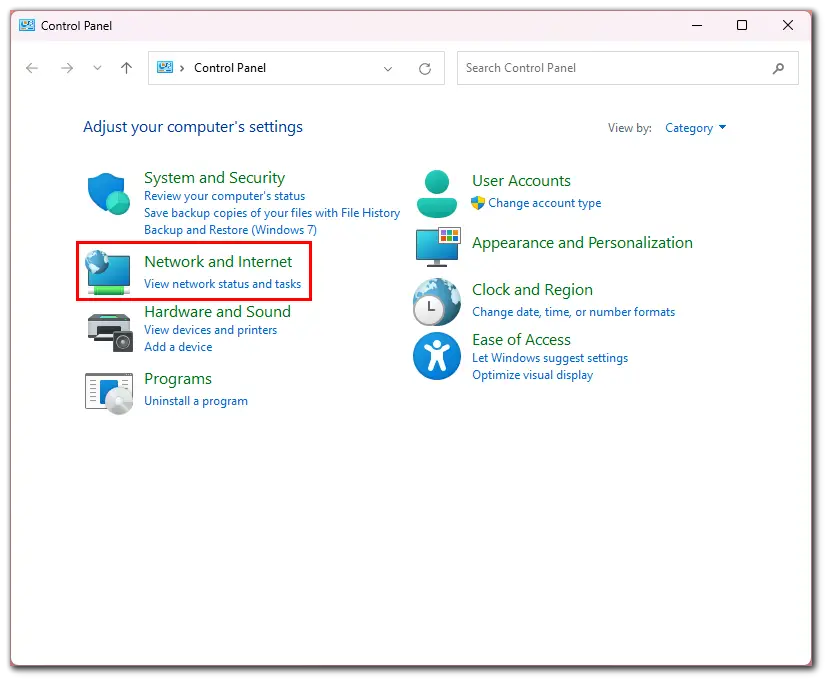
- Then go to the Network and Internet section.
- After that, select Network and Sharing Center.
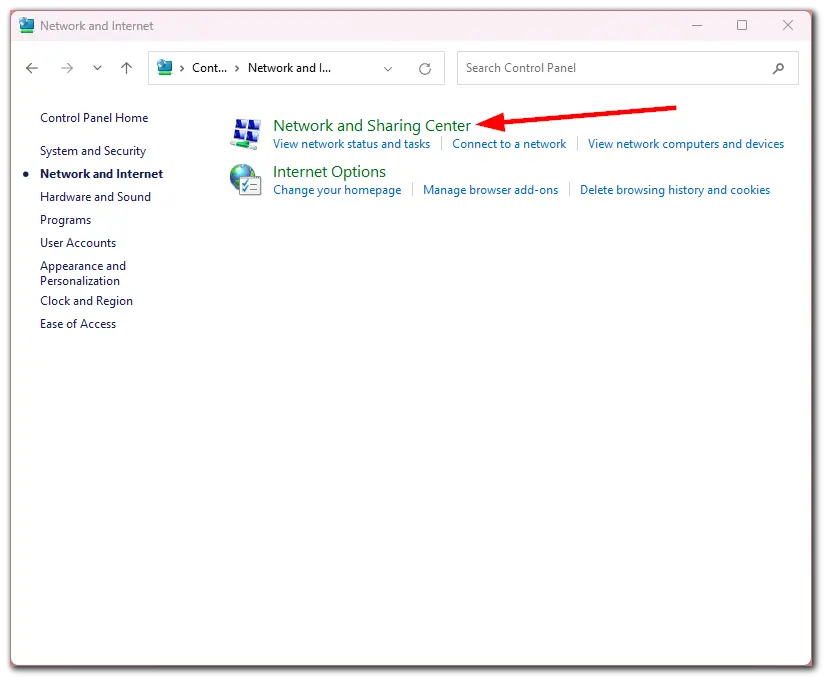
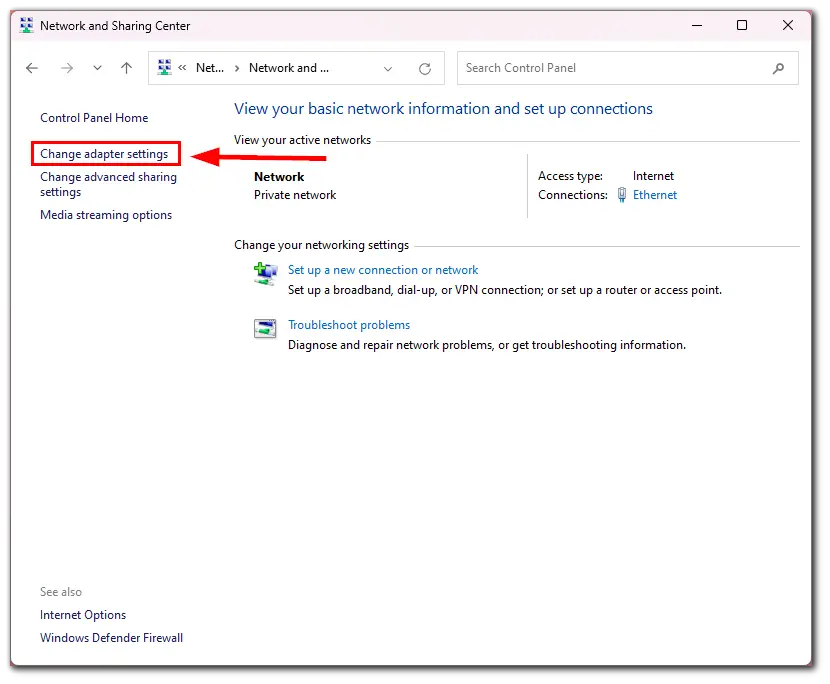
- Now, click Change adapter settings.
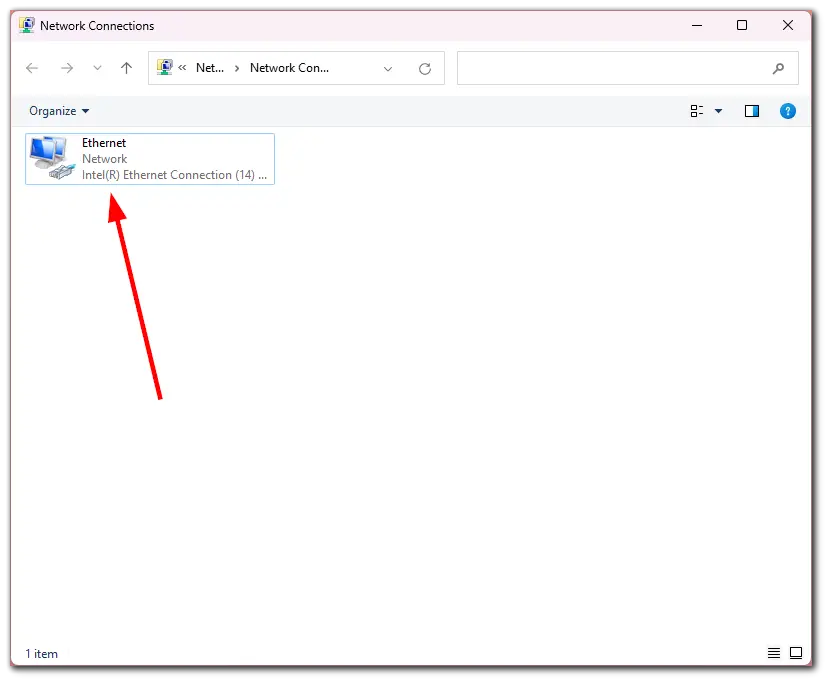
- Double-click the network adapter you’re using.
- Finally, you will see your computer’s uptime next to the Duration.
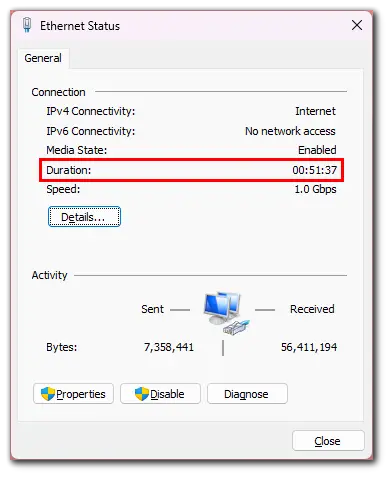
This data indicates the operating time from the network connection, which is reset each time the device is started. However, this method works as long as you are connected to the Internet. In other words, if your PC connects to the network after you turn it on, this method won’t work.


