

I once needed to restore my Mac to a previous date but I didn’t have a backup to do it. MacOS doesn’t have a system restore feature that allows you to restore the PC back to a previous state if you don’t back it up. However, there are ways to restore your Mac to a previous date using Time Machine backup software.
Time Machine is a backup tool that allows you to save full copies of your system and data to an external hard drive or network drive. This means that if you have problems with your PC, you can restore all of your files, apps, and settings from a backup.
To make regular backups, you’ll need a separate storage device of about 1 TB or a MacOS server. MacOS Server is software that allows you to turn your Mac into a full-fledged server. On average, the size of a backup can be 50-70% of the size of the original data. For example, if you have a Mac with a 500GB hard drive and 400GB is currently occupied, the first backup might take up about 200-300GB of space on an external hard drive.
What is Time Machine?
Time Machine is a feature that automatically backs up your entire system, including your personal files, apps, and system settings, and saves them to an external hard drive. At the same time, it works so that Time Machine performs incremental backups. That is, after the initial backup, only the changes made since the previous backup are copied. This allows you to easily restore files or even your entire system to a previous state if necessary.
It will allow you to view your backups and restore individual files or folders that may have been accidentally deleted or lost. It’s a powerful and reliable solution for backups that can help protect your important data from loss due to system failure, hardware issues, or other problems.
The first time you set up Time Machine, it creates an initial copy of your entire system backed up. This may take some time, depending on the size of your system and the speed of your external hard drive. Then, after the initial backup, Time Machine automatically creates incremental backups every hour of any changes you make to your system, such as new files, software installations, or system updates.
Time Machine then saves the backups for as long as there’s room for them on your external hard drive. When your hard drive runs out of space, Time Machine automatically deletes the oldest backups to make room for new ones.
How to back up Mac to the previous date?
The way data is backed up may vary depending on the processor. So before you start following the steps, you should figure out what kind of processor you have.
To determine which processor you have installed on your Mac, you can follow these steps:
- Click the “Apple” icon in the upper left corner of the screen.
- Select “About this Mac” from the drop-down menu.
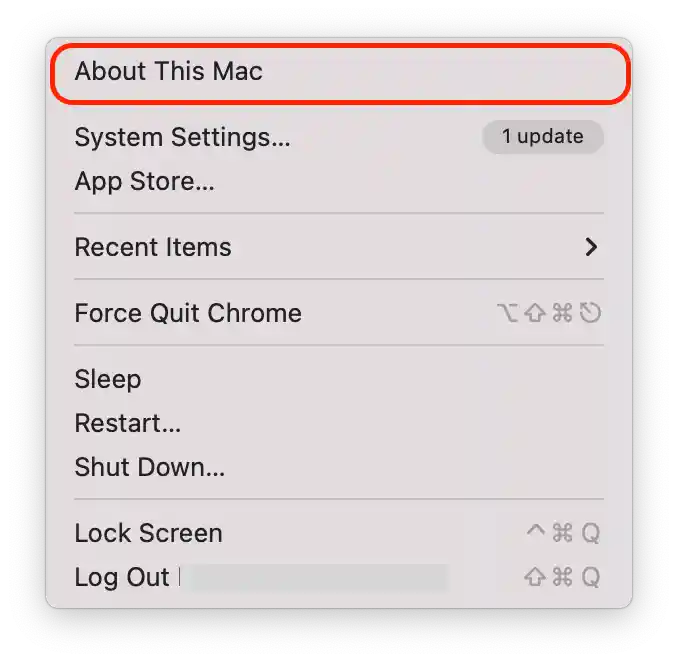
- In the list of properties, locate the “Processor” item.
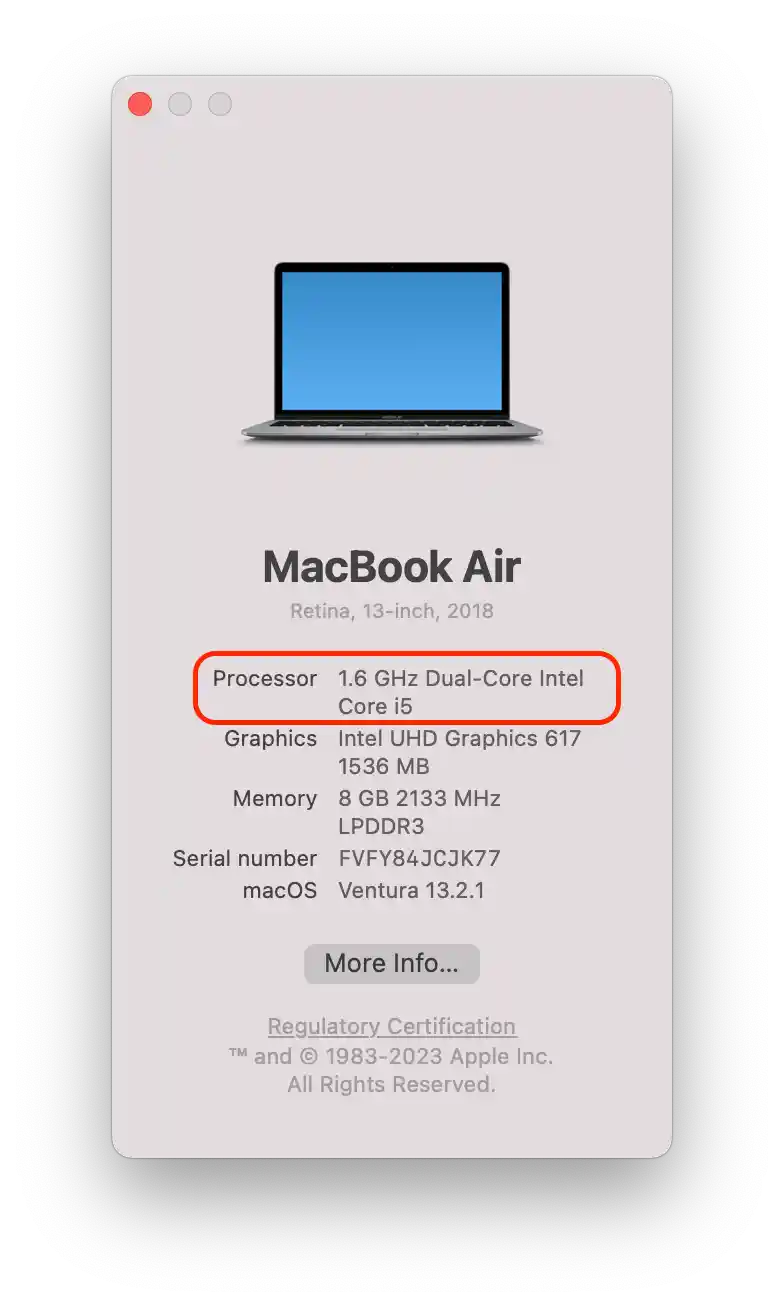
This item specifies the name of the processor and its speed. If the name has the word “Intel” in it, that means you have a computer with an Intel processor. If you have “M1” in this line, it means that you have a Mac with an Apple Silicon (M-chips) processor.
If you have previously made regular backups, you can use this method. To back up your Intel Mac to the previous date, you’ll need to follow these steps:
- First, connect the Time Machine drive to your Mac and turn it off.
- Then press the power button and hold Command + R.

- When you see the Apple logo or a spinning globe, you need to release Command + R.
- Then you’ll need to enter your administrator username and password.
- Next, open up macOS utilities from the list.
- You will need to select “Restore from Time Machine backup.”
After these steps, you must select a time and date for the backup to be restored.
To back up your Apple Silicon Mac to the previous date, you’ll need to follow these steps:
- Press and hold the power button until Loading Startup Options appears on your Mac’s screen.
- After these steps, select the “Options” section.
- Next, you need to enter the administrator username and password.
- In the next window, select “Restore from Time Machine backup”.
After these steps, you must select the backup date from which you want to restore.
Why restore your Mac to an earlier date?
As a Mac user, I have encountered various problems that can be solved using a system restore to an earlier date. Here are some of these reasons:
- MacOS update
After updating MacOS, I encountered incompatibilities with some applications that stopped working properly. Restoring to an earlier date allowed me to return to a stable version of MacOS and continue working without problems.
- Unwanted changes to the system
Sometimes I accidentally delete important files or change system settings that cause problems with my Mac. Restoring to an earlier date has helped me fix these errors and return the system to its optimal state.
- Virus infection
Although I always try to protect my Mac from viruses, some threats can get past antivirus software. Restoring to an earlier date with Time Machine allowed me to remove the malware and restore the system.
- Slow performance
Sometimes my Mac starts to run slowly, which can be caused for a variety of reasons, such as my hard drive filling up. Restoring to an earlier date helped me get rid of the accumulated files and get the system back to normal.
- Data loss
If you accidentally delete important files or experience data loss due to a hardware failure or other issue, restoring your Mac to an earlier date can help to recover the lost data.
However, it is important to note that restoring your Mac to an earlier date can also have its drawbacks. For example, any changes or updates made to your system or software after the restoration point will be lost. Additionally, restoring your Mac to an earlier date may not always resolve the issue, and more in-depth troubleshooting may be necessary.


