

As time goes by, laptop components become obsolete, and Macbook components are no exception. The hard drives that were installed in MacBooks until 2012 are very reliable and durable drives that are designed to last a long time without failures or malfunctions.
However, they do have just one, but a very serious, disadvantage. Over time, they are filled with users and multiple temporary files, begin to work much slower, which leads to frequent freezes of the laptop and the emergence of the so-called “glitches”.
To prevent them, significantly improve the performance and speed of the laptop, you can replace the HDD with a solid-state SSD.
On which MacBooks is it possible to replace the hdd with an SSD
The HDD replacement procedure is quite possible on MacBook White laptops that were manufactured in 2006 as well as on MacBook Pro (2009-2012 year models). It’s also possible to install an SSD on any aluminum-bodied iMacs and Mac Mini computers.
The Air laptops that have been on the market since 2010, as well as MacBook Pro Retina models (from 2012), don’t use HDD, but you can replace the OEM SSD with a native or similar larger capacity storage drive.
Replacing the HDD on different models of MacBooks follows a similar algorithm. We use MacBook Pro 13 Unibody as a stand and by this example, you can replace the HDD on your MacBook.
What is the reason for replacing the HDD on your MacBook
There are many reasons why you might want to replace your old HDD on your MacBook, these can be as well as serious problems such as:
- The operating system cannot boot (a question mark appears on the screen)
- Laptop refuses to turn on
- Malfunctions in the operating system (appearance of strange characters, errors when opening files, etc.)
- Strange noises, squeaks, clicks during notebook operation
Other less serious problems can also cause replacement, such as:
- The performance of your notebook has decreased.
- Apps take a long time to open
- The system freezes a little bit
- Your MacBook takes a long time to turn on
How installing an SSD will improve your MacBook
Installing a solid-state drive instead of an HDD is one of the measures in the set of works to speed up the work of the MacBook. In addition, it allows:
- Significantly increase the performance and improve the speed of the laptop.
- Increase the loading speed of the laptop and open any installed apps much faster.
- Significantly extend the life of the device without repair. The thing is that SSD lasts much longer due to the absence in its design of moving and rubbing parts that can fail.
- After installing the SSD, the portable computer will work much quieter and will stop getting very hot. This will make the cooling system function more efficiently.
How to prepare your MacBook Pro for hard drive replacement
Before you start replacing the hard drive, you need to copy all the information on your laptop. To do this, select any external drive with the necessary capacity. It’s recommended to clone the system partition to it.
The clone can be made using the “Disk Utility”, which is located in the “body” of the operating system. To do this you need to:
- Restart your PC and hold down “Command” and “R” at the same time until the Apple symbol appears during startup.
- Click “Continue” and under “View” select “Show All Devices”.
- Check the drive partition (or drive) where macOS resides.
- Click on “Backup”.
- Next, use the program’s prompts.
How to replace HDD with SSD on MacBook Pro 13
After you have copied all the necessary information, you can begin to replace the disk. There are a few simple steps you need to take to do this:
- Disconnect your laptop from the power supply.
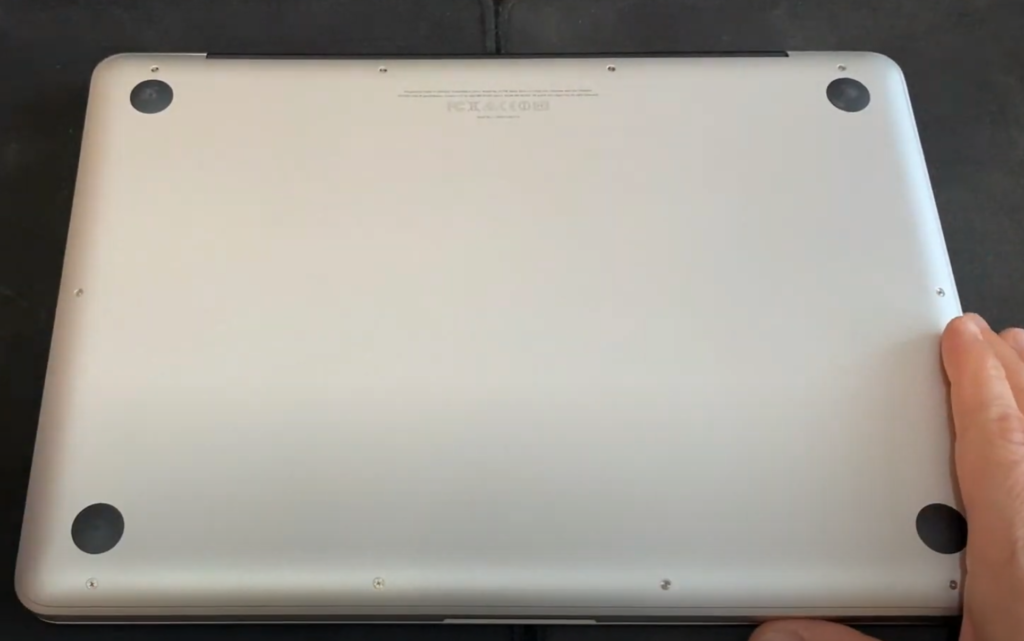
- Turn the MacBook upside down.
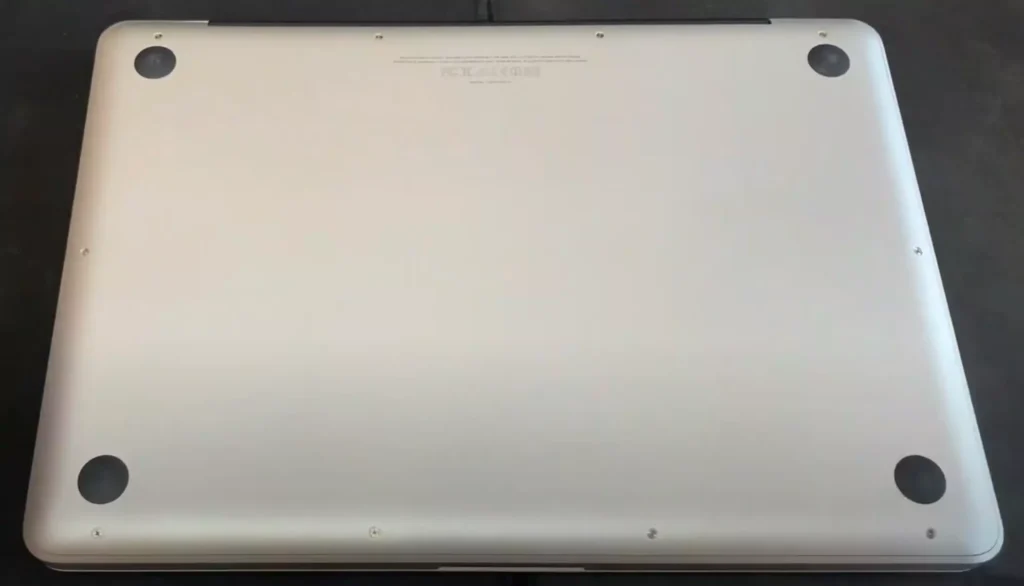
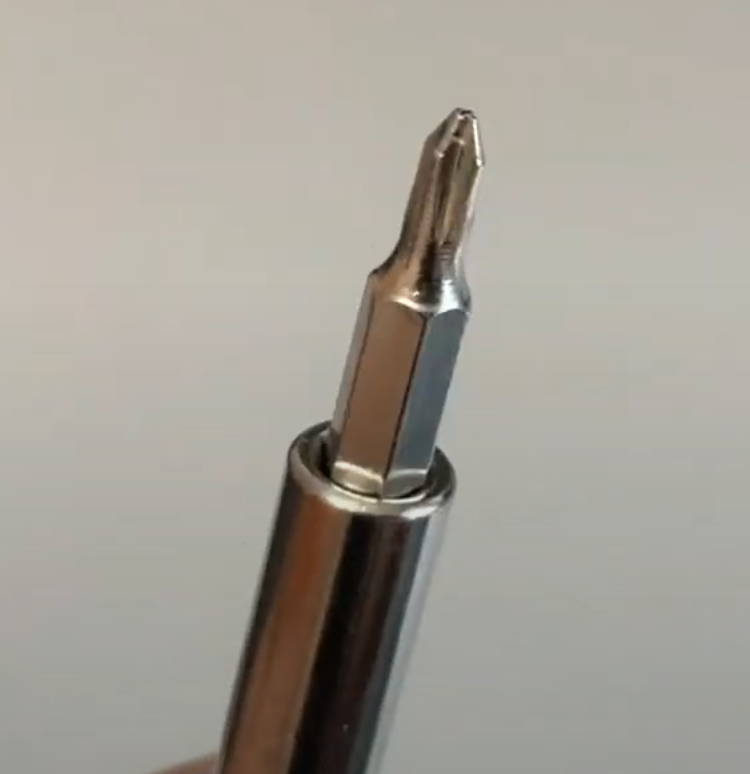
- Find the right screwdriver to unscrew the bolts.
- Unscrew the bolts around the perimeter of your MacBook.
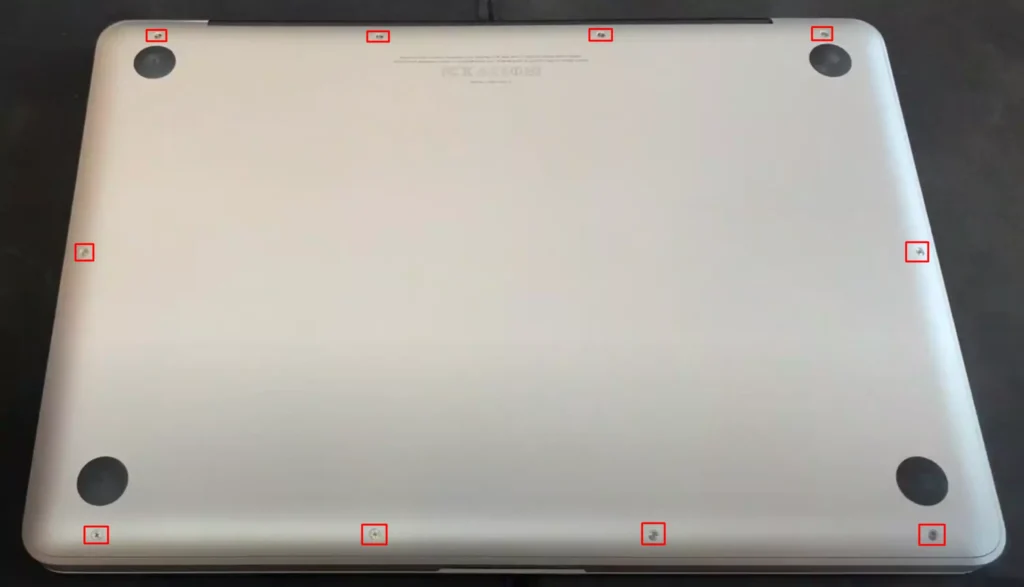
- Layout the bolts in the order in which they were taken out of your MacBook, this is done so that the bolts are different sizes, and you need to know exactly where to screw them in.

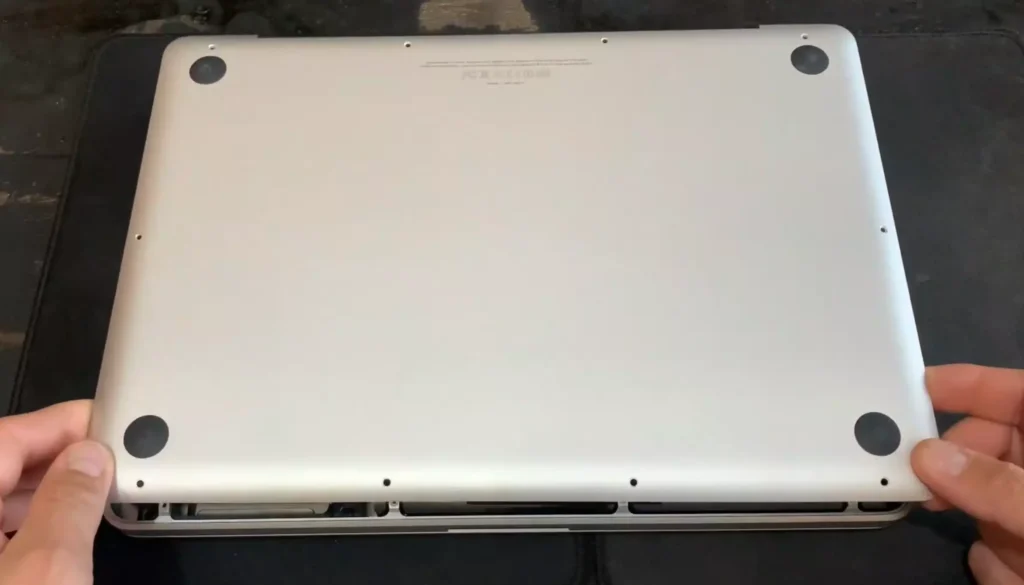
- After unscrewing all the screws, use the hard plastic picks toll to detach the back cover from your MacBook.

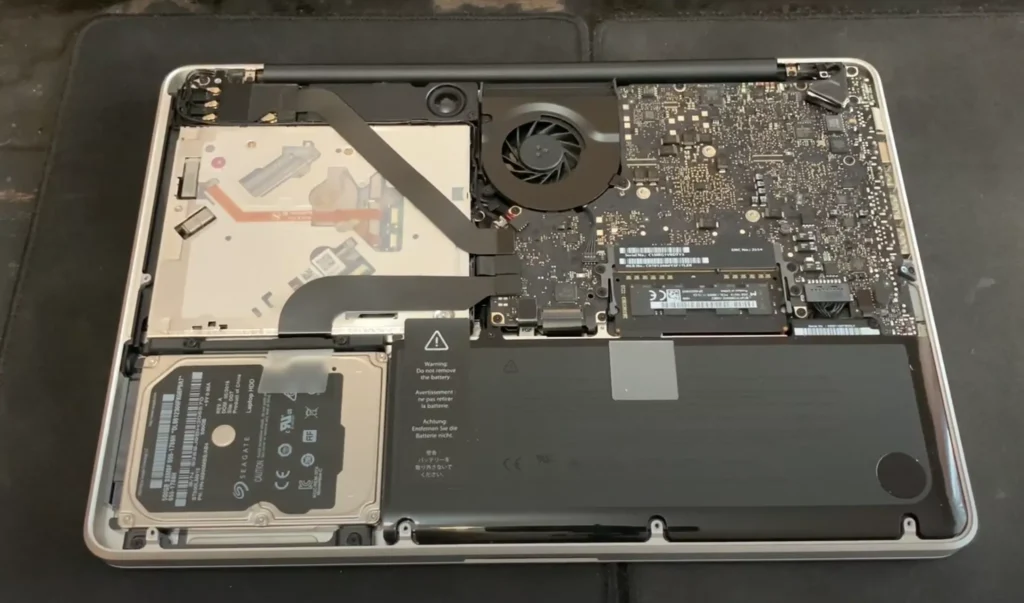
- Lift the lid of your MacBook.
- After you open the lid you will see this.
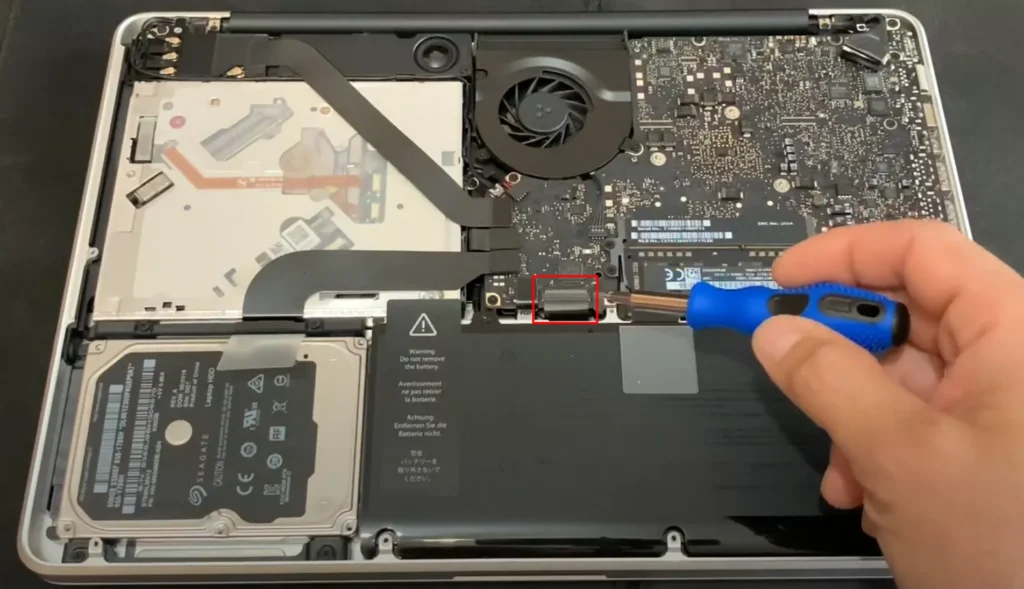
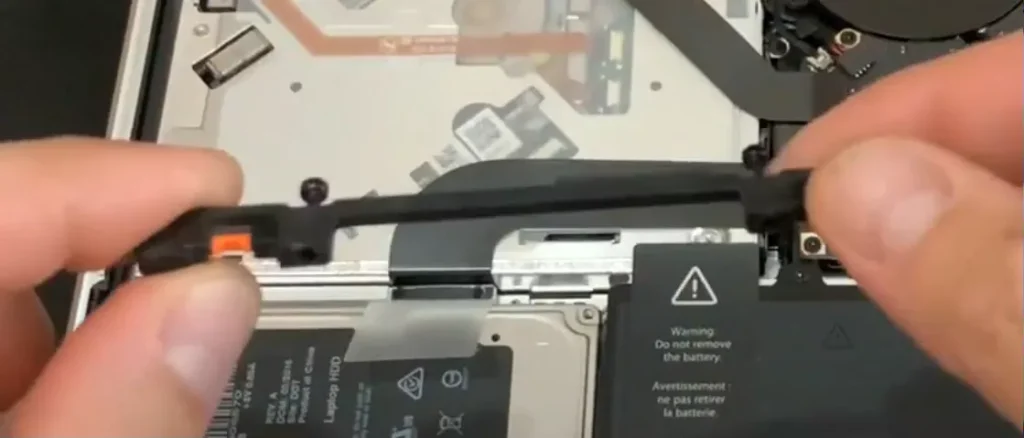
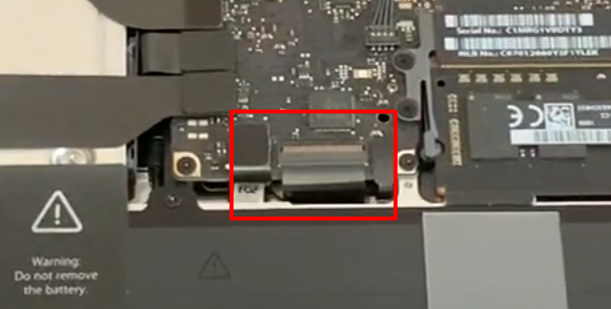
- In order to start disconnecting something from your MacBook, you need to disconnect the battery, to do this gently disconnect the battery cable, which you can see in the screenshot.
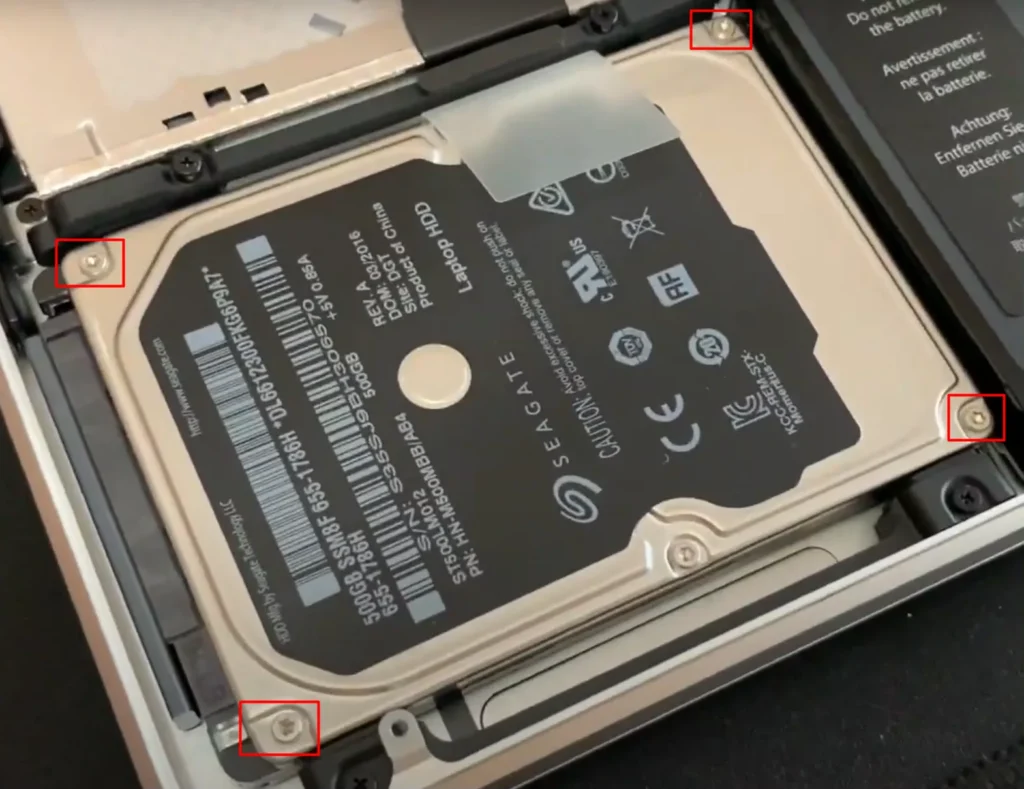
- Next, you need to unscrew your old HDD from your laptop.
- Next, you need to unscrew the retainer that holds your hard drive
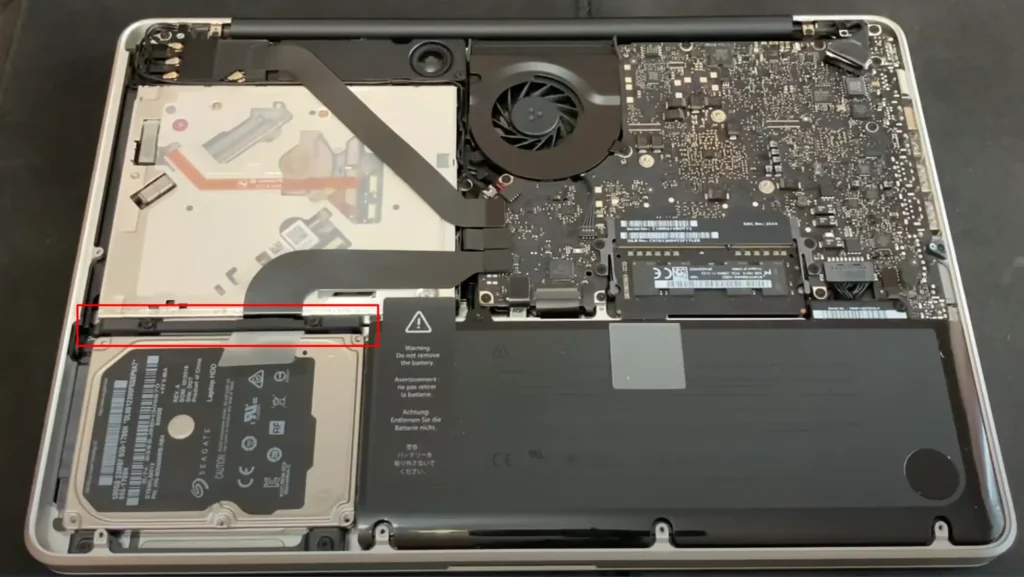
- Find the two screws on the retainer and unscrew them.

- Disconnect the retainer from the MacBook.
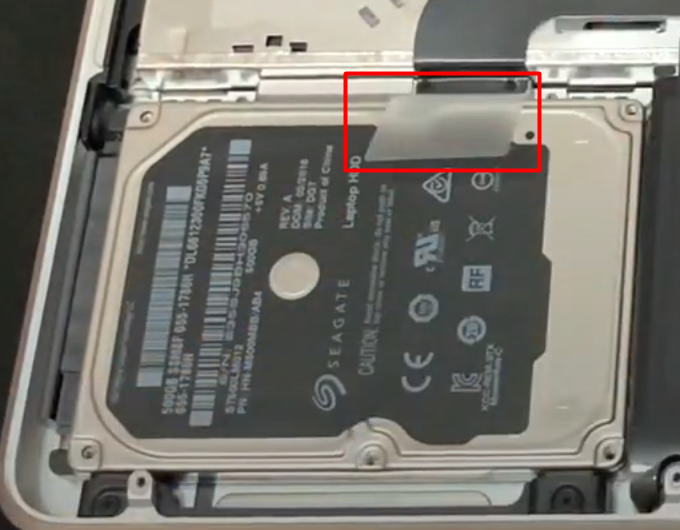
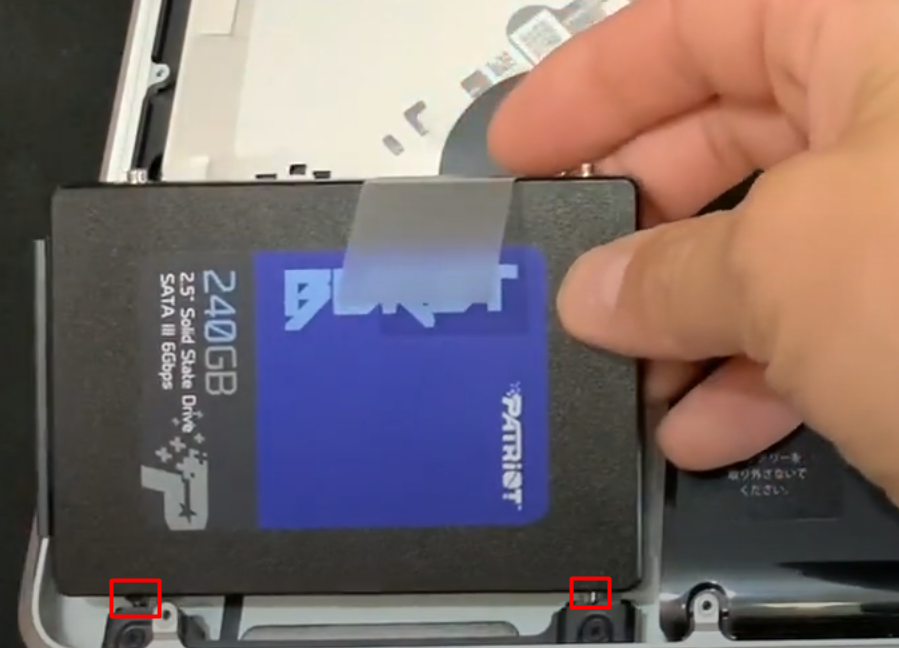
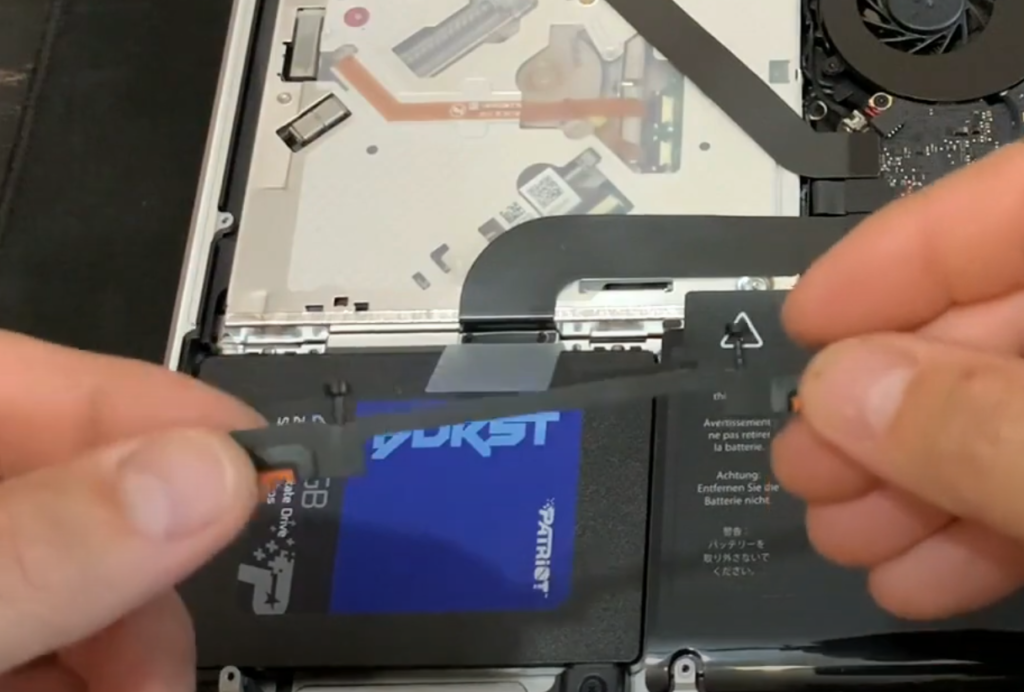
- Next, on the hard drive will be a special sticker, pull it and remove the hard drive from your MacBook, be careful with the sticker, you will need it.
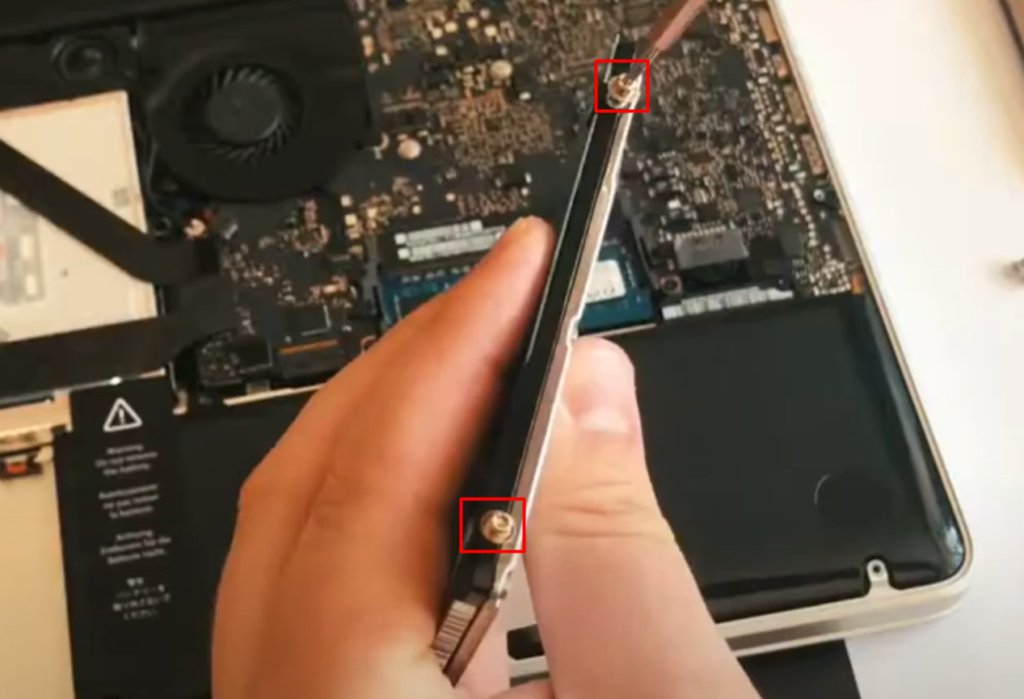
- On the hard drive, unscrew the screws that are on opposite sides of the drive.
- Next, reapply the hard drive sticker to your SSD.
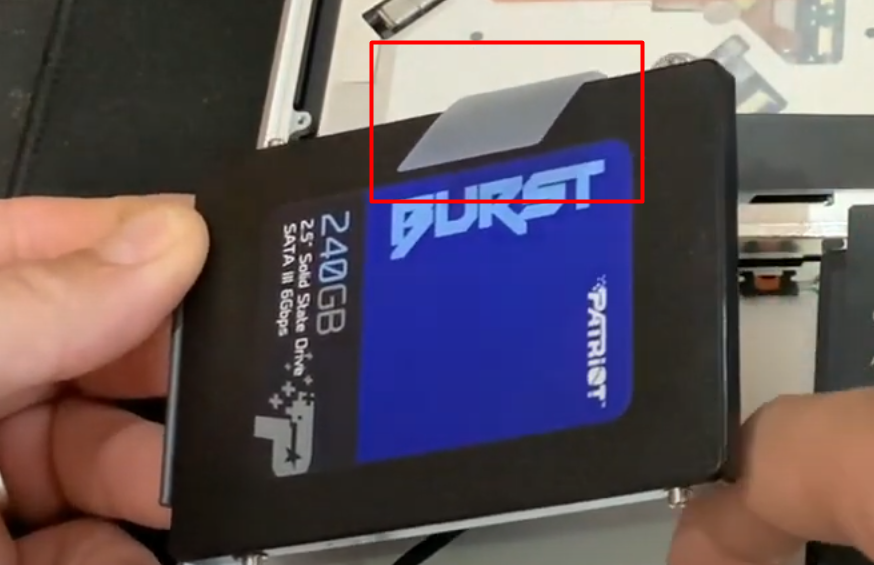
- Screw in the screws from the old hard drive and screw in the new cd drive and insert it the same way as the old hard drive.
- Screw the retainer back in.
- Connect the battery cable.
- Screw the cover back on in the order you unscrewed it.
- Turn on your MacBook and check if everything works
After these steps, you can start installing the operating system on your MacBook.
How to restore the system after installing a new SSD
After you have reassembled your MacBook, you should install the operating system on the new drive. You can do this directly from the macOS interface.
First, you need to format your hard drive. To do this, boot the system in recovery mode (Command+R while the system is booting) and open Disk Utility.
Next, you need to select the SSD volume and press the “erase” key. This will give you the option to restore the operating system or install macOS from scratch.
You can recover from the old hard drive and to do this you need to:
- Connect the old hard drive using an adapter.
- Then you will have the opportunity to “Clone” the system to the new drive.
- To do this, select the SSD disk volume and click the “Restore” button.
- Select the old hard disk drive as a source and follow the program instructions.
You can install macOS from a clean install and do that you need to:
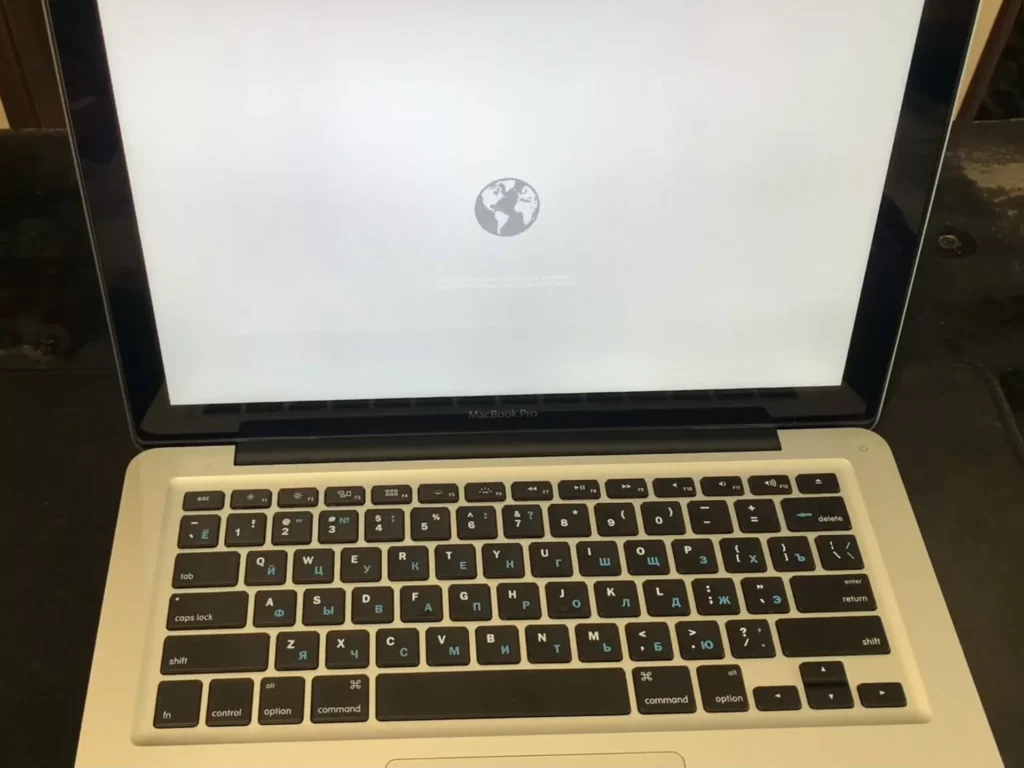
- When you boot macOS, press “Command+Option+R”.
- Next, you need to follow the installer instructions (an internet connection is required).
- If you can’t recover the system from the internet you can use the recovery disk or flash drive provided.
You can also install it from recovery mode. In this case, the system will automatically load the version of macOS on the SSD that was previously installed on your computer.


