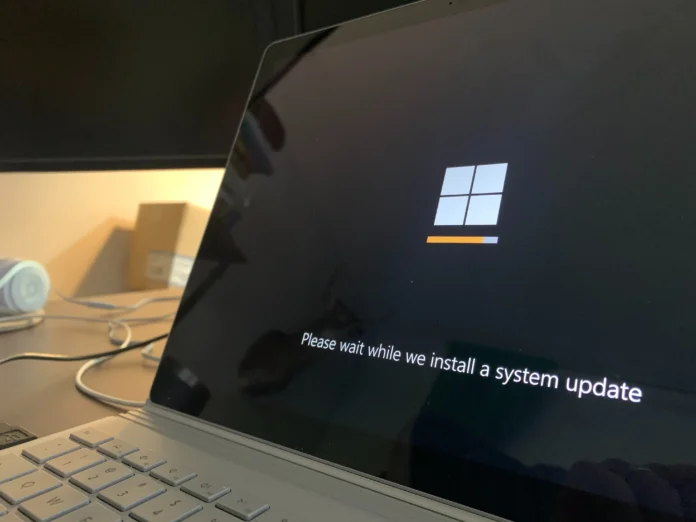
Windows 11 is updated automatically by default. If all goes well during the update process, your intervention is often unnecessary.
If, however, you notice that updates don’t occur for an extended period of time, you may want to check your system for uninstalled updates. See below for how to do this and how to install updates manually for Windows 11.
Windows 11 automatically checks with Microsoft periodically to see if any updates are available, and if they’re, the OS will offer to download them at the right time and install them for you automatically.
If that doesn’t happen, or you don’t want to wait, then you can do it manually. Such an installation method is also useful if you want to monitor the process and check it for errors or unwanted content in general.
How to update Windows 11 manually
Before proceeding with the update process, you need to understand exactly how you can find out if there are any updates at all. To check for updates in Windows 11, just follow these steps to ensure that your computer always has the latest version of the newly released operating system. After that, you can go to the further steps and figure out how to update your Windows 11. Do the following steps:
- First, on your desktop, open the Start menu. Do this by pressing the Windows key located on the taskbar, or by pressing the Windows key on your keyboard.
- Then go to the “Settings” menu by pressing the appropriate button on the “Start” menu, or by using the Windows + I key at the same time.
- After the “Settings” menu appears, select “Windows Update”.
- After that, click on the “Check for updates” button. The system will immediately check if there are new updates to download and install.
- Go to the “Suspend updates” section.
- Once you’ve navigated, you’ll be able to choose to pause updates for one week. If you choose to do this, the system will check for updates one last time, and then you’ll have to wait until the week is over.
- If you want to cancel your choice, click on the “Resume Updates” button to return everything to normal.
To see a list of the updates you’ve installed on your Windows 11 computer over its lifetime, click on the “Update History” button. Here, the types of updates will be categorized, and if you want to remove a particular update that may be causing unexpected problems, you can do so.
If you’re interested in the options for configuring how you receive updates on your Windows 11 computer, you should click on “Advanced Options”. Here you can select “Receive updates for other Microsoft products”, “Download optional updates”, “Configure update policies”, etc.
How to fix failures during updating process for Windows 11
If for some reason you’re unable to install updates, try the following:
- Make sure there is enough free space on the C drive to install the latest Windows 11 updates.
- Reboot your Windows 11 computer to make sure that the previous updates are installed.
- Try removing the external hard drives and installing them back in.
- Run the Windows Update Troubleshooter to automatically detect problems with the Windows 11 update.
How to fix failures during updating process with Troubleshooter feature
In most cases, update issues will be automatically detected and resolved using this tool, which is available by default in Windows 11. In order to use the troubleshooting feature you need to:
- Go to the Settings menu.
- Next, locate and select the “System” tab.
- Scroll down the page and click on “Troubleshoots”.
- Then go to “Other Troubleshoots”.
- Here you’ll find various features to troubleshoot your Windows 11. Just select the option you need and run it.
By using this method, you’ll be able to fix most of the possible reasons why updates don’t install.


