

Unfortunately, Google Docs doesn’t have a direct feature to flip images, but you can insert your photos into the Drawing tool and then flip them horizontally or vertically.
What do you need to flip an image in Google Docs
Google Docs is a free service program available on any platform that checks all the boxes for your productivity needs. Its use goes beyond word processing capabilities, such as creating and editing documents online, as it also offers users the ability to share and collaborate on their files with other people they know.
As a modern word processor, in Google Docs you can add not only text, spreadsheets, and graphs in various formats, but also add and edit images.
So, if you want to flip an image in your Google Docs document, here’s how you can do it.
How to flip an image in your Google Docs file
You can flip the image vertically or horizontally. In the first case, you swap the bottom and the top. On the other hand, when you flip horizontally, the left and right sides swap places.
If you want to flip an image in Google Docs, you have to follow these steps:
- First of all, open your Google Docs document.
- Then, click on the “Insert” tab and select “Drawing”.
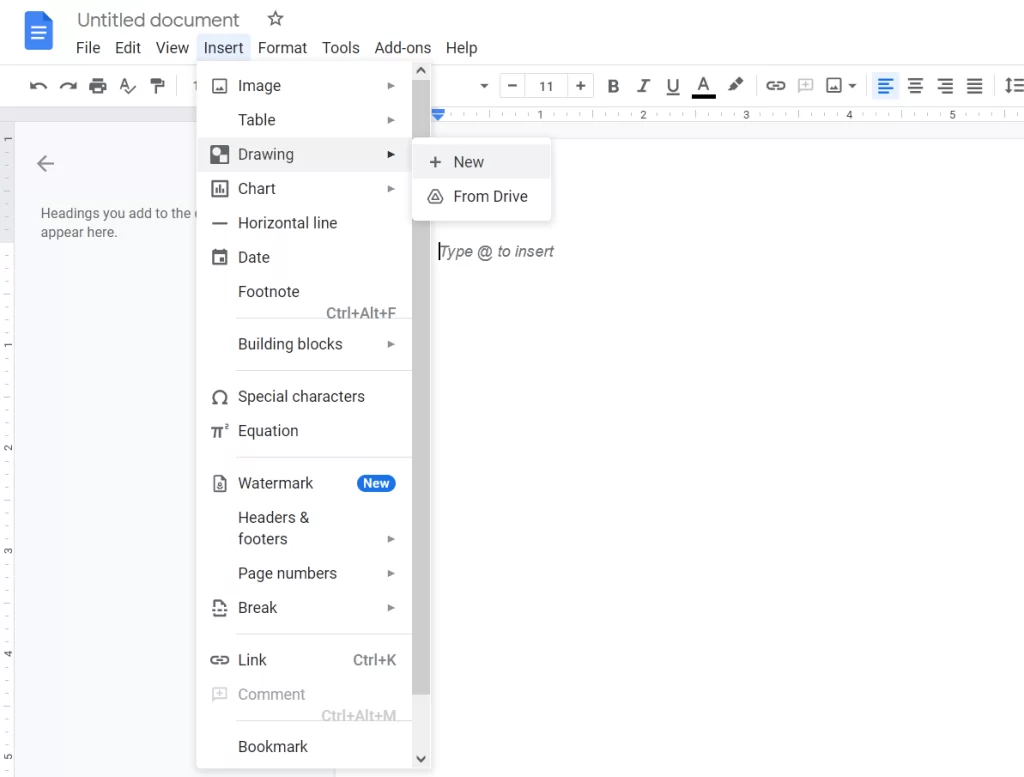
- After that, click “New”.
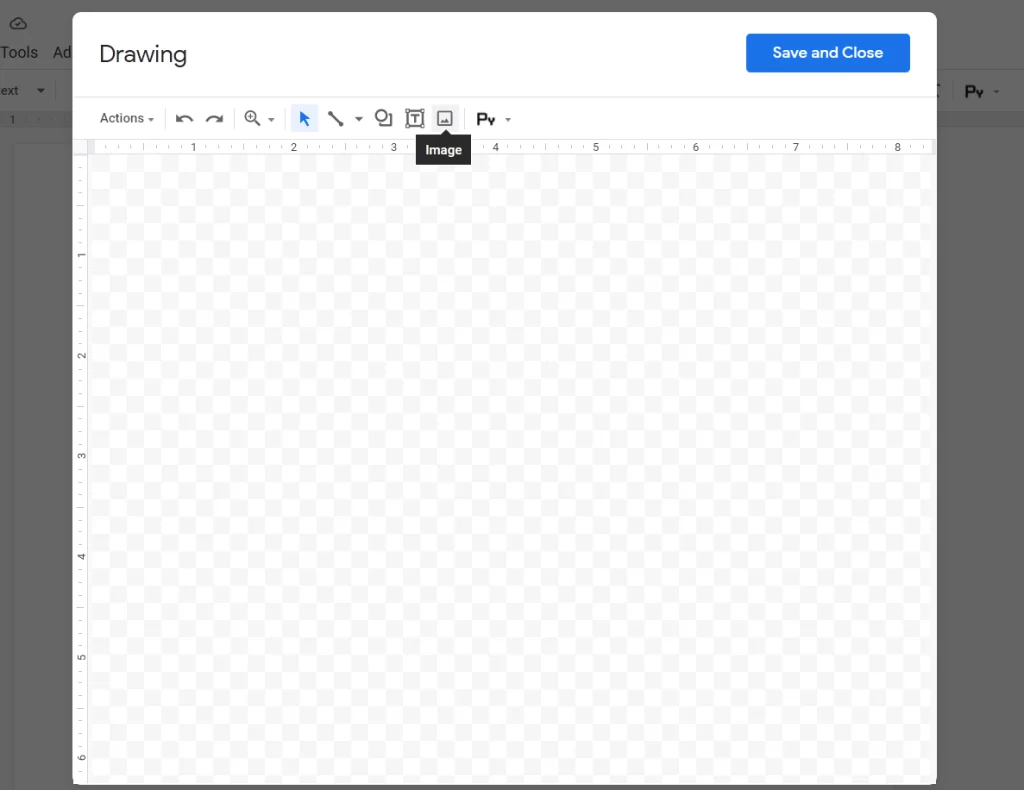
- A new window appears. Click on the “Image” icon and upload your picture.
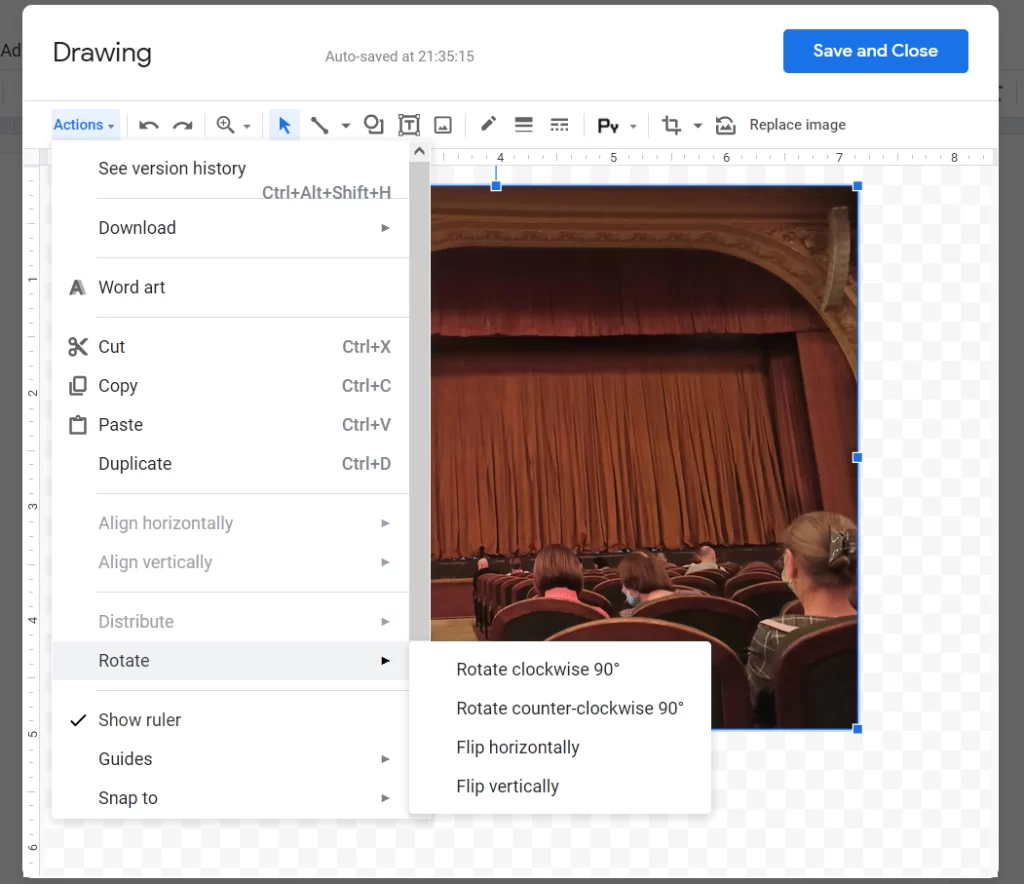
- Next, once you have uploaded your image, select it and click on the “Actions” tab.
- Now, click on the “Rotate” option and select either “Flip horizontally” or “Flip vertically”.
If the image you want to flip is already present inside the document, you will need to cut or copy it to the clipboard. To do that, click the image you want to flip, right-click it and choose “Cut” or “Copy”.
If you create a copy of an image, you may have to delete the original image after its copy has been flipped.
How to flip an image in Google Docs mobile app
If you usually create and edit documents using the Google Docs app on your smartphone, you should know that, unfortunately, the Google Docs app doesn’t allow you to flip an image from the app. This is because the Google Docs app doesn’t have a drawing tool like the web app. But don’t worry, because Google offers its own Snapseed app for locally flipping images on your phone, which you can then add to your Docs document.
Before you can flip an image, make sure you have the Snapseed app installed on your Android or iPhone. After installing the app, open it and click on the huge “+” icon on the app’s home screen.
If this is your first time using Snapseed, you will be prompted to allow the app to store your phone. When prompted, tap “Allow”.
Once this is done, tap on the “+” icon again and select an image from the mobile device’s memory. When the image is loaded, tap on the Tools tab at the bottom of the image editor.
You should now see several editing tools available in the app. In this pop-up window, select the “Rotate” option. On the next screen, you should see all the tools you need to rotate or flip the image. Tap the “Flip” icon (indicated by two inward-pointing arrows).
When you tap on the “Flip” icon, you should see the selected image flipped horizontally. If you want the image to be flipped vertically, double-click the “Flip” icon.
If you’re satisfied with the results of the flip, tap on the checkmark in the lower right corner. You can now save the image to your phone by clicking the “Export” tab at the bottom.
When the pop-up menu appears, select the “Save” option on the screen to save it to your smartphone.
Can someone share a file with the flipped image
Yes, but it depends on whether you have given them “Editor” rights. This is because only those users to who you have granted access to edit your shared file can flip the image or make other changes to your document in Google Docs.
While there’s no specific way to allow someone to edit your images, you can make it so that someone you trust is the “editor” of the shared file, and they will have access to flip the image or make other changes to the selected document in Google Docs.
Can you prohibit someone from returning your image to its original state
If you don’t want others with whom you’ve shared the file to flip the image inside the document, you can prohibit them from making changes to the image by removing their “Editor” rights. You should keep in mind that this will also prevent a particular user from making any other changes to the document in Google Docs.
To prevent someone from editing your file without taking away their viewing rights, open the sharing settings for the shared file by clicking the “Share” button in the upper right corner of the Google Docs file screen.
Then change the “Editor” setting to “Viewer” or “Commenter” to make sure that person cannot make any changes to your document.


