

There are even 2 types of on-screen keyboards in Windows. Their functionality is the same, but they look slightly different.
On Windows, there are 4 ways to start the on-screen keyboard. You can do it via Taskbar or Settings, using the Run window or keyboard shortcut. All methods are straightforward and work the same on Windows 10 and 11.
As for me, using a shortcut is the easiest way to bring up an on-screen keyboard on Windows. All you need to do is press Win + Ctrl + O. However, if your physical keyboard suddenly stops working, then you’ll have to set up everything with your mouse via Settings or Taskbar.
Below is a more detailed guide on how it works.
How to enable the on-screen keyboard on Windows using Taskbar
The trick to this method is that you can pull up the on-screen keyboard from your Taskbar at any moment. Here’s how to enable it:
Windows 10
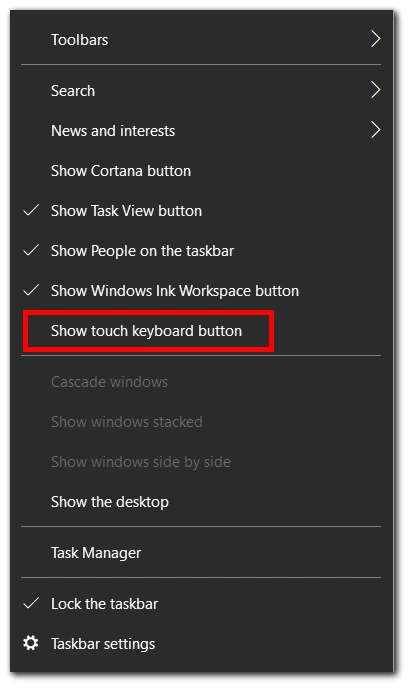
- Right-click on the Taskbar and check the Show touch keyboard button option.
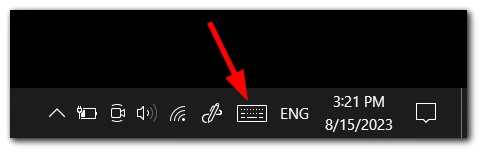
- After that, you should see the on-screen keyboard icon in Taskbar. Click on it to pull the keyboard up.
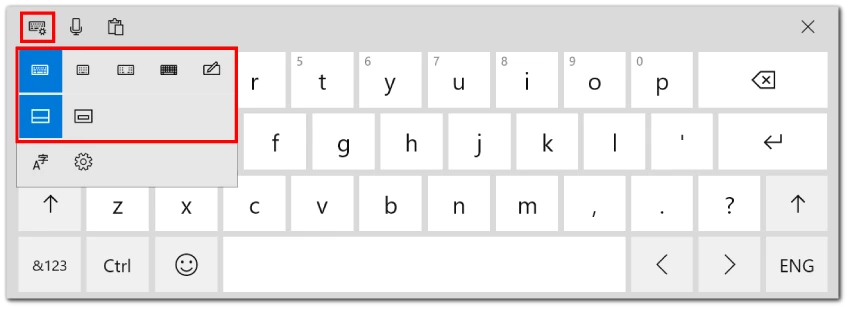
- Here’s what it looks like. You can click on the keyboard with the gear icon to change its appearance and language.
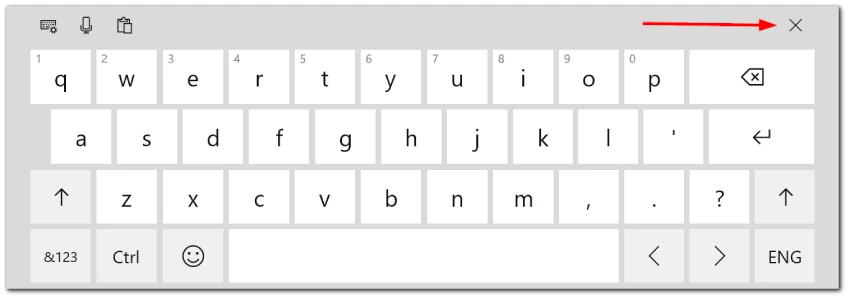
- To close it, click the X button at the top right corner.
Windows 11
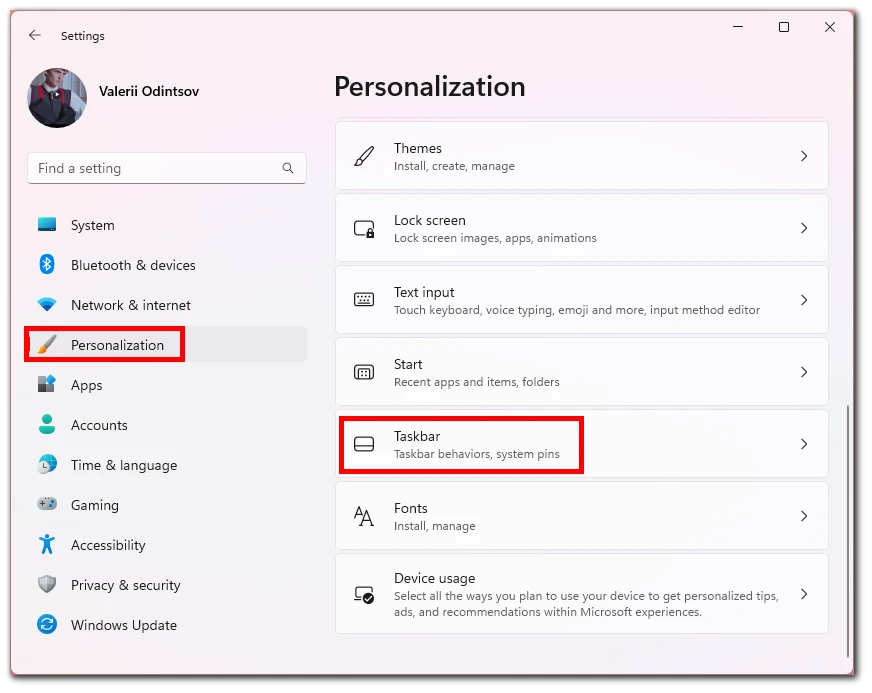
- Open Settings by pressing Win + I or via the Start menu.
- Go to the Personalization tab and select Taskbar.
- Then, under the Touch keyboard, select Always from the drop-down list.
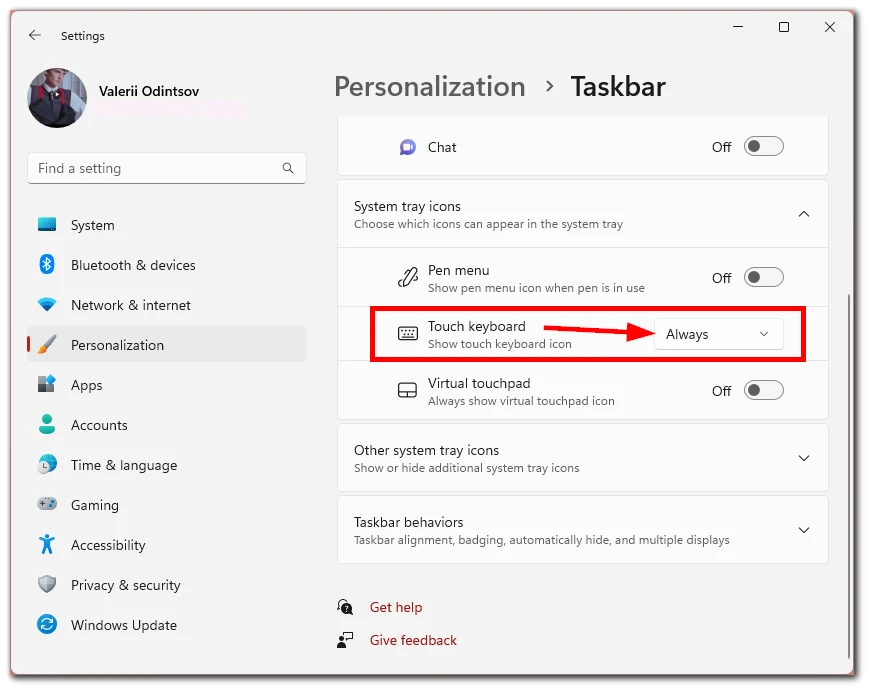
- The virtual keyboard icon will now appear in the Taskbar. Just click on it to pull up the keyboard.
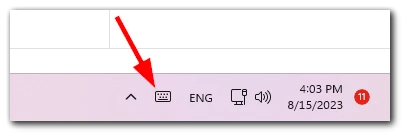
- Here’s what it looks like.
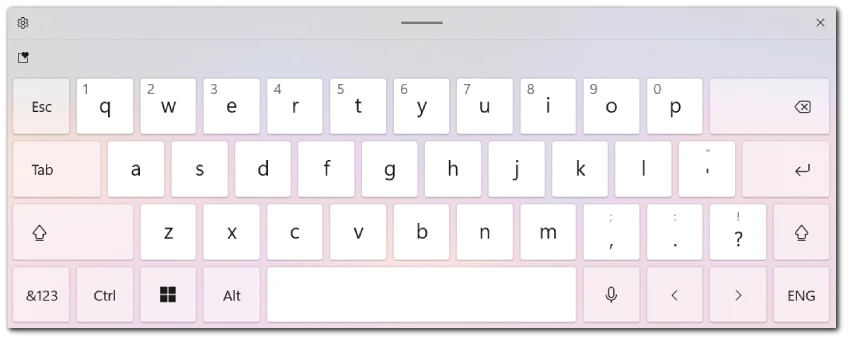
By clicking on the gear icon, you can also change the keyboard layout, size and theme, and enable the handwriting.
How to enable the on-screen keyboard on Windows via Settings
The list of steps for this method is different for Windows 10 and 11. Therefore, I will show you how it works for both OS versions.
Windows 10
- Press Win + I to open Settings. Alternatively, right-click on the Start button and select Settings.
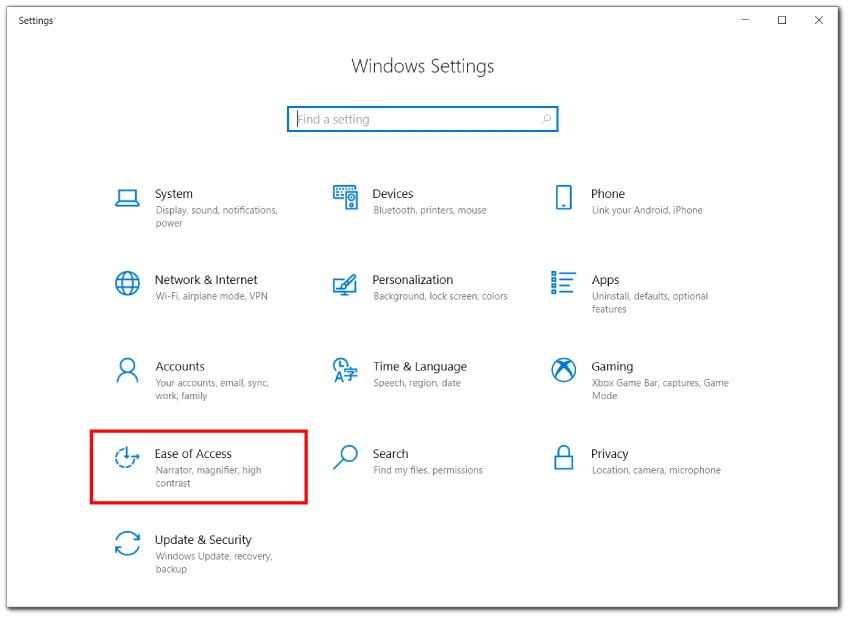
- Click Ease of Access.
- Afterward, go to the Keyboard tab and toggle the Use the On-Screen Keyboard switch on.
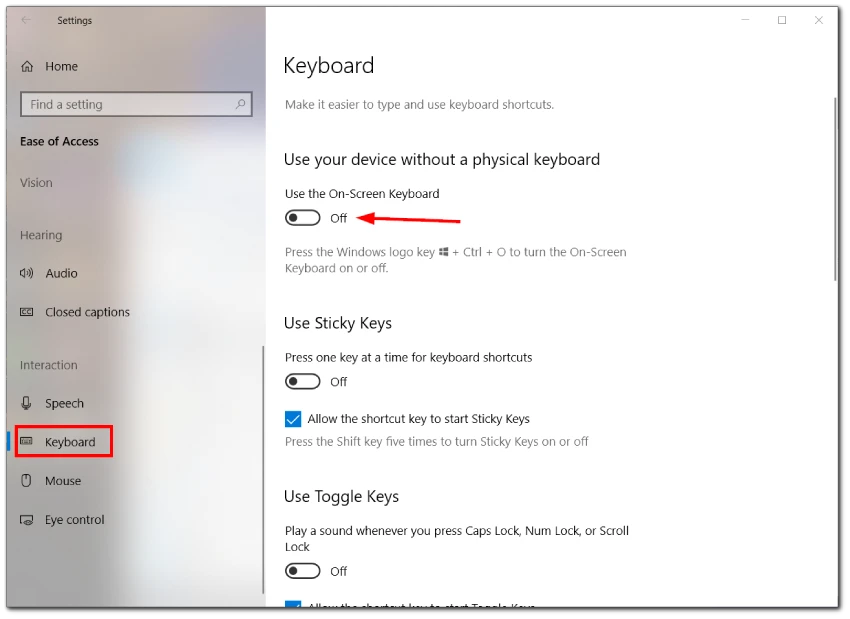
- The keyboard should immediately appear on your screen. But it will be different from the one called through the Taskbar. It cannot be customized.
Windows 11
- Open Settings by pressing Win + I or via the Start menu.
- Go to the Accessibility tab, scroll to the Interaction section, and select Keyboard.
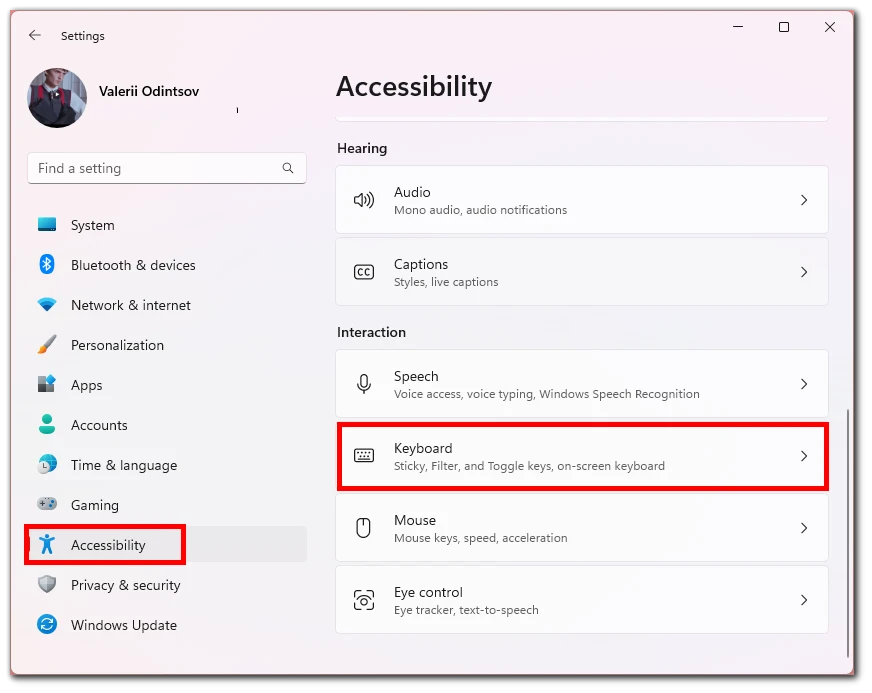
- Then toggle the On-screen keyboard switch on.
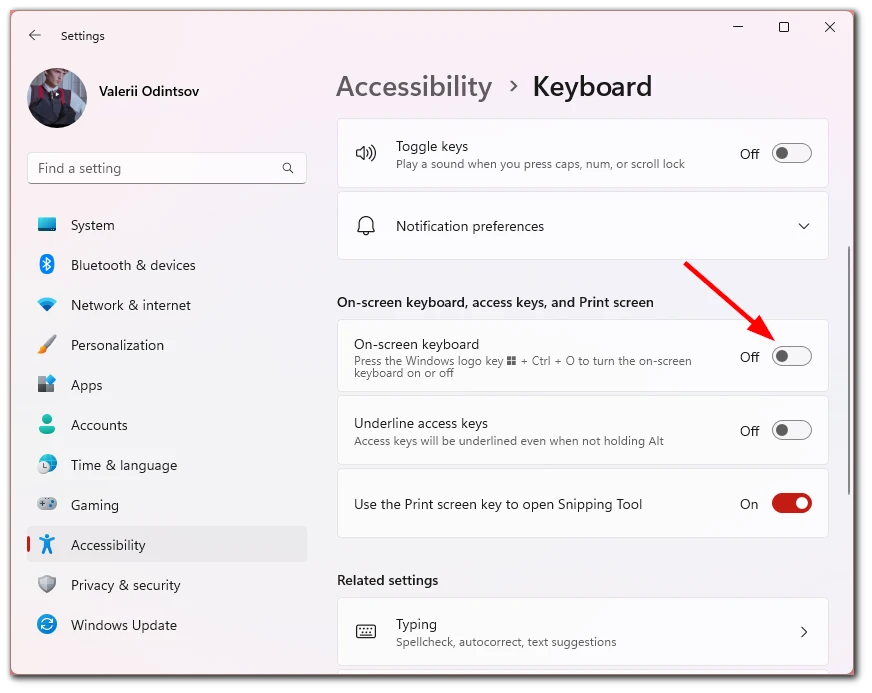
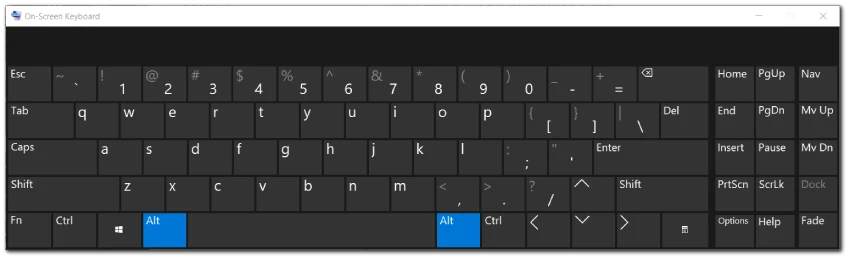
- The keyboard should immediately appear on your screen.
The minus of this method is that you have to go through the settings to turn on this on-screen keyboard. That’s why the Taskbar method is better.
How to enable the on-screen keyboard on Windows using the Run window
Another simple method of invoking the on-screen keyboard is to use the Run windows. Here’s how:
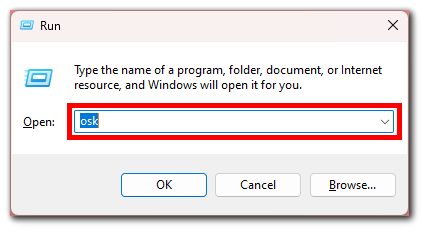
- Press Win + R on your keyboard or right-click on the Start button and select Run.
- Type “osk” in the Run window, click OK or press Enter, and the on-screen keyboard will appear.
This method has a disadvantage because it needs to enter the request from the keyboard, which is impossible if it’s faulty.
How to enable the on-screen keyboard on Windows using a shortcut
Although you won’t be able to use this method if your keyboard is not working, it’s the easiest one. All you need to do is to press Win + Ctrl + O. And that’s it!
How to use the on-screen keyboard on Windows
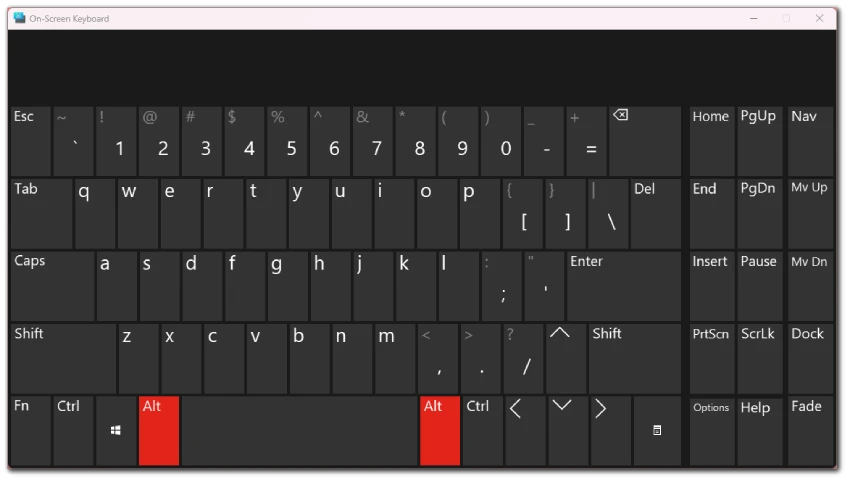
Once you’ve enabled the on-screen keyboard, using it is a breeze. The keyboard can be controlled using both the mouse and touch input. It functions similarly to a physical keyboard. Click on the keys using your mouse or tap them using a touchscreen device.
Of course, the on-screen keyboard includes essential modifier keys like Shift, Ctrl, Win, Fn, and Alt. Click or tap these keys before pressing the corresponding letter or function key to activate them.
How to adjust the on-screen keyboard on Windows 11
Windows 11 lets you change the layout of the on-screen keyboard, its size, and its theme. But this is only possible to do with the Taskbar keyboard. So follow these steps:
- Open the on-screen keyboard from the Taskbar and click on the gear icon at the top left corner.
- There you can choose the keyboard layout:
- Default
- Small
- Traditional
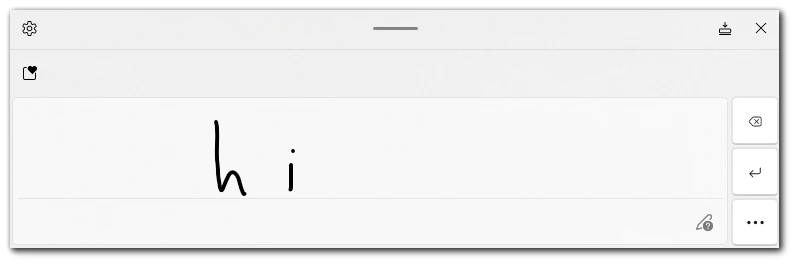
- Next is the Handwriting option. You can use it to write letters or whole words with your mouse.
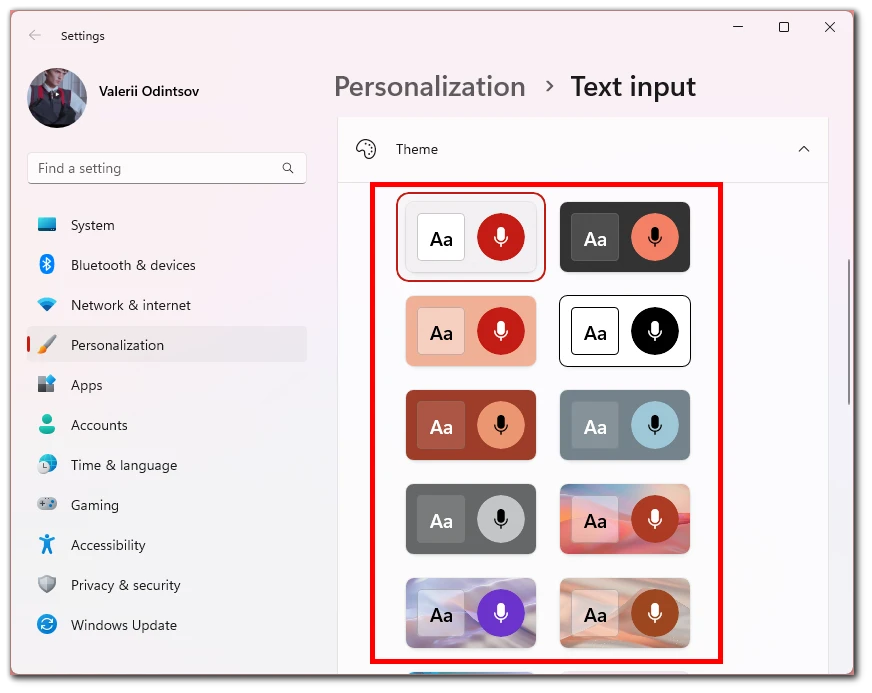
- Then you can change the keyboard size and theme.
- You will be taken to the Text input settings, where you can do this.
- Here are the themes available.
- To change the keyboard size, use this slider.
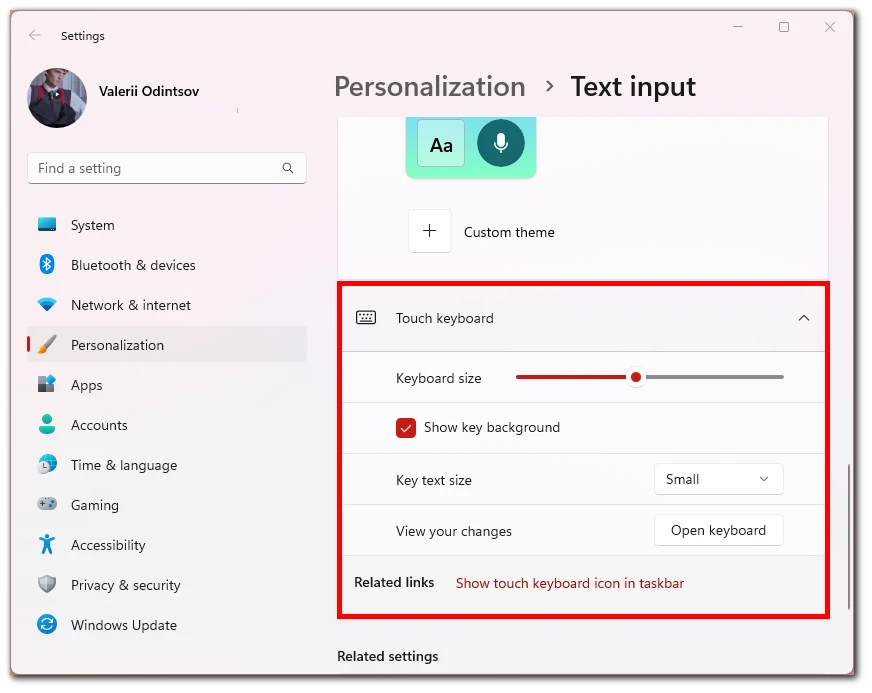
You can also change the keys’ text size – make them bolder.


