

VRAM (Video Random Access Memory) is one of the most critical parameters in a PC. Thanks to it, you can understand if you can play demanding video games or render heavy projects in special programs. To be more precise, it all depends on the amount of VRAM. The more of it in the GPU, the more freedom you have.
Sometimes you may want to check your PC’s VRAM usage. Fortunately, there are many ways to do this. You can check this parameter with the built-in tools in Windows 11 or third-party programs.
So here’s how it works.
How to check VRAM usage in Windows 11 via Task Manager
If you want to check VRAM usage on your Windows 11 PC via Task Manager, you can follow these steps:
- Press Ctrl + Shift + Esc to open Task Manager.
- Then go to the Performance tab and select GPU.
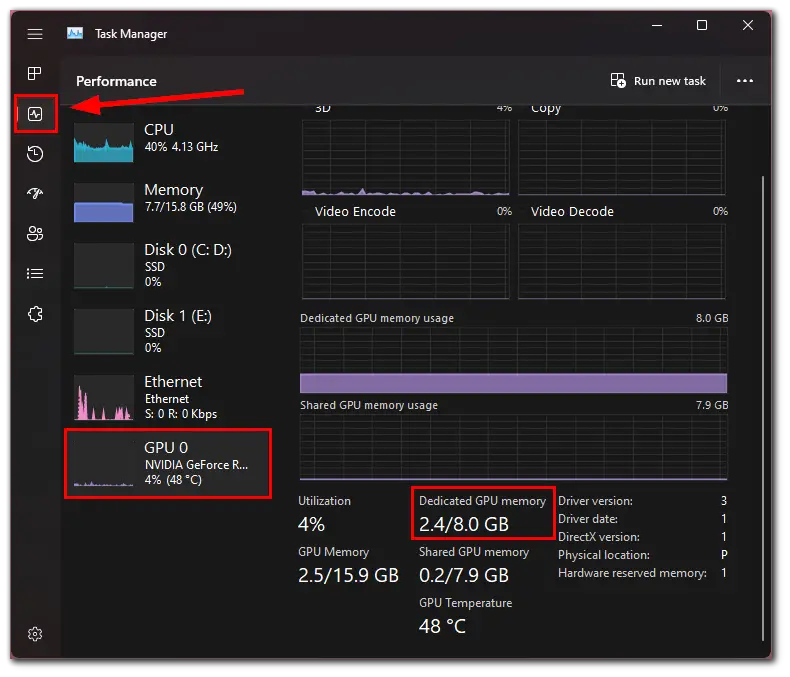
You will see different graphs and parameters. You need to check the Dedicated GPU memory section. The first number of this parameter will indicate how much VRAM is currently being used on your Windows 11 PC. For example, my PC is currently using 2.4 GB of VRAM.
Although there are many methods to check the amount of VRAM, this is the only built-in method to check specifically its use in Windows 11. In addition to information about your computer’s current GPU usage, it also shows GPU temperatures.
How to check VRAM usage in Windows 11 via GPU-Z
GPU-Z is a popular third-party program that provides detailed information about your GPU. First, download and install it on your Windows 11 PC. After that, follow these steps to check your VRAM usage:
- Launch GPU-Z and go to the Sensors tab.
- Next to Memory Used, you should see the current VRAM usage.
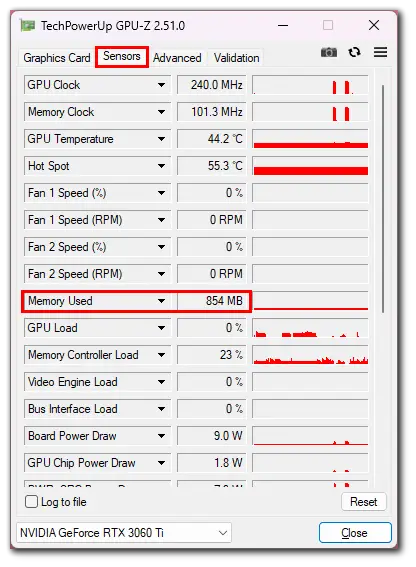
As you can see, many parameters are available, from temperature to power consumption. This way, you can fully monitor the performance of your GPU.
How much VRAM do you have on your Windows 11 PC?
If you want to check the amount of VRAM on your Windows 11 PC, you can follow these steps:
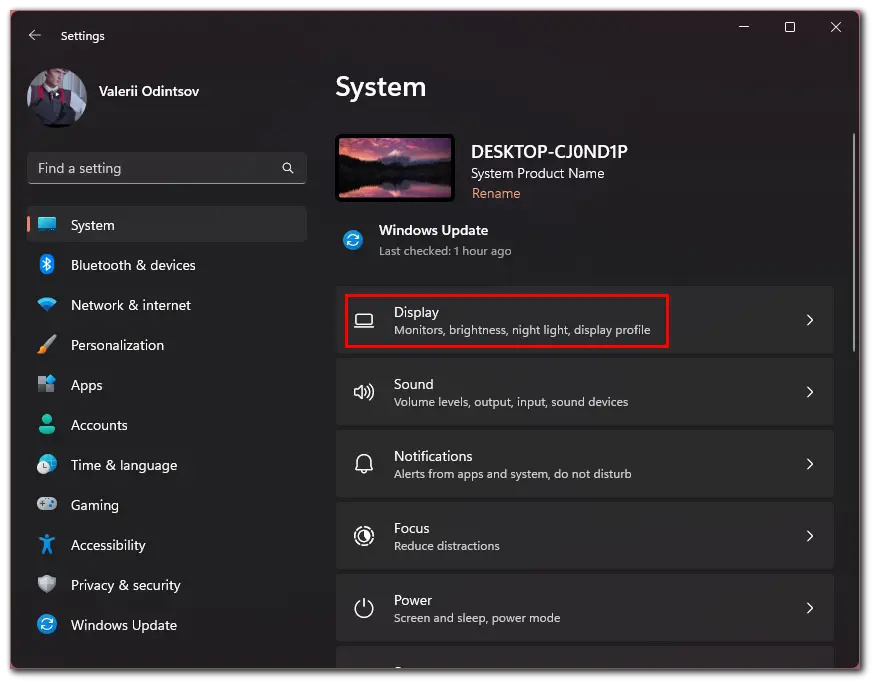
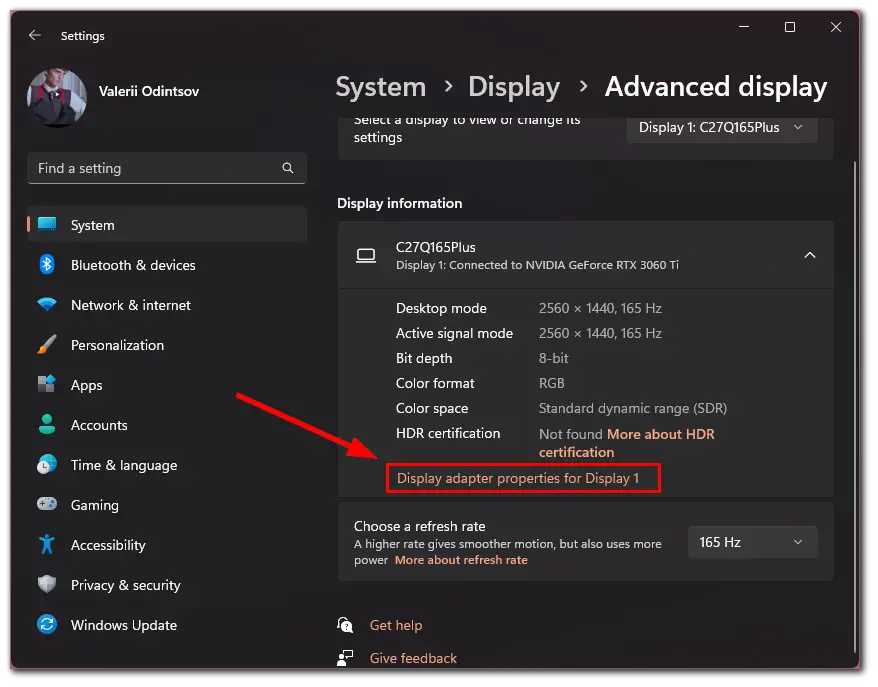
- Press Win + I to open Settings and go to Display.
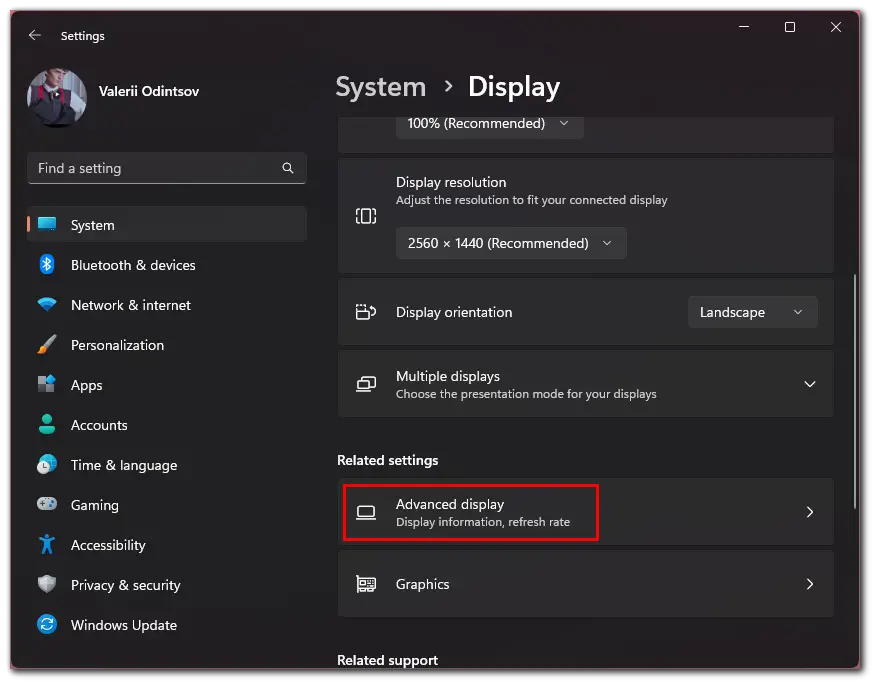
- Then click Advanced options.
- After that, click on the Display adapter properties link.
- Now find the value named Dedicated Video Memory.
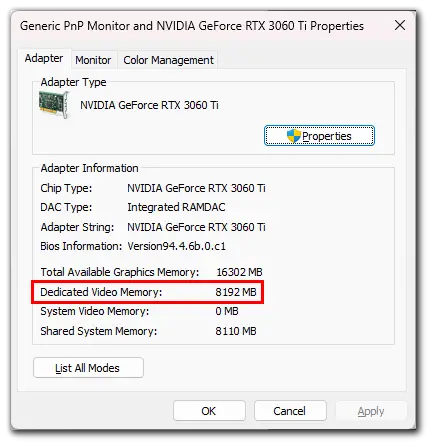
This is the current VRAM of the GPU you selected.
What is the difference between RAM and VRAM?
RAM is temporary storage on your PC that allows the CPU to access the data needed to process your tasks quickly. You can easily upgrade the system RAM or replace it with other modules.
VRAM, in turn, is the RAM for the video card processor. It is used exclusively for tasks such as scene rendering and display control. VRAM is soldered directly to the video card, and this proximity to the GPU means it can access information much faster than the system RAM or connected storage devices.
Moreover, since VRAM is soldered to the video card case, you can’t replace it like the RAM bar.
How much VRAM do you need in 2022?
In this case, it all depends on how you load your PC. For example, if you do 3D modeling, animation, and rendering, you need as much VRAM in your GPU as possible. Your best bet would be to buy a 24GB video card.
If you are a gamer and want to play demanding video games with high FPS and ultra graphics, then it will depend more on the video card model than on its VRAM. For example, to play video games in Full HD resolution, you will need 6 GB. And if you plan to play in 4K, the best option would be to buy a GPU with 8-12 GB of VRAM.
I use an 8GB NVIDIA GeForce 3060 Ti on my PC, and I can’t say anything wrong about this graphics card. I think it deserves your attention if you don’t want to have problems with FPS in almost any game on high settings. For example, I have a stable 100 FPS in Warzone 2.0 on high settings at 2K resolution.


