

Looking to see your Meta Quest 2 on your Roku TV? You have three simple options. First, you can use your phone or tablet. This way, you’ll send the Quest 2’s screen right to your smartphone and then mirror its screen to TV, fast and easy. Or, you can use a Chromecast. This gadget will send your VR screen straight to your TV with no fuss.
Your third option is use your PC. Just link it up to your TV and use a web page to show your VR screen on your TV. Whichever way you choose, make sure all your gear is on the same Wi-Fi network. This will ensure everything works smoothly and your VR screen appears clear on your TV.
How to cast Quest 2 to Roku TV using a mobile app
The simplest method to stream Quest 2 on Roku TV involves using your smartphone or tablet. Quest 2 allows image display on Android or iOS mobile devices. After sending the image to your smartphone, mirror it to Roku TV. Here are the steps to follow:
- Connect Meta Quest, Roku TV, and smartphone to the same strong Wi-Fi network.
- Start screen mirroring on Roku TV using AirPlay for iPhones or SmartView for Android smartphones.
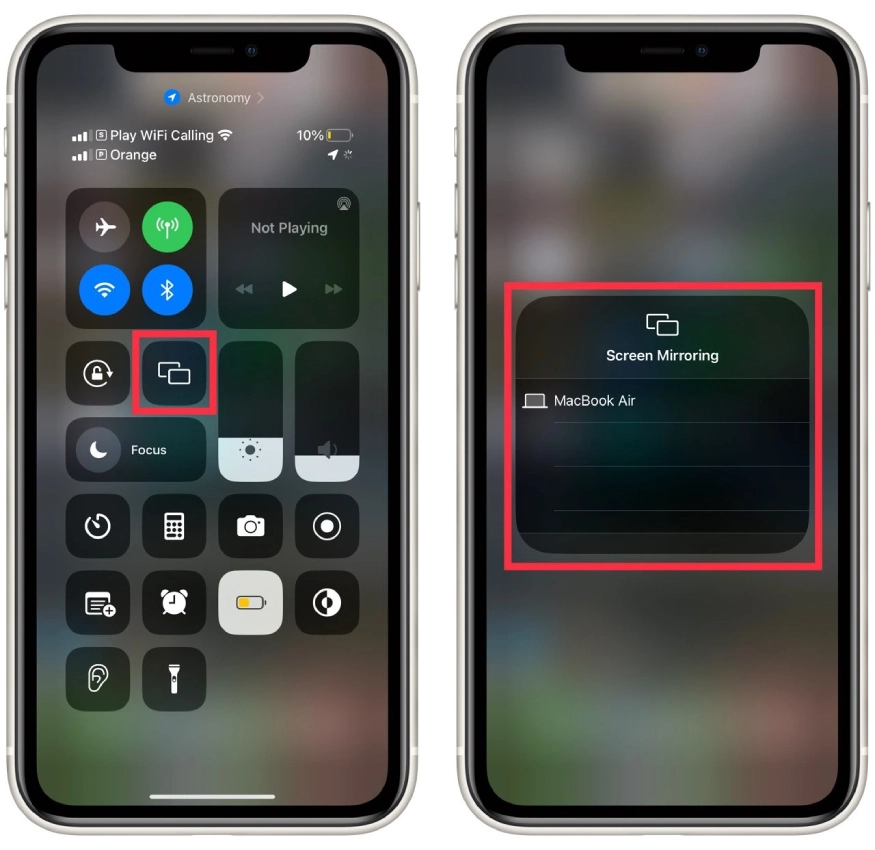
- Tap on Roku TV from the available devices on your phone and follow prompts, such as entering a code displayed on your TV.
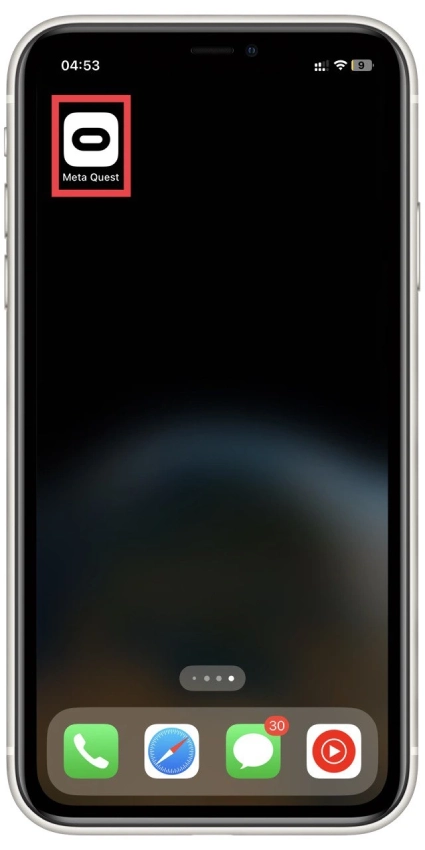
- Find and open the Meta Quest app on your smartphone. If it isn’t on your device yet, download it from the Google Play Store for Android devices or the App Store for iPhone and iPad.
- Sign into the same Meta account linked with your Quest 2.
- Strap on the Meta Quest 2 and turn it on by pressing the power button on the right side.
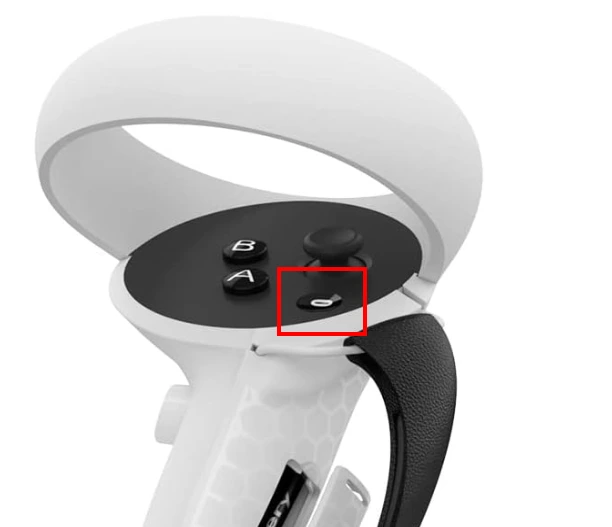
- Press the Oculus button on the right controller to display the Oculus menu.
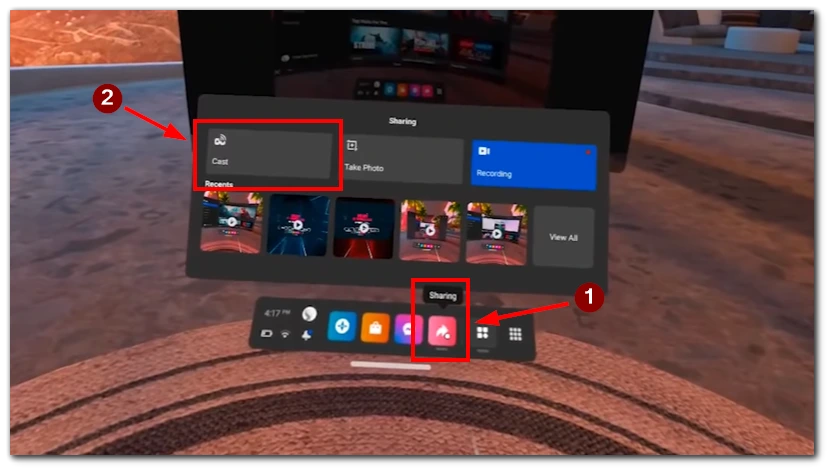
- Select the pink Share icon in the Oculus menu and squeeze the trigger button to select it.
- Select ‘Cast‘ in the Share menu.
- Choose the ‘Meta Quest mobile app’ (Oculus app) from the list and click ‘Next‘ to cast the Meta Quest to the mobile app and mirror onto the TV screen.

Using this method, you’ll see a clear delay because the signal from your VR headset goes to your smartphone first and then to your TV. It’s also a good idea to use 5GHz Wi-Fi to prevent any connection issues.
How to cast Quest 2 to Roku TV using Chromecast
If the mobile device method doesn’t work for you, Quest 2 also supports casting directly to Chromecast devices. However, Roku TV and Roku TV set-top boxes do not support Chromecast. So, you will need to purchase an external device with Chromecast OS. After that:
- Plug your Chromecast into the HDMI port of your Roku TV.
- Ensure your Chromecast and Meta Quest 2 are on the same Wi-Fi network.
- Set up your Chromecast by downloading the Google Home app on your smartphone or tablet and following the app’s setup process.
- Put on your Meta Quest 2 and navigate to the ‘Sharing‘ tab on the menu.
- Select ‘Cast’ in the Sharing tab.
- Then, choose the Chromecast device from the list of available devices.
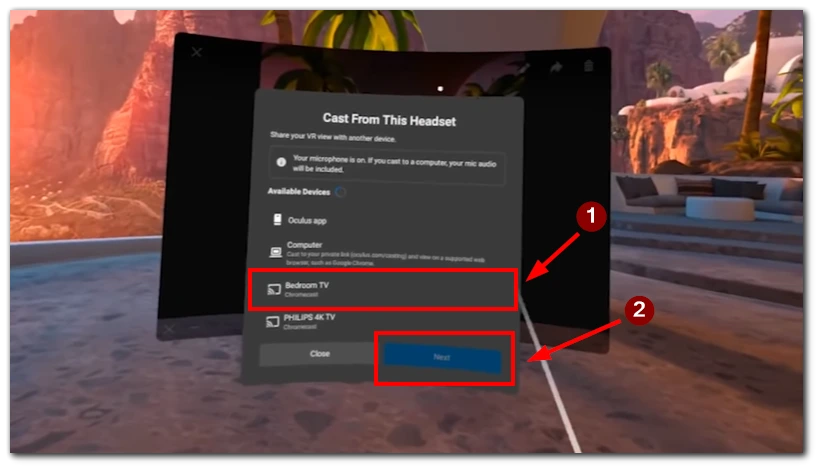
- Accept any permissions to start casting.
- Your Meta Quest 2 screen will now appear on your Roku TV through the Chromecast device.
To end casting, navigate back to the ‘Sharing’ tab on your Meta Quest 2 and select ‘Stop Casting,’ or disconnect it from the Google Home app on your smartphone. Ensure all devices are on the same Wi-Fi network and check for any updates for seamless operation.
How to cast Quest 2 to Roku TV using a PC
The other way requires your PC. Use a specific browser page on your computer to show the image from the VR headset. Next, link your computer to the Roku TV using HDMI. This way, the VR image gets broadcast straight to the TV.
- Establish a connection between your PC and TV utilizing an HDMI cable.
- Launch either Chrome or Edge browser on the computer (ensure it’s a Chromium-based browser for compatibility).
- Access the Meta Meta site Casting Page.
- Enter the login details identical to those on your Quest 2 device.
- Wear the Meta headset, activating its power.
- Activate the Oculus menu by hitting the Oculus button.
- Proceed to ‘Share’, then ‘Cast’.
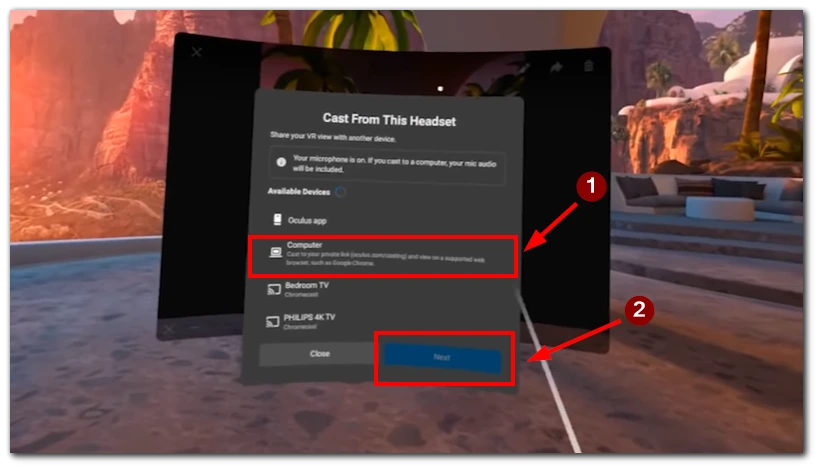
- Select ‘Computer’ from the visible device options and click ‘Next.’ To have this appear, confirm that the computer and headset share the same Wi-Fi network.
Note that this method likely offers the poorest image quality. Also, the browser shows a vertical display, not horizontal. Use this approach if the initial two methods fail.
Things to keep in mind while casting Quest 2 to Roku TV
For optimal performance and minimal latency when casting from Meta Quest 2 to Roku TV, it’s crucial to utilize a 5GHz Wi-Fi network. This frequency offers faster and more stable connectivity, essential for seamless viewing and interaction. Additionally, ensure your computer is also connected via Wi-Fi rather than an Ethernet cable for enhanced synchronization among all devices.
Before embarking on the casting process, make certain all your devices are updated to the latest software versions. This precaution helps to avert potential compatibility issues and assures the highest casting quality. Moreover, it guarantees that all devices are fully charged before the casting session, preventing unexpected interruptions due to battery discharge during use.


