

Windows 10 has many accessibility features. One of them is text-to-speech, also known as Narrator. This tool is designed to help users with visual impairments. It reads the text on the screen out loud and also voices the user’s various actions while working.
While this feature is handy for some people, most users don’t need it. By default, the Narrator should be turned off on Windows 10. However, if you notice that the feature is enabled on your PC, you can quickly turn it off.
You can deactivate Narrator in two ways – through Settings or with a keyboard shortcut. So here’s how it works.
How to disable Narrator in Windows 10 via Settings
If you want to disable the text-to-speech feature on your Windows 10 PC using Settings, you can follow these steps:
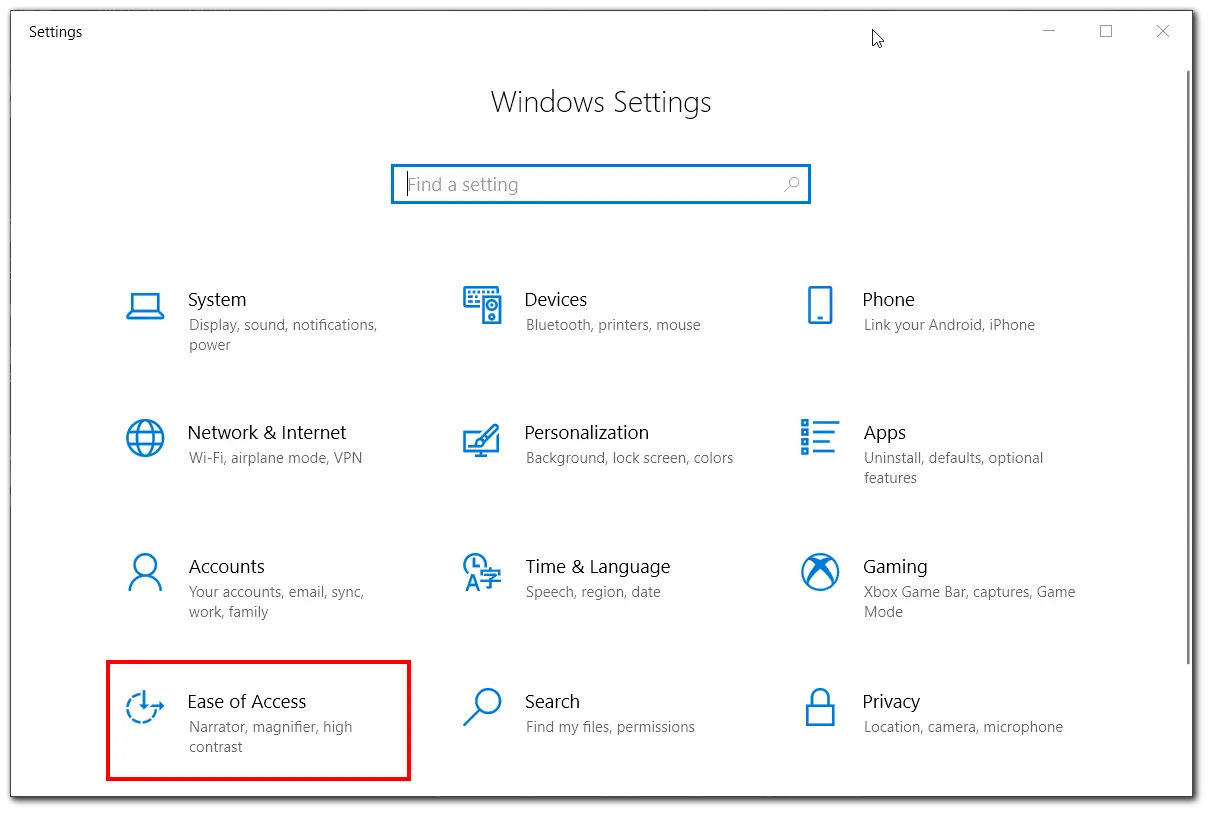
- First, press Win + I on your keyboard to open the Settings menu and go to Ease of Access.
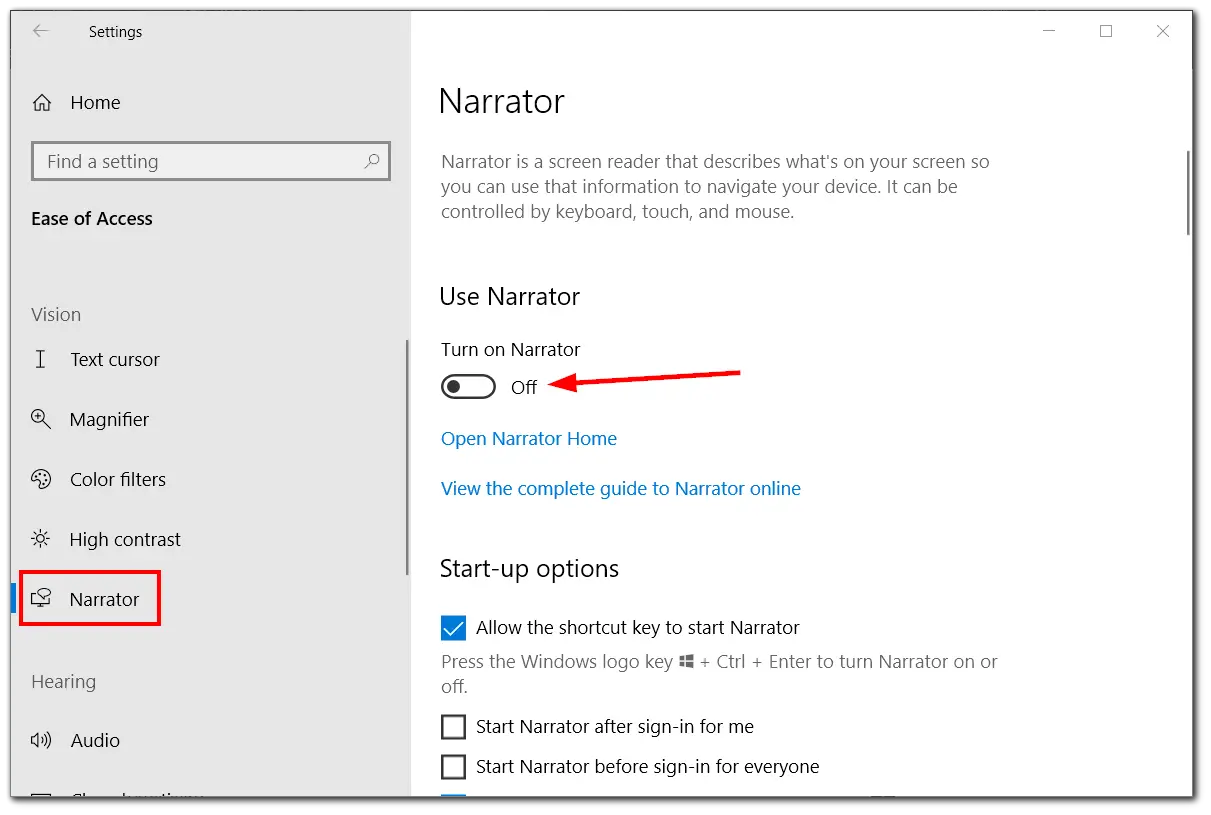
- After that, select Narrator from the left side menu.
- Finally, under Use Narrator, toggle the switch to Off.
Once you have completed these steps, text-to-speech won’t bother you anymore. Plus, you can always turn it back on.
How to disable Narrator in Windows 10 using a keyboard shortcut
The second way to disable Narrator may seem even more straightforward to some users than the first. To do this, follow these instructions:
- Press Win + Ctrl + Enter on your keyboard.
- You will hear “Exiting Narrator,” and the feature will turn off.
Moreover, you can disable this function by using the hotkeys. This can also be done via Settings:
- So press Win + I on your keyboard to open the Settings menu and go to Ease of Access.
- After that, select Narrator from the left side menu.
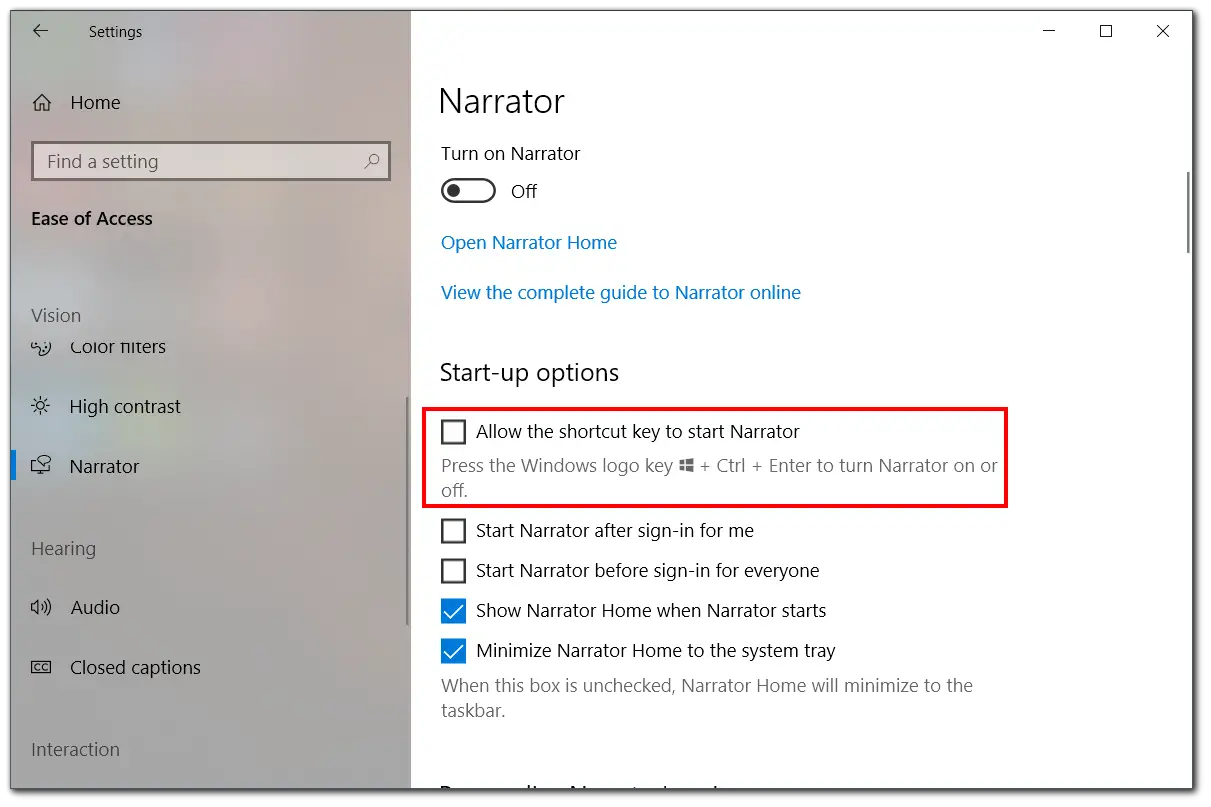
- Finally, uncheck Allow the shortcut key to start Narrator.
Once you’re done, this shortcut becomes unavailable.
What’s more, if you don’t want to activate Narrator for your account after signing in, uncheck Start Narrator after sign-in for me. If you want to disable it on your computer for all users, uncheck the Start Narrator before sign-in for everyone box.
How to configure the Narrator on Windows 10
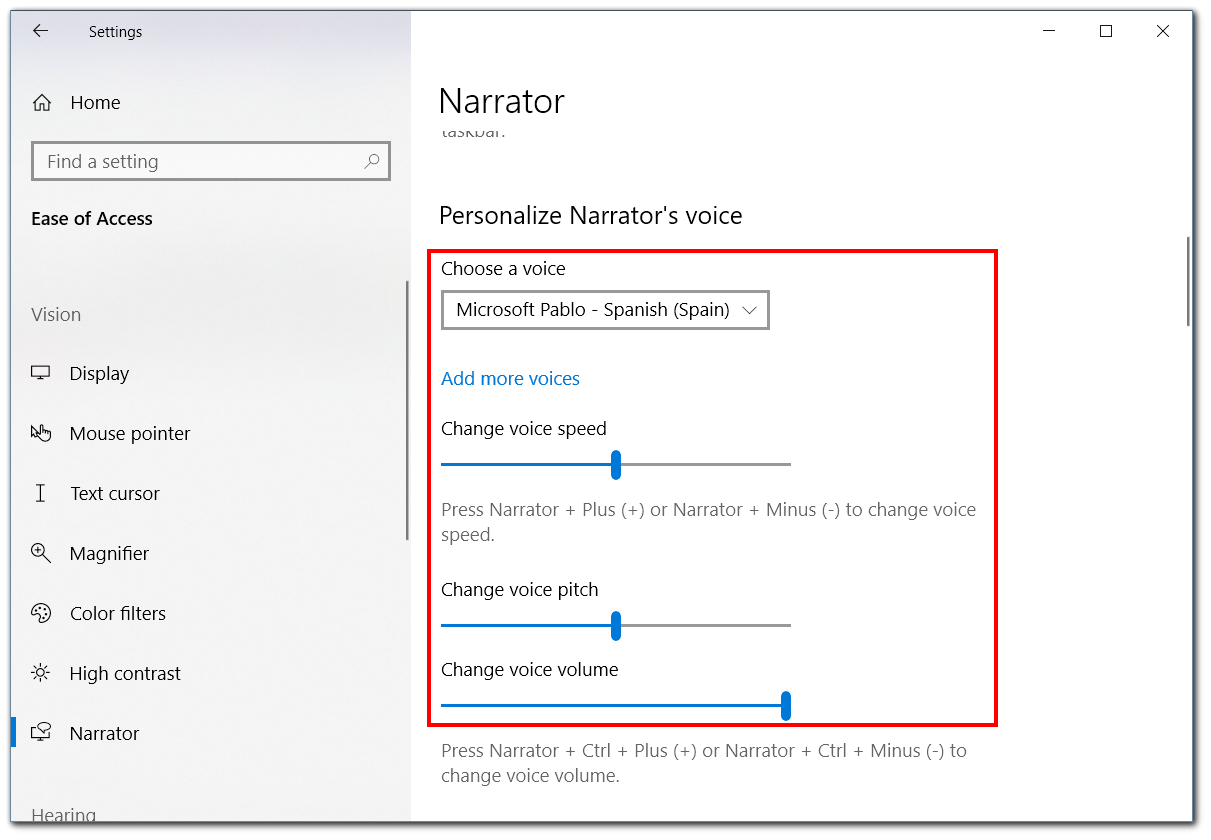
If you suddenly need to enable text-to-speech on your Windows 10 PC and customize it for you, it’s easy enough to do. Microsoft offers many options for customizing the Narrator to your liking. In addition to changing the language of your voice assistant, you can also change the speed, pitch, and of course, the volume of the voice.
If you scroll down a little bit in the settings, you’ll see options for changing what you hear when you read something on the screen. For example, you can have Narrator’s voice emphasize formatted text, hear phonetics as you read by character or head advanced detail, like help text, on buttons and other controls.
Moreover, below, you can set up what you hear when typing. For example, you can enable options to hear letters, numbers, punctuation, words, and function keys as you type.

There’s also an option to configure the Narrator cursor additionally. For example, you can enable a feature to read and interact with the screen using the mouse.
As you can see, there’s nothing complicated about disabling and configuring Narrator on Windows 10. Now you can use your PC without being distracted by unnecessary sounds.


