

Sometimes, excessive echo can really be a problem for someone editing an audio recording or track. However, you should know that echo can be removed in Audacity.
What do you need to remove an echo in Audacity
Sound engineers take really sterile tracks and make them sound natural with sound effects. The most common tools for this are delay/echo and reverb, and with some know-how, you can tweak your own tracks for the better.
All of these effects help improve the quality of the sound, making it deeper and more natural. They’re also used as aesthetic effects, and understanding how they work will help you make full use of them. You can find them all in the Audacity effects menu.
Sometimes it’s enough to make a small mistake while editing an audio recording to completely or partially ruin it and fill it with excessive echo and reverb. This is where Audacity comes in, a free program that helps you edit audio files and is available for both Windows and Mac.
Well, if you want to remove an echo in Audacity, here’s how you can do it.
What do echo, delay, and reverb mean
Delay, echo, and reverb are different aspects of the same process: the repetition of sound over time. The echo is fairly easy to understand. It’s a repetitive iteration of sound that occurs at a reduced volume and over a short period of time. Shouting into a canyon or into a wide space will give you an echo. Sound waves come from your mouth, travel some distance, bounce off a hard surface, and return to your ears after a short time.
An echo is a delay. In sound editing terms, however, an echo is seen as a certain type of delay that fades but reproduces sound otherwise accurately. A delay is a configurable thing that can change the sound during each iteration.
Next comes the reverb. This occurs when echoes accumulate in an enclosed space and cause the volume to increase, which then fades as the sound slowly comes out. A good example of this is when you clap or shout in a medium-sized room with all the doors closed. As the sound builds up, there’s an abrupt spike, so your initial noise isn’t the loudest. Then, after building up, the sound will come out slowly. You can think of it as an overlapping echo, where instead of full repetitions with a delay in between, the iteration starts very soon after the sound starts and while it continues.
How to remove echo without a plug-in in Audacity
If you want to remove echo without a plug-in in Audacity, you have to follow these steps:
- First of all, launch the Audacity app on your PC or laptop.
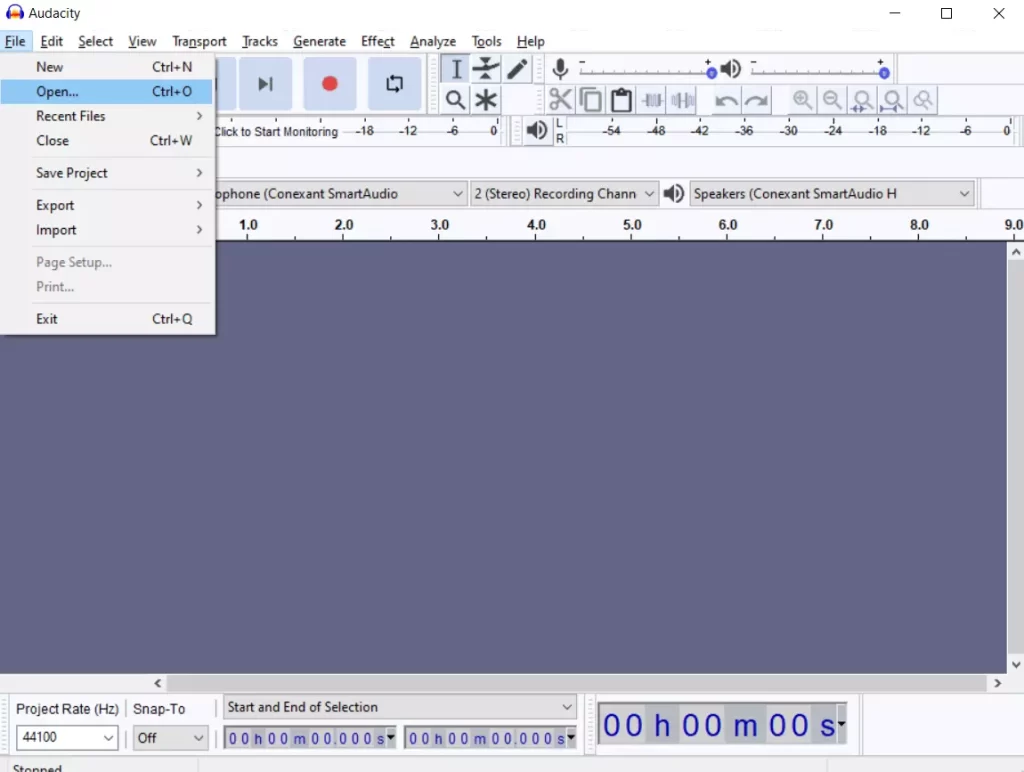
- After that, click on the “File” tab at the top left corner of the window and select the “Open” option.
- Then, click on the “Files of type” drop-down menu and select “All supported files”.
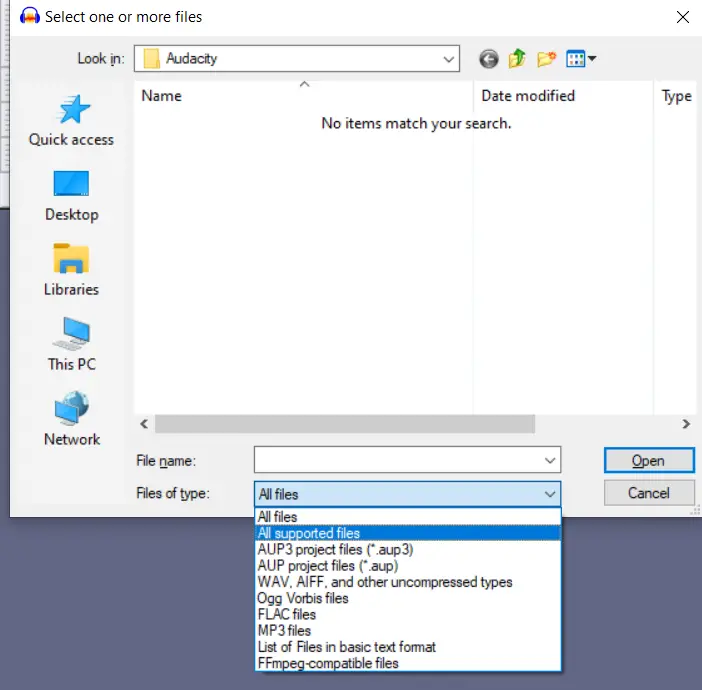
- Now, find and select the file you want to edit, and click “Open”.
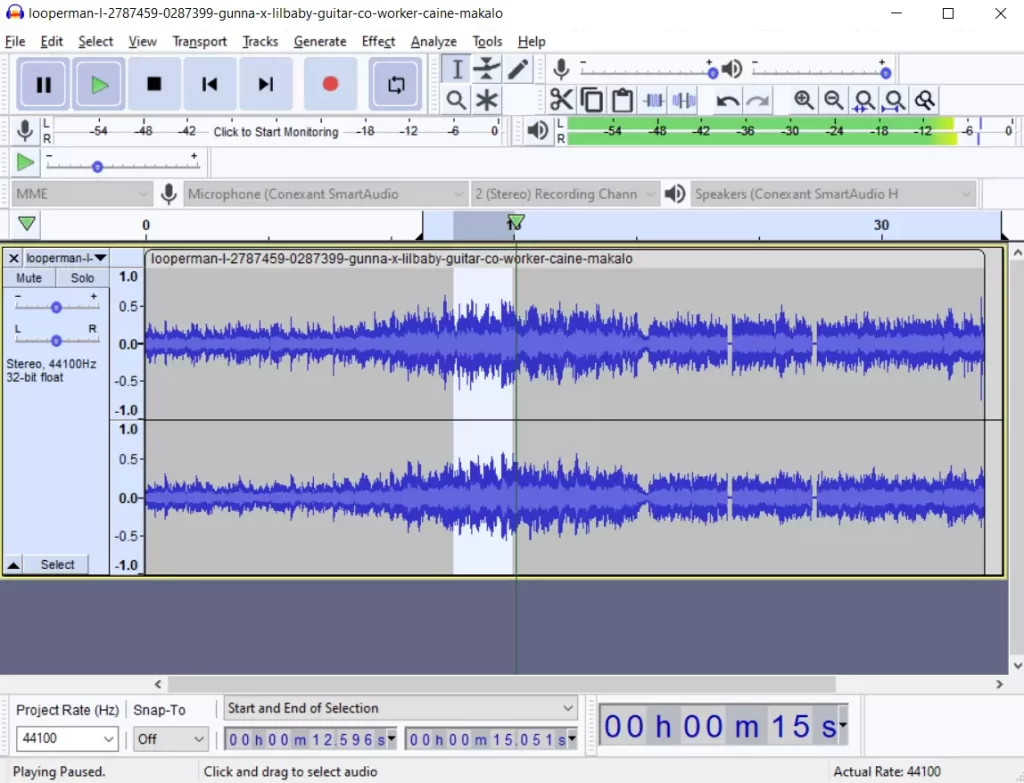
- Choose the segment of the audio file you want to edit. You can do this by clicking on one end of the segment and dragging the mouse to the other. If you want to edit the entire file, press “Ctrl + A” in Windows or “Command + A” in Mac.
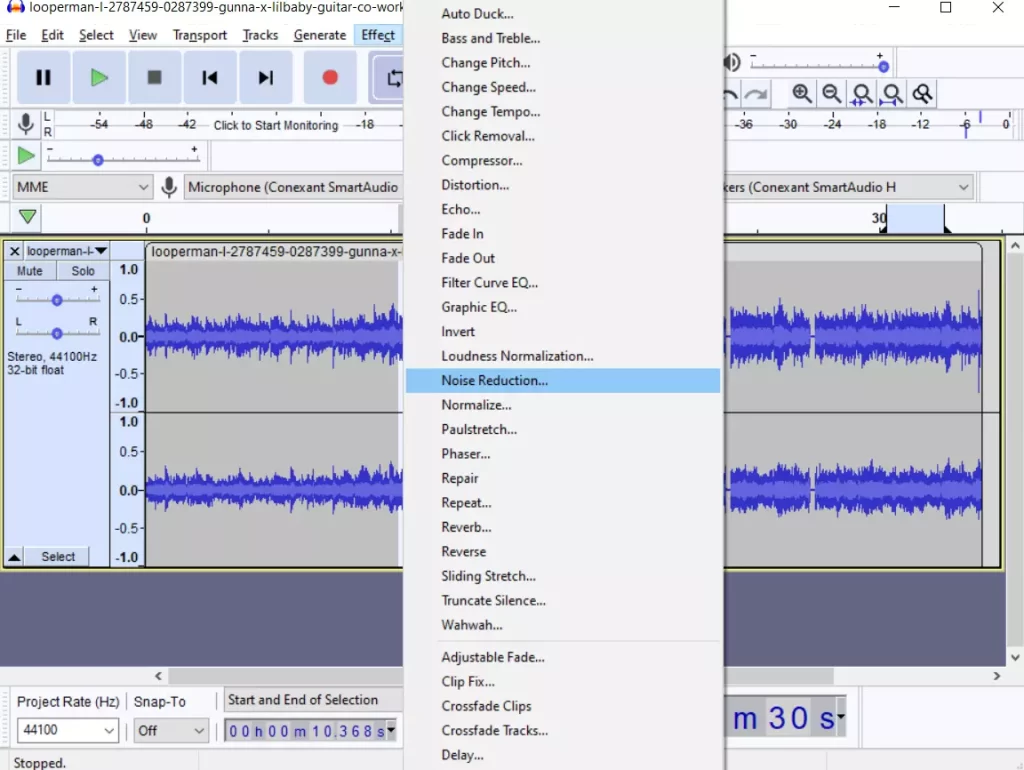
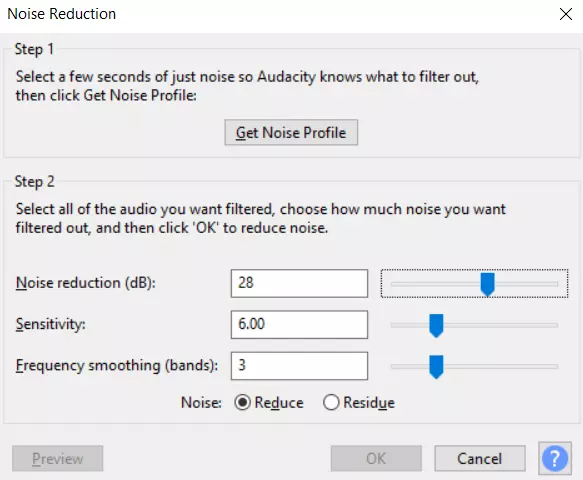
- Next, go to the “Effect” tab and select “Noise Reduction”.
- Increase the “Noise Reduction” slider to improve sound quality.
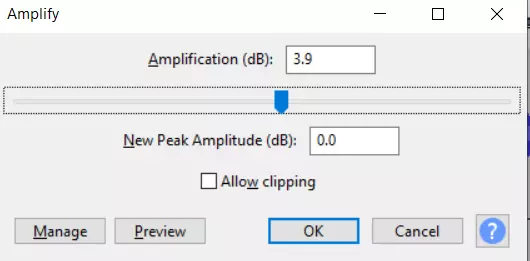
- If turning “Noise Reduction” on lowers the volume, go to the “Effect” tab and select the “Amplify” option to increase the volume.
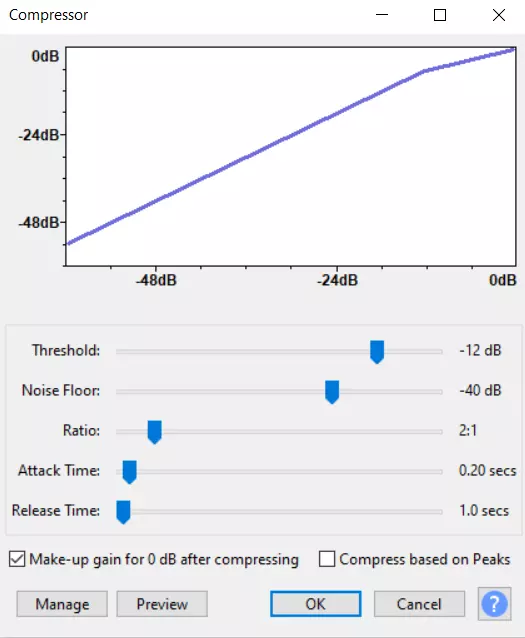
- Locate the “Compressor” in the “Effect” tab. The main thing you should do is change the ratio, but you can also change the noise level and threshold if needed.
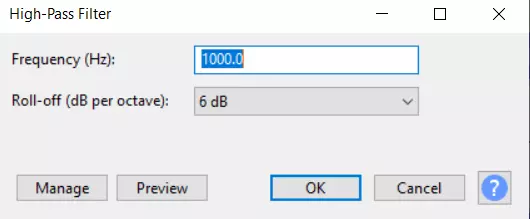
- Depending on the current sound level within the file, you may need to use a low-pass or high-pass filter. These are located in the lower half of the “Effect” tab. The low-pass filter will help if the sound is too high-pitched, and the high-pass filter is useful if it sounds too low or muffled. Stick to changing only the “Rolloff” parameter.
- Look for the “Equalization” effect and switch from “Draw Curves” to “Graphic EQ”. You may find the latter option easier to use because it gives you control over the sliders and lets you set their values that way, whereas the first option forces you to draw EQ yourself. If you need to tweak the low tones, focus on the sliders on the left. The middle bars affect the medium tones, and the bars on the right should be changed to affect the high tones.
- Select the “File” tab at the top of the screen and navigate to the “Export Audio” option.
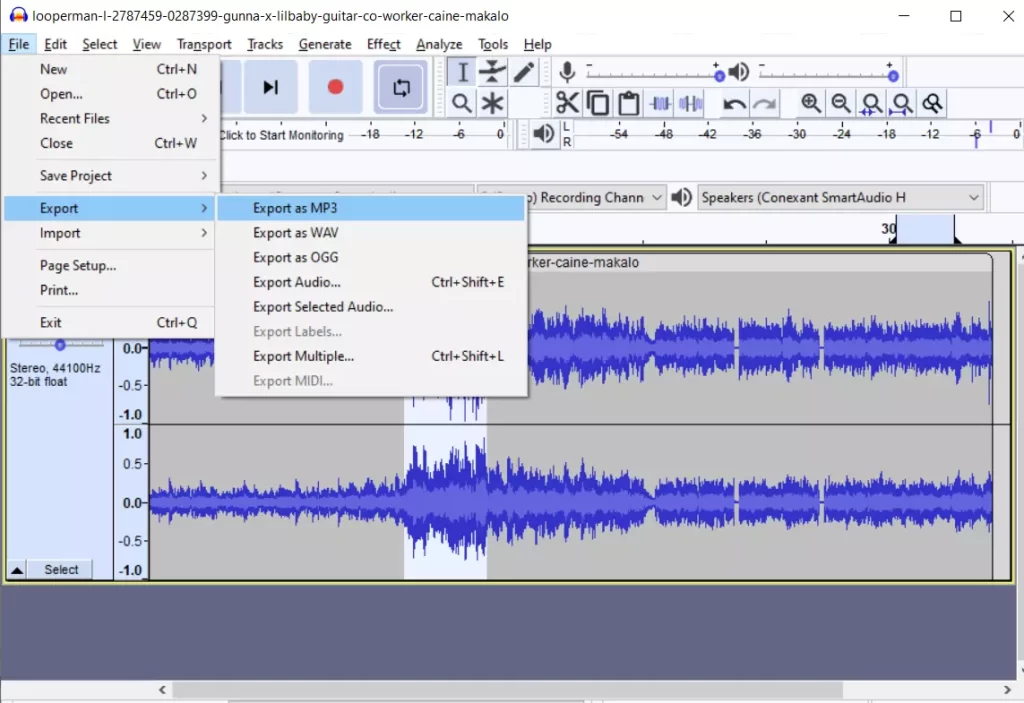
- Finally, select the type of file you want to export as and save the project.
Once you have completed these steps, you will be able to remove an echo from your audio file in Audacity.
What is a reverb in Audacity
Reverb is a bit more complicated because it’s more about acoustics. Reverb won’t add an echo but will start the sound, let it peak, and then release it over a period of time.
Reverb can help shape your sound and highlight some overtones, and it really helps make clips more natural. That’s because you’re essentially re-recording the sound in a virtualized space. A larger room size will make the “tail” of the reverb longer and make the wave louder.
The reverb time affects the length of the reverb from swell to release. If you make this value very small, you will essentially cut off the tail.
The damping is similar to the amount of damping in the delay effect. It depends on how much the overlapping iterations will overlap. It primarily affects the earlier iterations and the tail, although it can reduce the swell if the value is too high. The lower the value, the more intense the reverb will be.


