

Today, almost every service that is connected in any way with online communication has a status. And Microsoft Teams is no exception in this case.
Usually, the status icon works steadily. However, sometimes users experience problems, and the status doesn’t change. It’s actually a pretty strange bug. For example, you selected Busy, but the icon itself doesn’t change and remains Available.
It may seem insignificant if you use Teams for everyday informal communication. However, the status icon should be critical if you use it for work. Fortunately, there are many ways how to fix it.
So let’s look at each of them in more detail.
Reset your Microsoft Team status
The Microsoft Teams status bar has a built-in status refresh feature. So follow these steps to use it:
- First, launch Microsoft Teams and sign in to your account if needed.
- After that, click on your profile icon at the top right corner and select the Status (Available) option.
- Finally, click Reset Status.

Once you have completed these steps, the bug should disappear. Try to change your status. However, if you still can’t update it, move to the next solution.
Resign into your Teams account
Often, the common reset helps. But if not, you can first try to log out and log in again to your Microsoft Teams account.
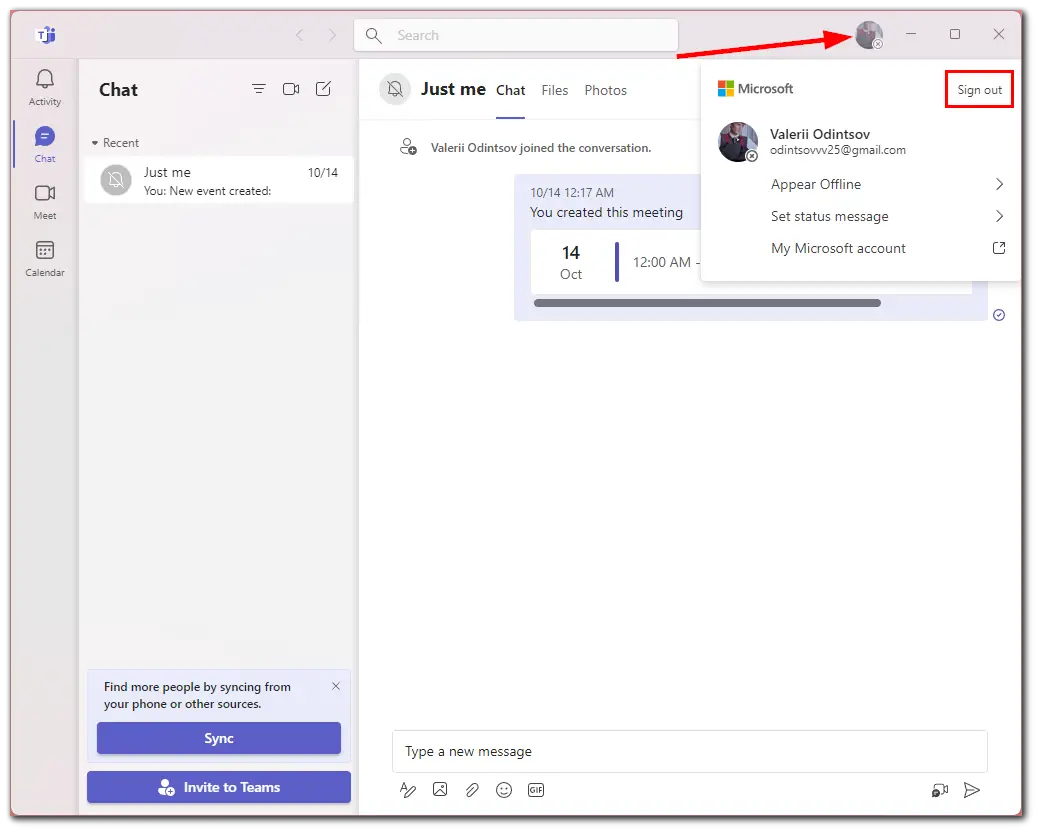
- To sign out of your account, click on your profile icon and select Sign out.
- After that, restart Microsoft Teams and sign in to your account again.
- Finally, try to update your status.
You should also be aware that if you use Teams on more than one device, such as a laptop or a smartphone, the Microsoft server may automatically swap the status from the device you’re not using. It’s a little weird but fixable.
Just log out of all active sessions. Then the system will focus on just one device, and you can update your status.
Disable Teams as a chat app for Office
One reason for the status error could be that Teams is set as the default chat application for Office users. This means that Teams imports status from Office Suite. To fix it, follow these steps:
- Launch Teams.
- Click on the three dots button near your profile icon and select Settings.
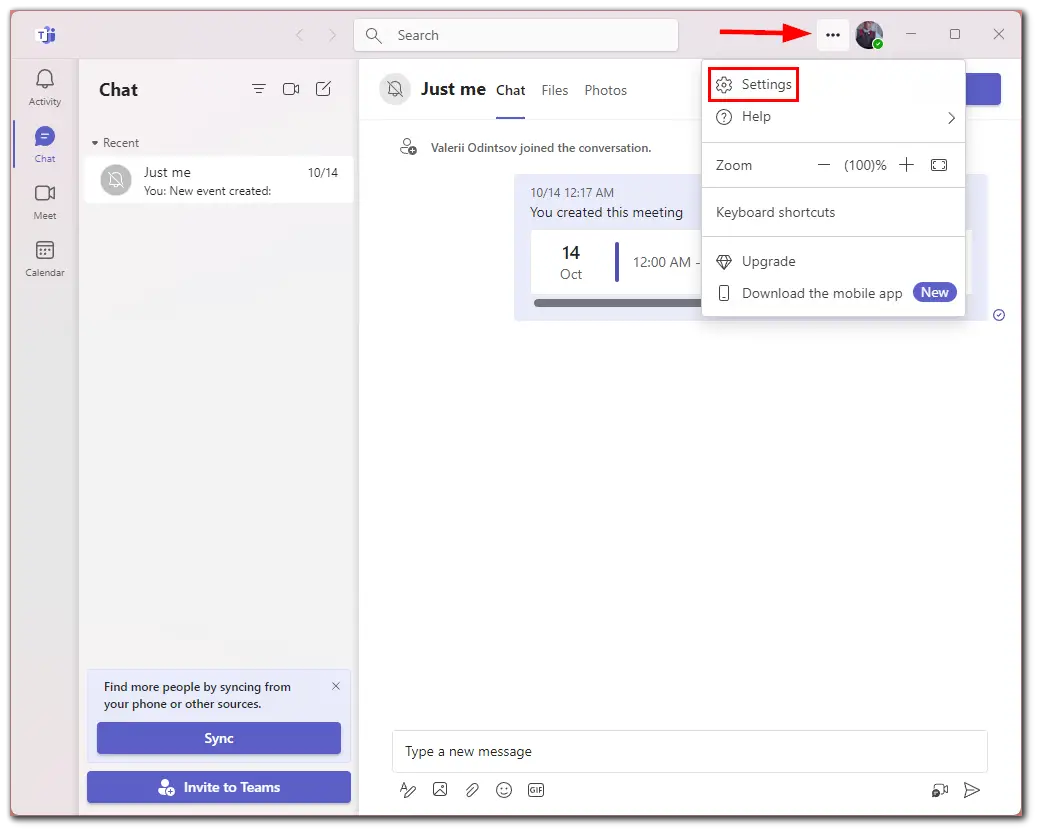
- Afterward, go to the General tab and uncheck Register Teams as the chat app for Office.
Keep in mind that this option is only available if you are using paid Office version.
Remove the Settings file
All Teams settings are stored in a particular file on your computer. It is possible that this file could be corrupted. This can be the cause of status failures.
Therefore, this file should be deleted. But remember that if you do that, you will reset all the Teams settings and return them to their default values. You should log into the app and adjust all the settings. However, deleting the file won’t affect any data in the cloud.
So do the following:
- Press Win + E and enter the following path in the search bar:
- %appdata%\Microsoft\Teams
- In the Teams folder, find the settings.json file.
- Before you delete it, copy it to make a backup, just in case.
- Then remove the file.
After completing these steps, log out of Teams and restart your computer. Then log back into your account and check if the status error is resolved.
Create a Video Meeting
Some Teams users report that status update problems can be solved by quickly logging in and out of video meetings. So let’s take a look at how to do this.
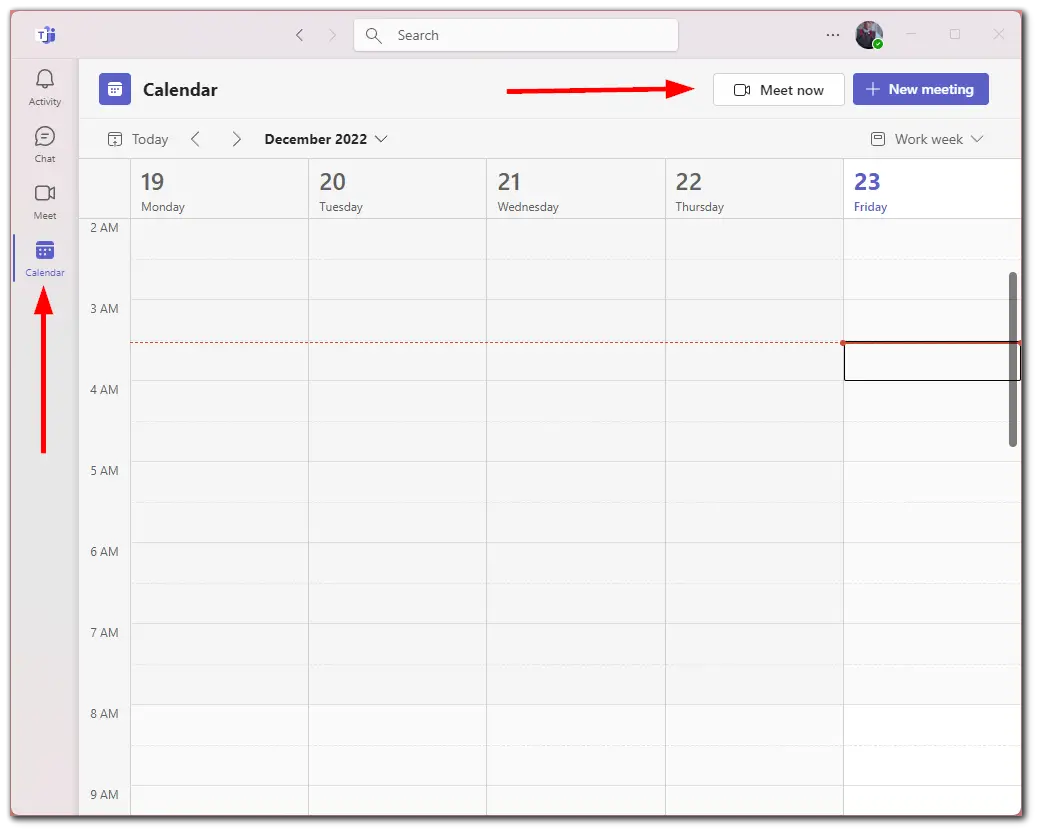
- Open Microsoft Teams and sign in to your account if needed.
- After that, navigate to the Calendar tab and click Meet тow.
Of course, the easiest thing to do is join a meeting that someone else has already started. So you can ask your friend for help.
Start an All Day Meeting
Similarly, you can create an All Day Meeting to solve a status error. So follow these instructions:
- Open Microsoft Teams and sign in to your account if needed.
- Go to Calendar and click New meeting.
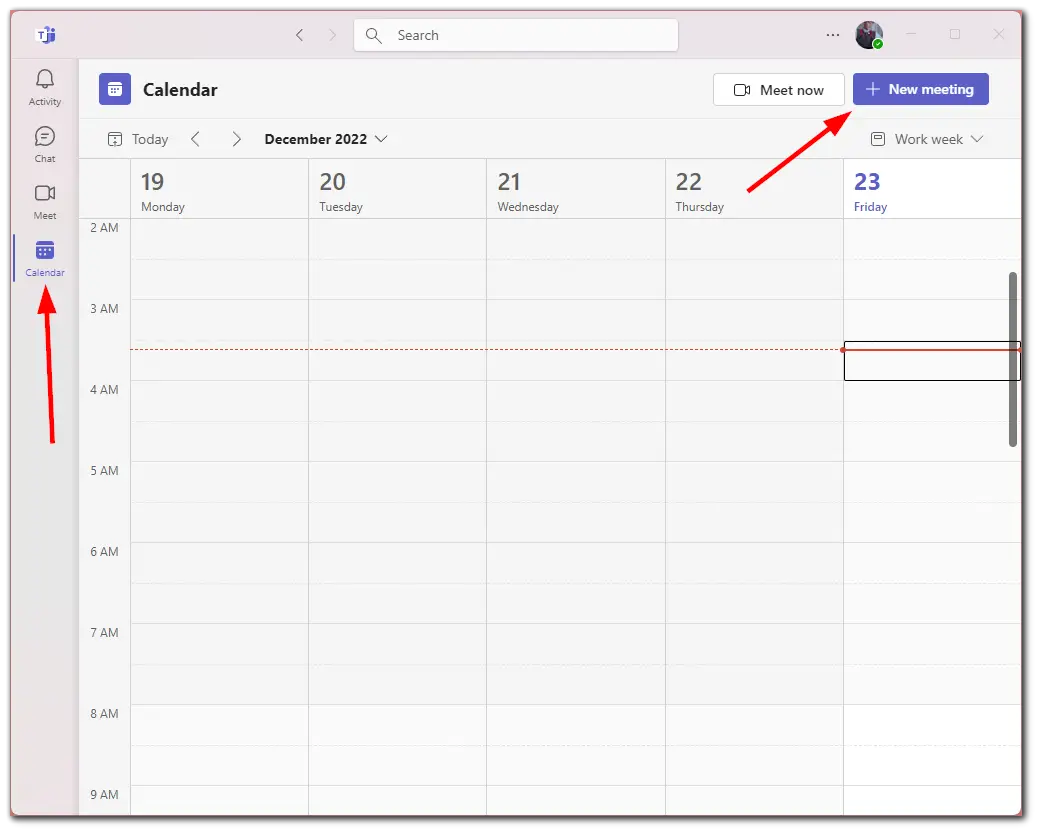
- Create the meeting and check the All day option.
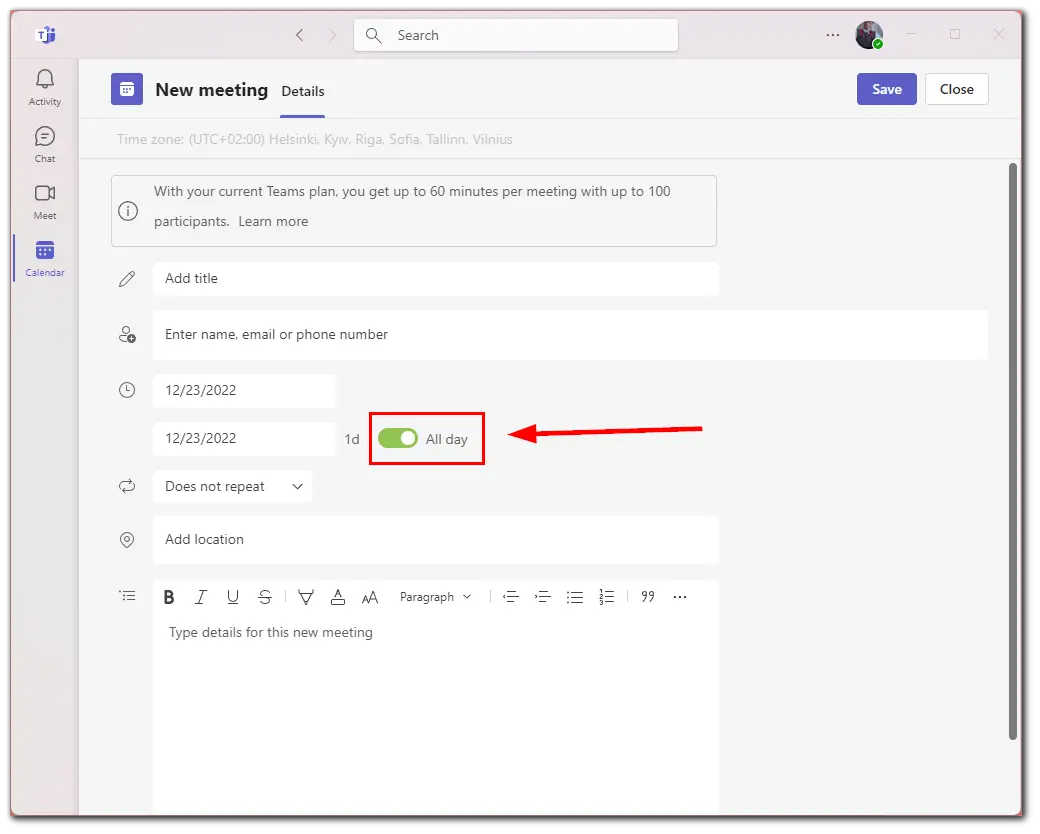
- Finally, click Save.
However, that’s not the end of it. You should wait a few minutes and then cancel the meeting. To do this, follow these steps:
- Go to the Chat tab and click on the three dots button next to the meeting you want to remove.
- After that, click Delete.
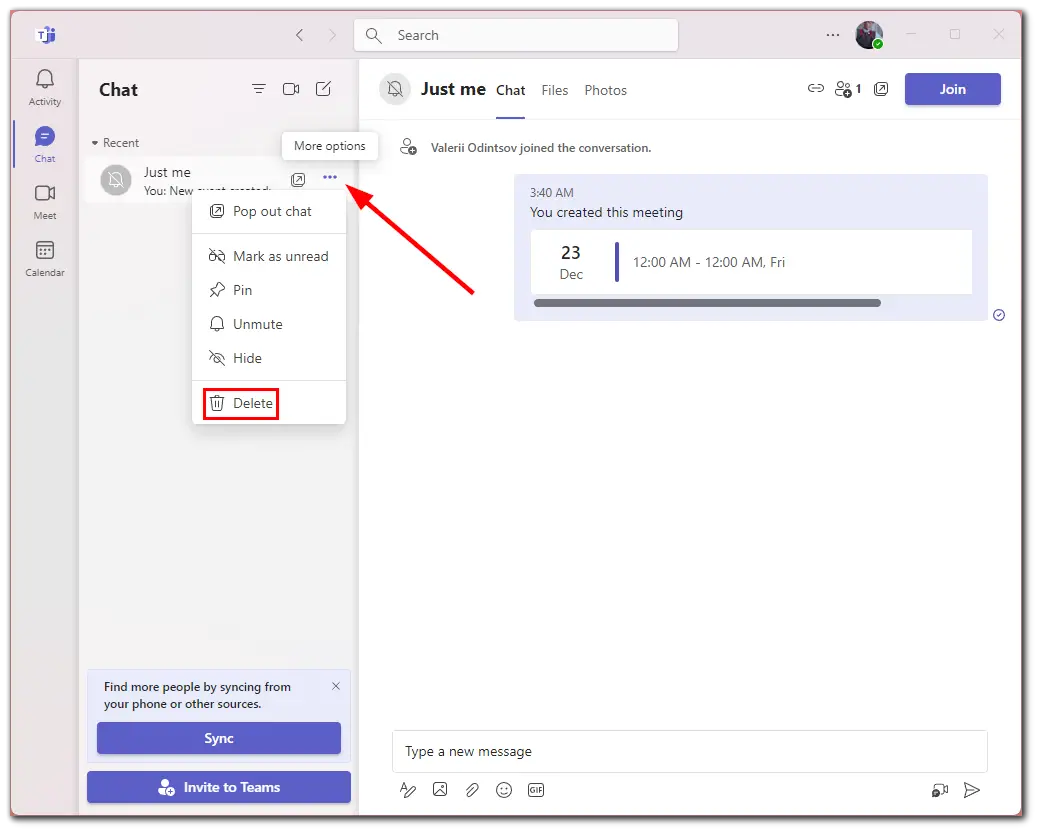
- Finally, confirm this action.
Check to see if it fixed the status problem by resetting it, as mentioned in the first paragraph.
Clear the Teams cache
Another solution that can help to fix the status error is clearing the Teams cache. Here’s how you can do this:
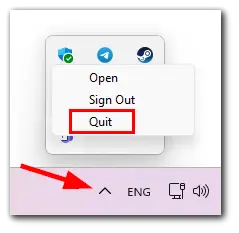
- Click on the arrow in the Taskbar.
- Right-click on the Teams icon and select Quit.
- After that, press Win + E and enter the following path in the search bar:
- %appdata%\Microsoft\Teams
- Delete the contents of the following folders in the Teams folder that opens:
- blob_storage
- Cache
- databases
- GPU Cache
- Local Storage
- tmp
By doing so, you will delete the cache for the Teams app. Finally, open Teams again and see if this fixes the status error. As a last resort, you can try to reinstall Microsoft Teams to fix the status.
How to set the status message in Microsoft Teams
A temporary solution could be a special profile message in Teams if your status doesn’t update. To create one, do the following:
- Open Teams and click on your profile icon at the top right corner.
- Then select Set status message.
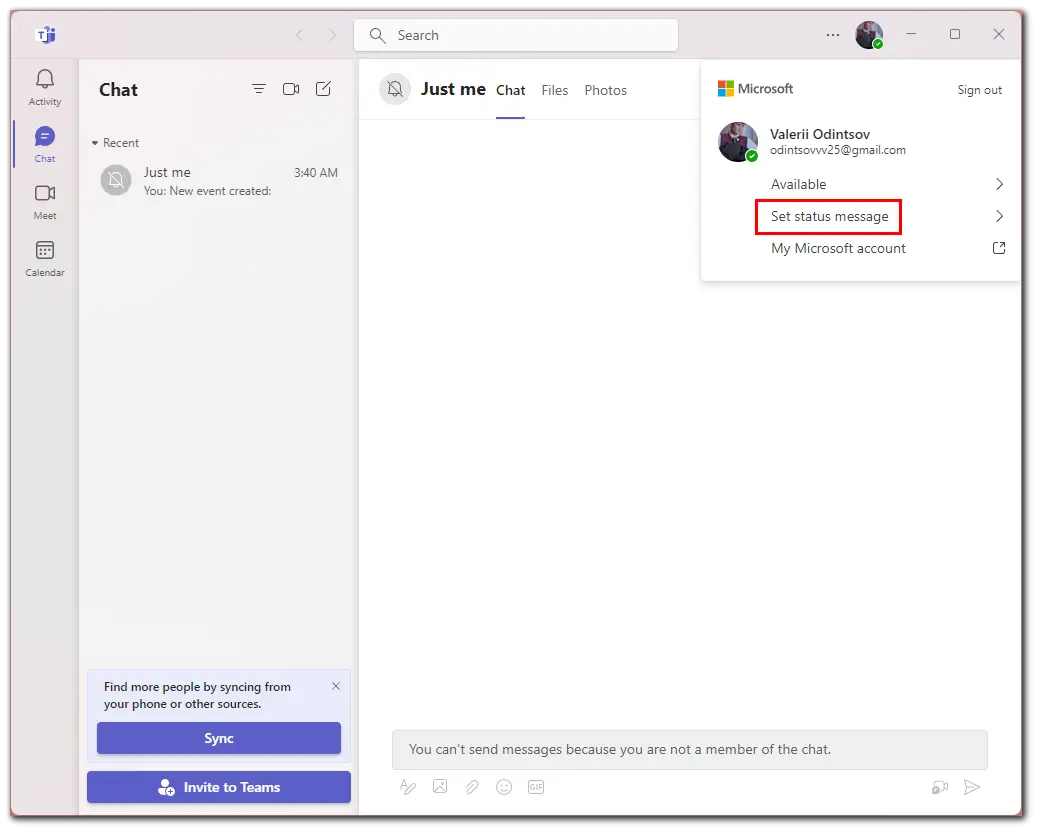
- Now, enter the message and click Done.
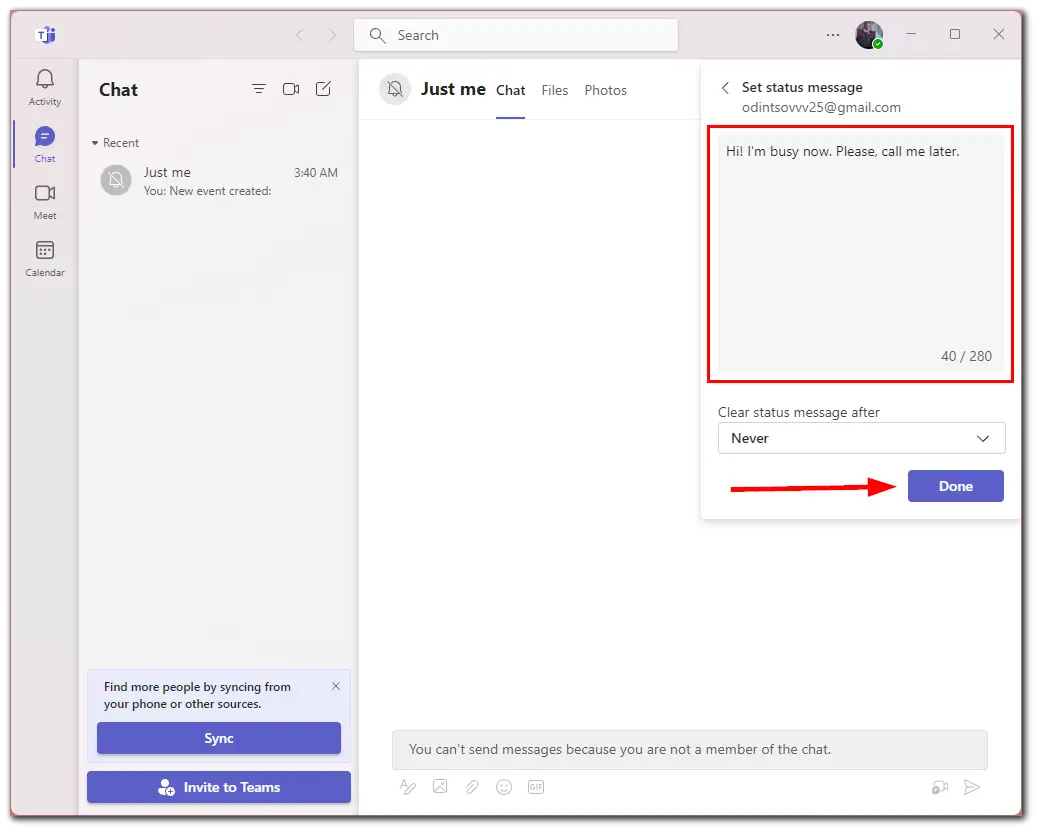
- You can also set this message to be deleted automatically. There are five options available:
- Never
- Today
- 1 hour
- 4 hours
- This week
Once you have completed these steps, you will see this status message when clicking on your profile icon. That’s it.


