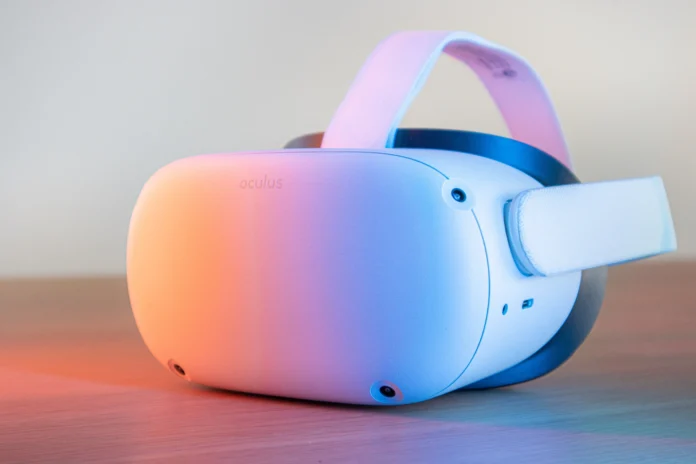
Oculus Quest 2 is a wireless virtual reality headset that creates shared digital spaces over the Internet. You can navigate through these virtual environments and interact with the objects within them, while other people from anywhere in the world join in.
In addition, Oculus Quest 2 is one of the best virtual reality headsets available for beginners and seasoned virtual reality veterans alike.
What are the reasons to reset Oculus Quest 2
When you perform a factory reset on Oculus Quest 2, the headset returns to its original factory settings. A factory reset will erase all saved data and downloaded games. You will also reset the headset to factory defaults and Oculus will restore the original firmware.
There are two main reasons to reset Oculus Quest 2:
- The headset is malfunctioning. Often users resort to resetting to factory settings if the oculus doesn’t work correctly. Although performing a factory reset often solves the problem, it’s an irreversible process, so it should only be used as a last resort. If you’ve tried all the other options or don’t care about losing all your saved data, you can perform a factory reset.
- If you are going to sell or give away your rattiertube to someone else. In that case it’s better to perform a factory reset. The person who buys the headset will essentially be using the new oculus quest without your personal information.
How to restore the oculus quest to factory settings through the phone
You can use a special Oculus Quest app for your phone. To restore Oculus Quest 2 to its factory settings, you need to download the Oculus app to your phone. You can download the app from Google Play and App Store.
- After you install the app on your device you need to log in to your account.
- At the bottom of the menu, find and click on the device tab.
- Here you must select the headset you own that is connected to the phone app.
- Select your Oculus Quest 2 and go to advanced settings.
- In the settings you need to find the “factory reset” option and click it.
Don’t forget that a factory reset will delete all your data, so use it wisely.
How to perform a manual reset in Oculus Quest 2
You can perform a reset directly on your Oculus Quest 2 in just a couple of keystrokes and to do this you need:
- Press and hold the power and volume buttons on the Oculus Quest 2 until it turns on.
- You will then be presented with a special menu, use the sound keys to navigate in it
- Go to “Factory Reset”, then press the power button to select it.
- You will get a menu where you need to select “yes, erase and factory reset” and press the power button to start the factory reset.
After rebooting Oculus Quest 2, you will need to do the initial setup.
How do I reset Oculus Quest 2 remotely?
There may be a situation where someone has stolen your Oculus Quest 2 or you have lost it. Obviously, you don’t want your information to be shared with strangers. You can remotely erase all the data about your device and to do this you need to:
- Go to this website on your PC or on your phone.
- Then, log in with your Facebook/Oculus account that is associated with your headset.
- Find the Oculus Quest headset you want to erase in the device list and click “Delete device data”.
- You may need to go through an identification step to confirm that it is indeed you. The system will then complete your request.
The next time someone turns on the Quest headset, it will automatically erase all personal data and reset your settings to factory defaults. The headset will no longer appear in the My Devices tab as it’s no longer attached to your account.


