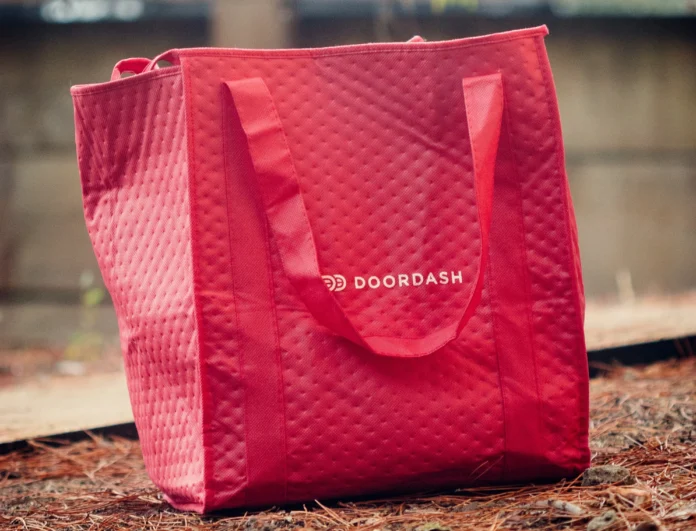
DoorDash is one of the largest and most advanced online food delivery platforms in the US, Canada, and Australia. In the US, this service covers more than 50 percent of the entire food delivery industry. With so many customers, it’s impossible to please everyone and some people have bad experiences with this service. There are a lot of things to make you deactivate the DoorDash account, such as slow deliveries or poor customer service can provoke people to end up using this service. So, people may decide to deactivate and delete their account. If you’re sure to stop using this service, these tips will help you do it in the fastest and most straightforward way.
What the difference deletion or deactivation
Many people don’t understand the difference between these terms and choose to delete the DoorDash account, even if they want just to deactivate the account. Deletion and deactivation have one very distinctive difference. Deactivation is almost similar to deleting an account but allows you to reactivate your account in the future if you want to use the service again. Deactivation is more practical because you won’t have to re-enter all your data to work with the service. It’s also worth attention that you can deactivate the service through any device with Internet access, but only through a web browser.
What deactivation methods are available
There are two main ways of deactivation. The first way is to write to support using the live chat at doordash.com or write an e-mail with a request to deactivate your account. The first way is much faster and more convenient because according to the user’s tech support can take a long time to respond to a request by email. If you have an active subscription, remember to cancel it before deactivating.
How to deactivate your DoorDash account via live chat
If you decide to deactivate your account, these steps will help you do it as quickly and efficiently as possible.
- First, open your Internet browser.
- Then go to the customer support at this page.
- On the website you need to find “Chat with Us” or in the bottom-right corner a small rectangle labeled “Chat with an expert“.
- Clicking on one of these buttons will open a chat window in which you must specify your account information: your first name, last name, your email, and phone number. Then you select the category of your request, in your case “Account settings” and the subcategory “-None-“.
- When you fill in all the fields and choose a category – press the button “Start Chatting” and provide the support manager with the following information:
- write your name
- your e-mail, which is used with this account,
- the number of your phone
- If you want, you can explain the reason for deactivating the account or just write that you want to deactivate it. Ask to send confirmation of account deactivation to your phone or e-mail after your application is considered.
After reviewing your request, you will receive a message on your phone or email address associated with your account.
How to deactivate account via email
To deactivate your account via email you need to go to the email address where you signed up for DoorDash
- Write an email to DoorDash customer support with the address support@doordash.com.
- In the subject line specify that you want to deactivate your account.
- In the letter specify your e-mail and phone, which are associated to your account, and ask to send a confirmation after deactivation that the account was deactivated. And wish a good day.
How long does it take to deactivate an account
Technical support in DoorDash works pretty fast, and account deactivation through live chat can take from 3 to 14 days, in the case of an inquiry by e-mail your request can be processed within 30 days. You need to be very careful because the process can take a long time if you enter your data incorrectly when requesting.


