

Computer networks play a critical role in exchanging information and enabling communication between devices in today’s interconnected world. The IP routing table is an essential component of computer networks as it determines the path that network traffic should take from its source to its destination. This article will explore the steps for configuring the IP routing table in Windows 11.
Whether you are a network administrator or a user who wants to gain more control over your network traffic, this article will provide a comprehensive guide to help you configure the IP routing table in Windows 11. With a clear understanding of configuring the IP routing table, you can ensure your computer network’s efficiency, security, and performance.
What is the IP routing table in Windows 11?
The IP routing table is a data structure used by routers in a computer network to determine the path a packet of data should take from its source to its destination. It stores information about the network topology, including the available routes and the preferred path to take for a given destination IP address. Each entry in the IP routing table contains the following information:
- Destination network: This is the target network or host to which the packet is sent.
- Subnet mask: This defines the size of the network and helps the router determine which network the destination address belongs to.
- Next hop: This is the IP address of the next router to the packet that should be forwarded to reach its final destination.
- Interface: This is the network interface that the router should use to forward the packet.
Routers use the IP routing table to determine the best path for a packet to take based on its destination IP address. The router uses the destination address, subnet mask, and routing table to determine which entry matches the destination address. The router then forwards the packet to the next hop listed in the matching entry.
The IP routing table can be configured manually by network administrators or dynamically updated through routing protocols such as OSPF or BGP. The routing table is an essential component of a computer network and ensures that packets reach their destinations efficiently and securely.
How can you change the IP routing table in Windows 11?
Now let’s answer the central question of this article and see how you can get an IP routing table on your Windows 11 computer. You can change the IP routing table in Windows 11 by using the “route” command in the Command Prompt. Here is the step-by-step process:
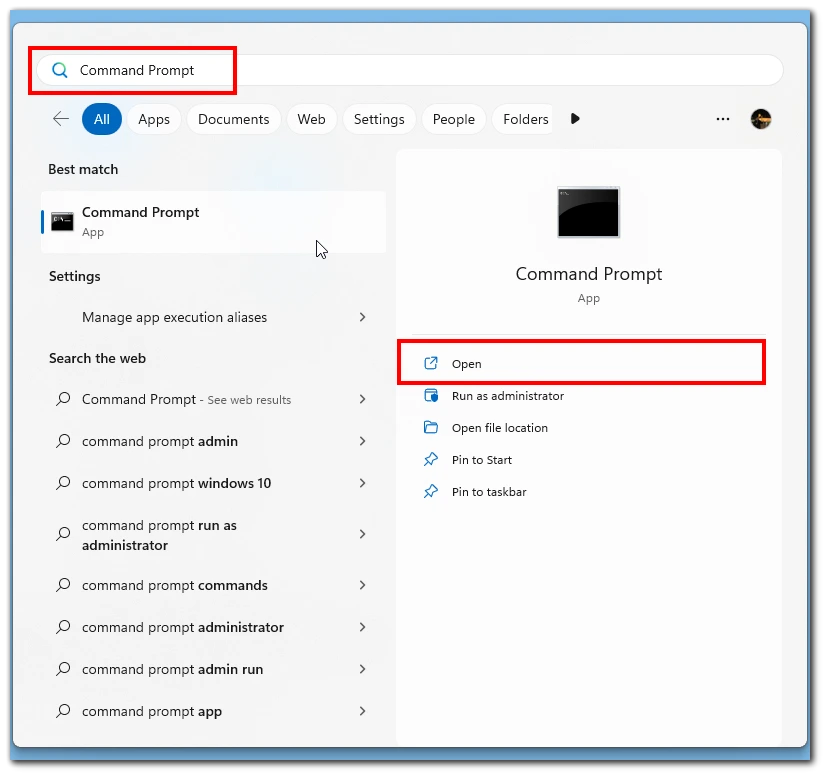
- In the Start menu, search for Command Prompt, and select the top result.
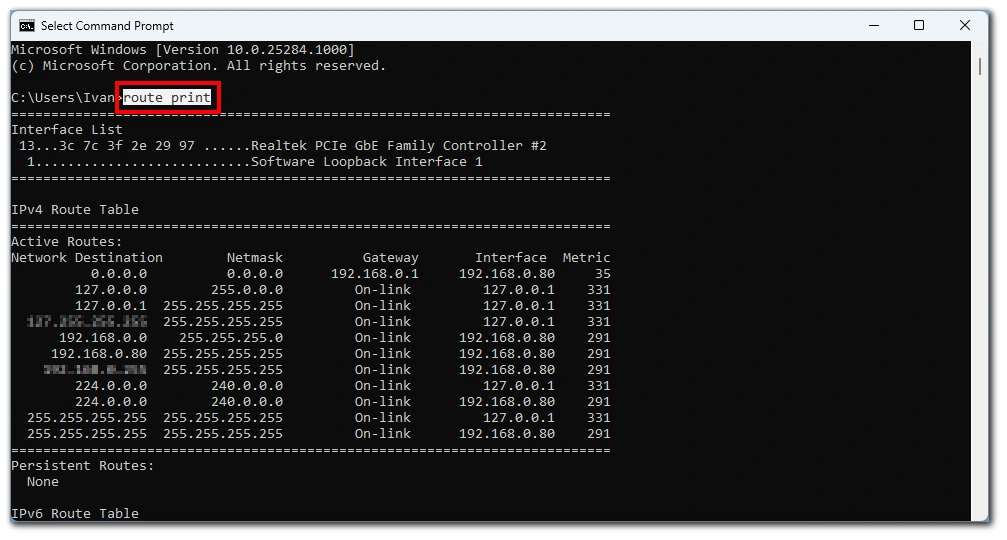
- Type the following command into the Command Prompt and press Enter
route print. This will display your current IP routing table.
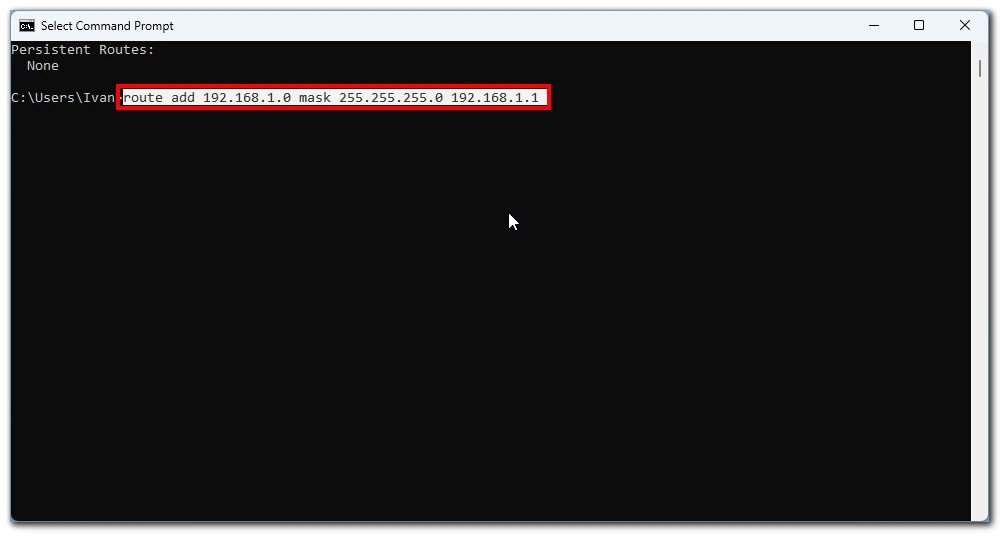
- To add a new route to the IP routing table, use the following syntax:
route add [destination_network] mask [subnet_mask] [gateway]. For example:route add 192.168.1.0 mask 255.255.255.0 192.168.1.1.
- To modify an existing route, you will first need to delete the existing route using the
route delete [destination_network]command, then add the new route using the “route add” command. - The changes you make to the IP routing table will be lost when you restart your computer. To save the routing table, use the
route savecommand. This will save the current routing table to the “route.txt” file in the systemroot\System32 folder.
It’s important to note that changing the IP routing table can significantly impact your network, so it’s essential to be careful and thoroughly test your changes before applying them in a production environment.
Why do you need to configure the IP routing table in Windows 11?
Of course, you may wonder why you want to change the IP routing table in Windows 11. Let’s look at the possible reasons that might make you want to do this. In Windows 11, you may need to configure the IP routing table for the following reasons:
- To control the path of network traffic: By configuring the IP routing table, you can specify the path that network traffic should take to reach its destination. This allows you to control network traffic flow and ensure packets are sent to the correct network.
- To support multiple network interfaces: If your computer has multiple network interfaces, you can use the IP routing table to control which interface is used for outgoing traffic.
- To support VPN connections: When you connect to a VPN, you may need to configure the IP routing table to ensure that traffic intended for the VPN is sent over the VPN connection and traffic intended for the local network is sent over the local network connection.
- To support network segmentation: By configuring the IP routing table, you can segment your network into multiple subnets, allowing you to control network traffic flow between different parts of your network.
In summary, configuring the IP routing table in Windows 11 allows you to control the path of network traffic and support multiple network interfaces, VPN connections, and network segmentation. These capabilities are essential for ensuring your computer network’s efficiency, security, and performance.


Nice explainer thank you