

The original SearchIndexer.exe file is one of the Microsoft Windows Operating System software components developed by Microsoft Corporation. However, not everything is clear with this executive file.
What do you need to know about the SearchIndexer.exe process on Windows 10
Windows 10 is a fairly diverse and completely versatile operating system. This means that it can be used for any purpose. That is why the very stuffing of Windows 10 OS is quite a complex “mechanism”. There are various processes and services that should help improve the performance of your PC or laptop.
Nevertheless, there are services that can interfere with the stability of your system to some extent. In most cases, such services can be disabled and they won’t affect anything. However, sometimes it’s worthwhile to learn more about a particular service or process before you enable or disable it.
The same goes for the process which will be discussed in this article. Well, here’s what you should know about the SearchIndexer.exe process on Windows 10.
What is SearchIndexer.exe
If you have noticed the SearchIndexer.exe process, it’s normal, in Windows 10 this process is responsible for indexing files, just like in other versions of the operating system. Indexing files is a necessary process. The point is that when you search for something on your PC or laptop if this service is enabled, you will see the results very quickly. If it’s not enabled, it will take you longer to find it.
This is what this process looks like in Task Manager.
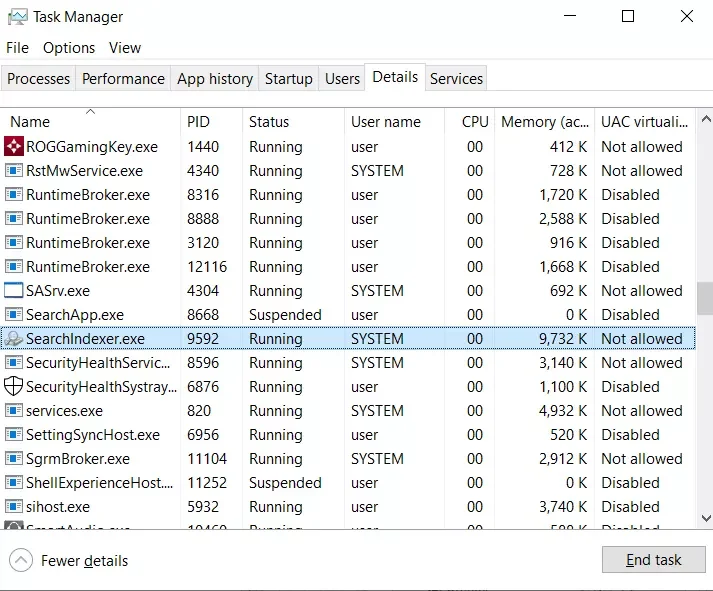
In other words, SearchIndexer.exe is a Windows process that handles indexing your files for Windows Search, which supports the file search mechanism built into Windows that supports everything from the Start menu search window to Windows Explorer and even library functions.
If you want to see for yourself, you can follow these steps:
- First of all, open the Task Manager window by pressing “Ctrl + Shift + Esc” on your keyboard.
- After that, right-click on the “SearchIndexer.exe” process and select the “Go to service(s)” option.
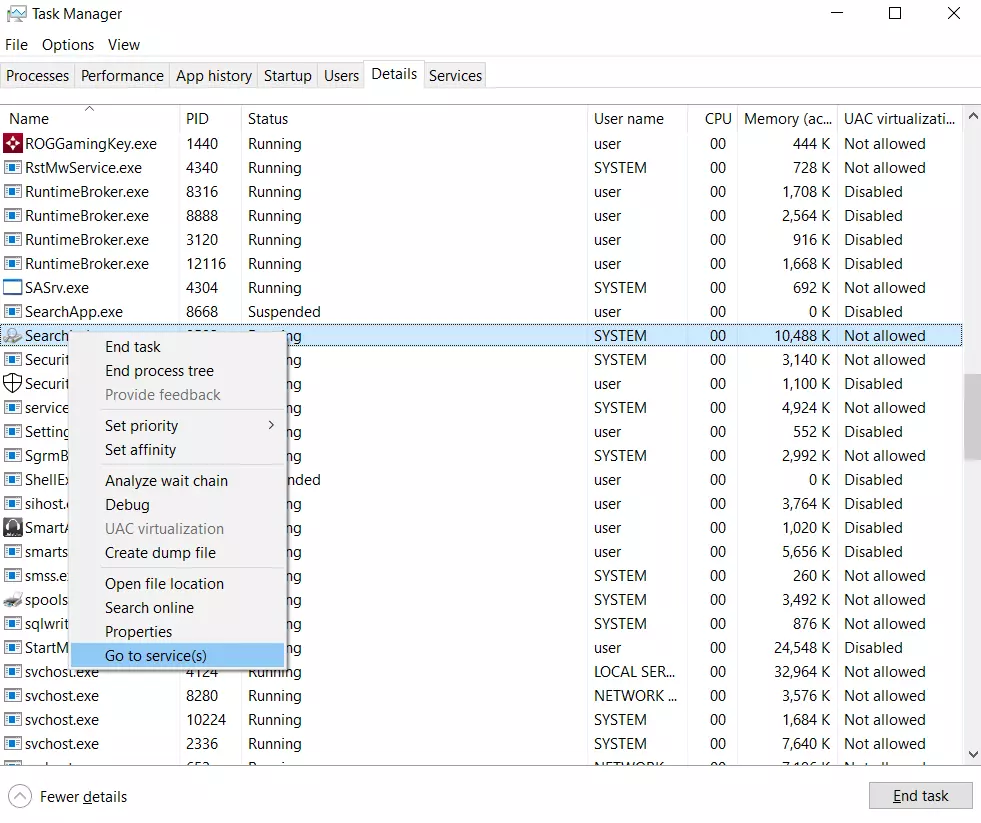
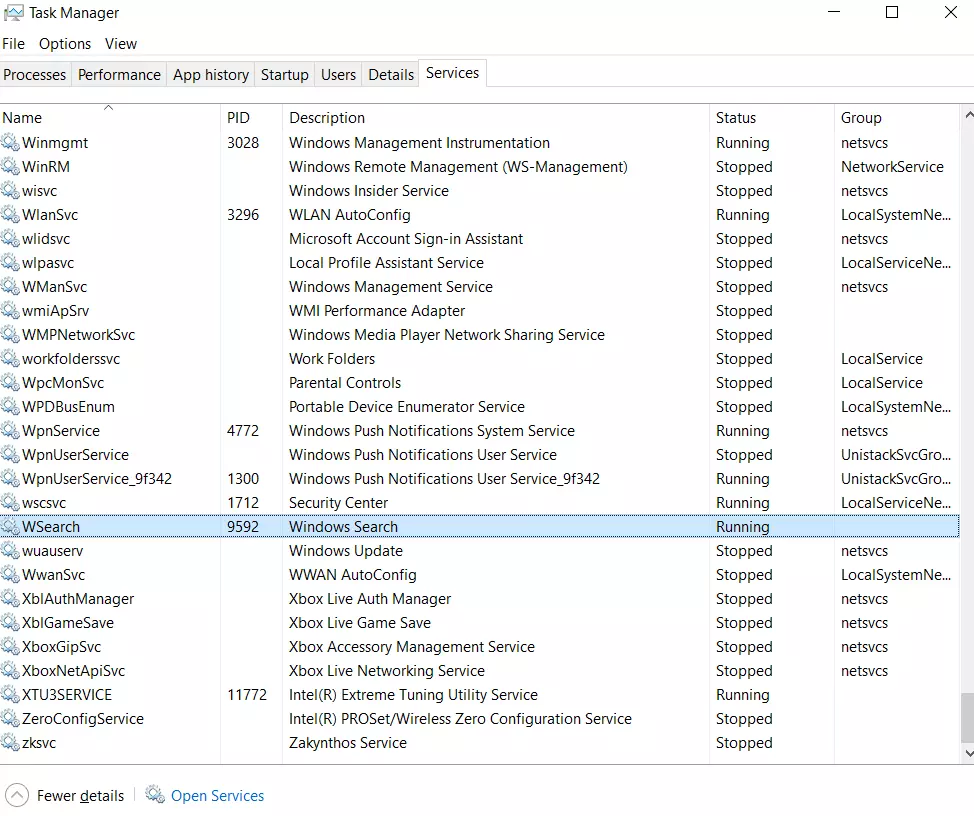
- You will go to the “Services” tab, where you will clearly see the “Windows Search” item selected in the list.
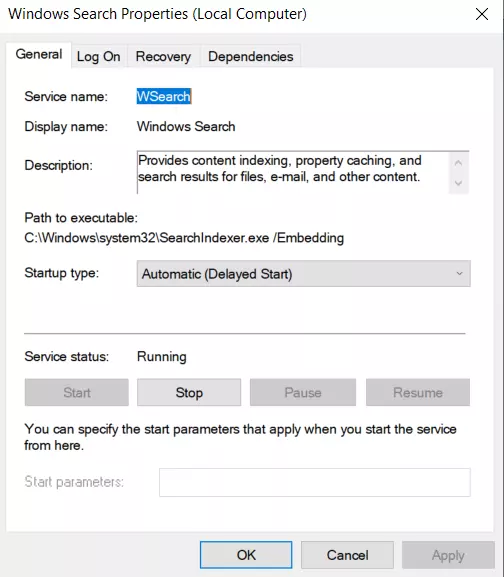
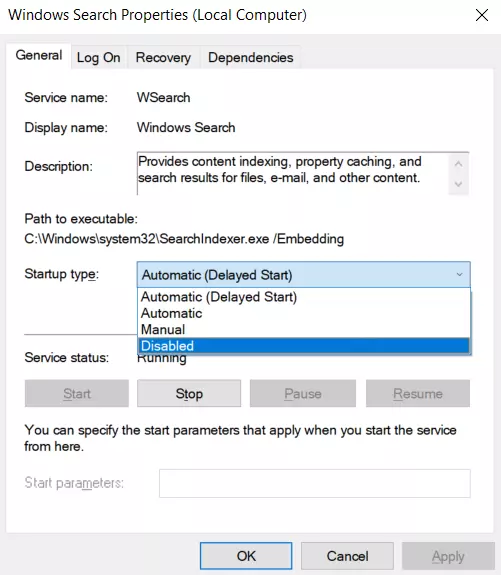
If you look at the file properties, you can clearly see that this particular executable is a Windows search indexer component, although the name probably already indicated that.
Not everyone is always looking for something on their PC or laptop, but the SearchIndexer.exe process is always hanging in the Task Manager. You should also be aware that the SearchIndexer.exe process can consume a lot of system resources if the CPU and RAM are loaded heavily.
Why does Searchindexer.exe load the CPU and how to fix it
Many users on the web have noticed that the Searchindexer.exe process heavily loads their PC’s CPU. Moreover, this mysterious process feeds not only on CPU resources but also on tons of RAM. Seeing such a voracious process in Task Manager, most users start to have severe panic. Virus, PC hack, hardware malfunction – all kinds of things come to mind.
However, it’s certainly not necessary to panic in such a situation. After all, you can definitely disable this process and fix the problems on your PC or laptop.
The first thing you should do in the beginning is to check the CPU load of the Search Indexer using the Task Manager. To do this, follow these steps:
- Open the Task Manager window by pressing “Ctrl + Shift + Esc” on your keyboard.
- After that, go to the “Processes” tab and highlight the “Microsoft Windows Search Indexer” process. The CPU column shows the CPU load for each program and service.

Now try to restart the Windows Search service. Restarting the Windows Search service can reduce the CPU load of the search indexer. If you want to do so, you have to follow these steps:
- Press “Win + R” on your keyboard and type “services.msc” in the “Run” text field.
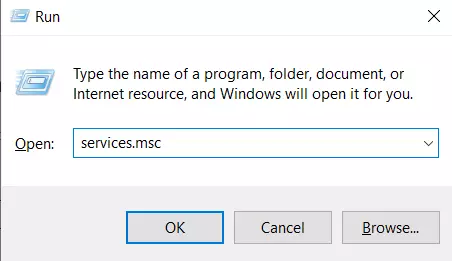
- Click “OK” or press Enter on your keyboard to open the “Services” window.

- Then, scroll down and find “Windows Search”.
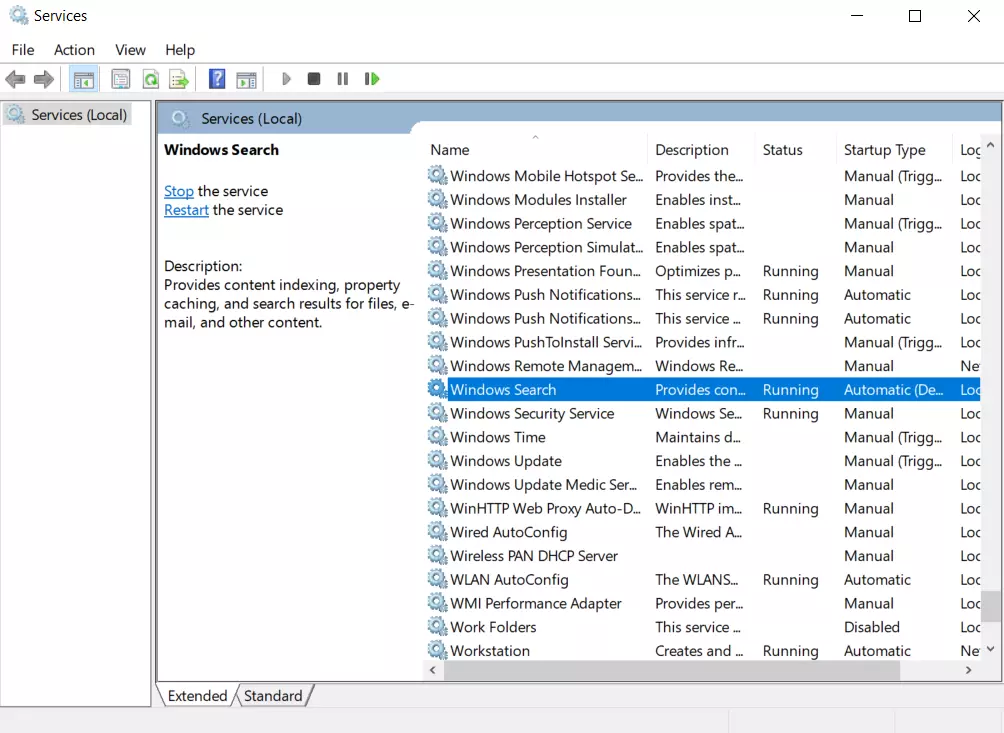
- Next, double-click on it to open its configuration settings.
- Select “Disabled” from the “Startup type” drop-down menu, click “Apply” and “OK”.
- After that, restart your PC or laptop and reopen the “Windows Search” window.
- Finally, select “Automatic (Delayed Start)” from the “Startup type” drop-down menu, click “Apply” and “OK”.
Once you have completed these steps, you will be able to restart the Windows Search service.
How to reduce the amount of indexed data
Reducing the amount of data that Search Indexer indexes is one of the best ways to reduce CPU and RAM usage. You can configure the locations that Search Indexer indexes in the indexing options window.
In addition, you can customize the file types of the service indexes. Here’s how you can do it:
- Click the Start button on the taskbar and enter “indexing” in the search bar.
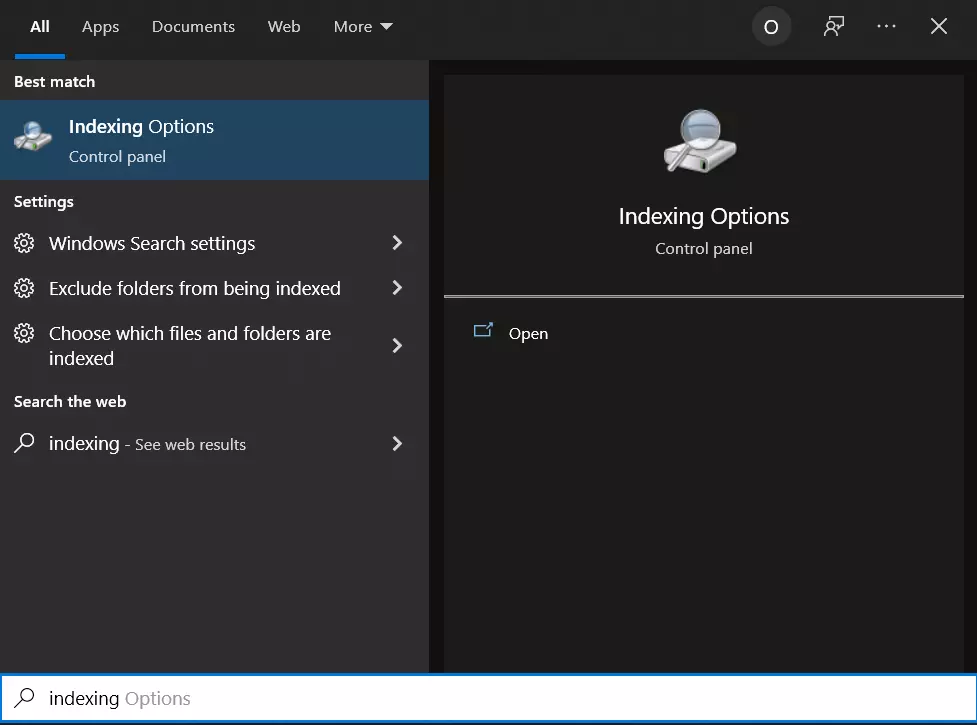
- Then, open “Indexing Options”.
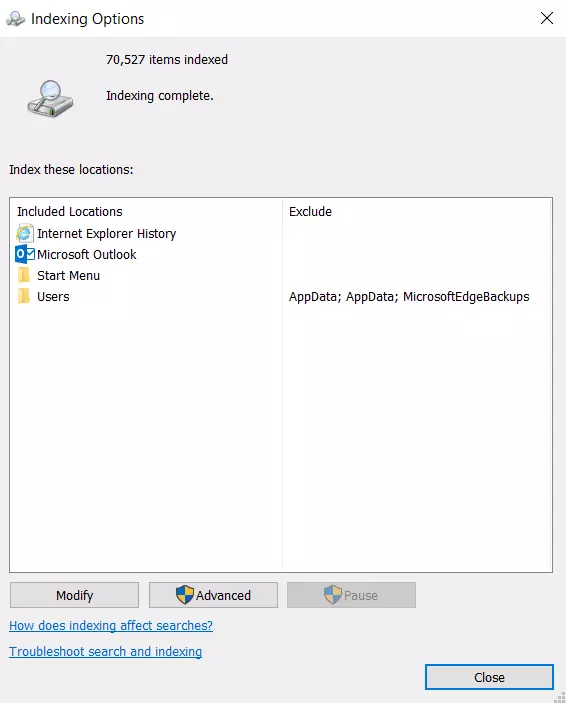
- Click on the “Modify” button to open the indexed locations window.
- Now, click on the arrow next to the C: drive to expand its folders. Now you can uncheck some boxes to remove the indexed locations.
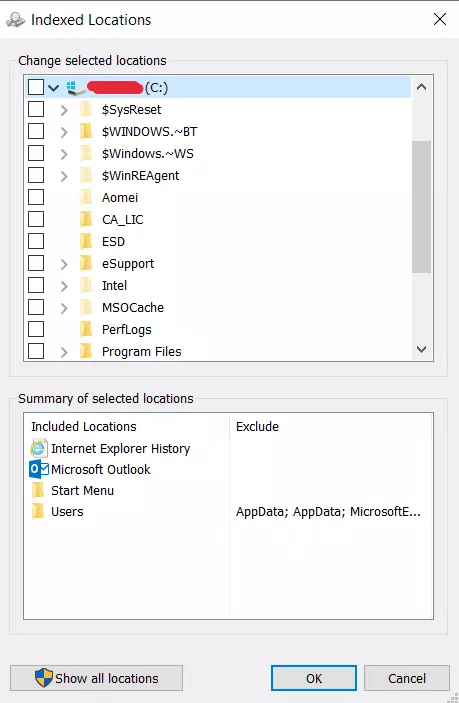
- Click “OK” in the indexed locations window.
- Finally, click “Close” in the Indexing Options window.
Is it possible to remove SearchIndexer.exe
You shouldn’t uninstall a safe executable file without good reason, as this may affect the performance of any related programs that use the file. Remember to update your software and programs regularly to avoid future problems caused by corrupted files. As for software functionality problems, check for driver and software updates more often to avoid or avoid such problems altogether.


