

When I needed to record internal audio on Mac, I tried to download about 4 programs to do it. But each time, they either glitched on macOS Ventura or didn’t run at all. Changing the settings via Terminal didn’t help with that.
I tested a lot of things for this and the most successful application was Blackhole. But in order for Blackhole to perform its function, you need to specify the correct settings.
It works because you first need to install Blackhole on your Mac. Then after that, you need to set up Blackhole after installation. Then you can use the built-in screen recording function to record the necessary videos with internal audio-only.
However, you can also install Audacity and use this application to record only Audio. Then export in the required format.
How to download Blackhole for internal audio on Mac?
BlackHole is a free virtual audio driver for Mac that allows you to route audio between applications without quality loss. With its help, you can easily record internal audio on your Mac. And most importantly, BlackHole works great on macOS Ventura.
In order to download BlackHole to record internal audio on Mac, you need to follow these steps:
- Open the Blackhole downloader in your browser.
- Then click BlachHole 2ch.
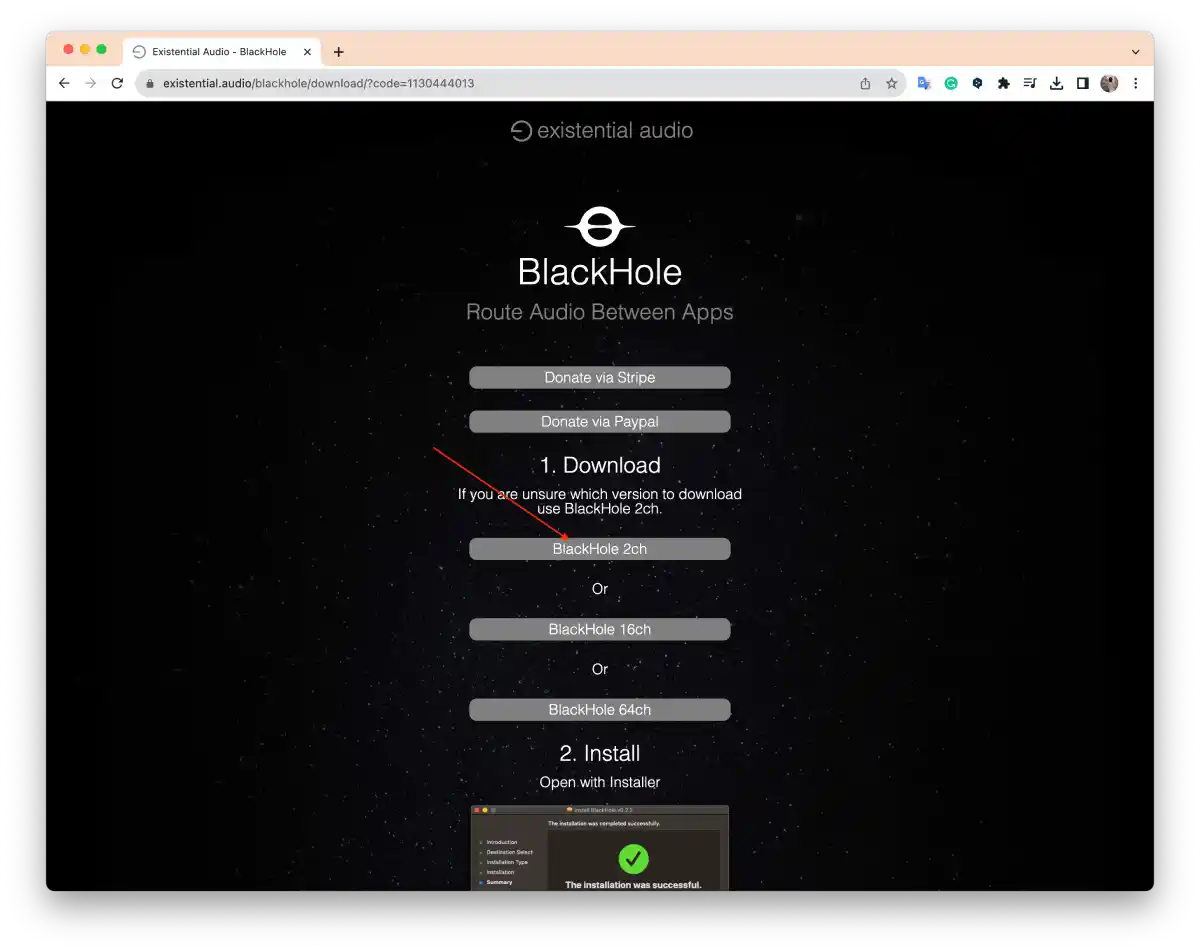
- Click on the download file.
- You will see the installer window. Click Continue.
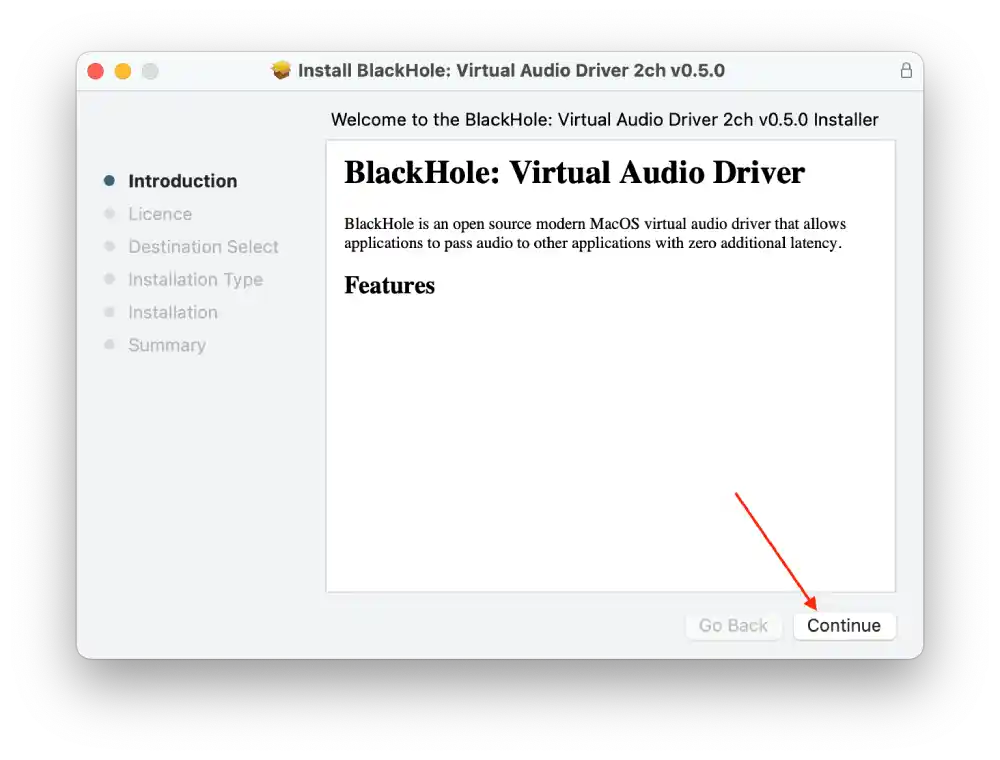
- Then click Continue.
- Next, click Agree to accept the privacy policy.
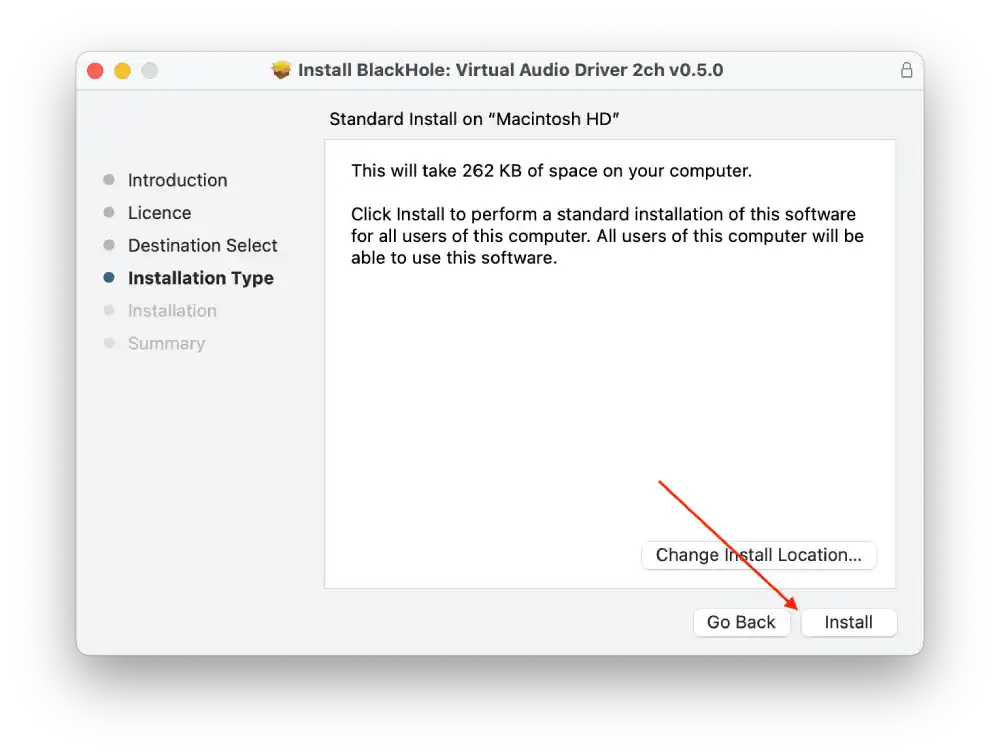
- Then click Install.
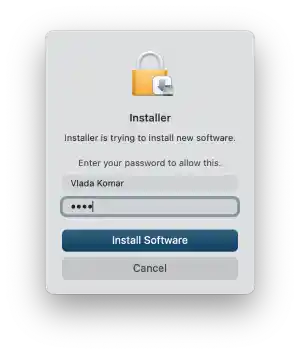
- Enter your Mac password and click Install Software.
- After that, click Close.
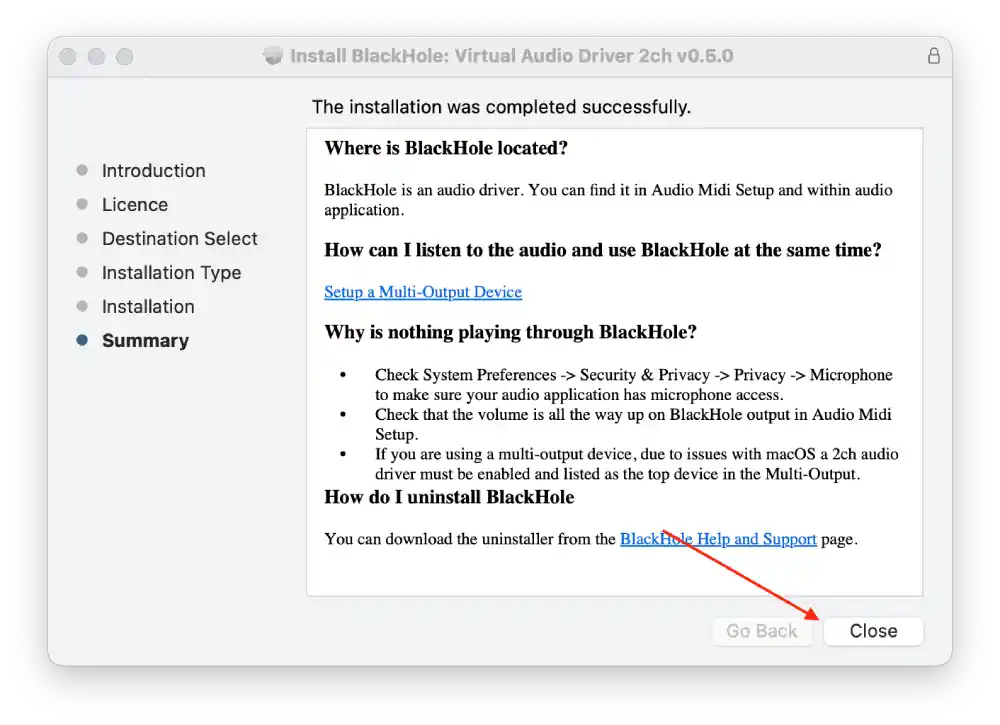
Actually, in this downloader file, there are recommendations on how to set up Blackhole for internal audio on Mac. But they don’t work. The steps are different in macOS Ventura, and you don’t need to do this in System Preferences. So follow the next steps to configure Blackhole for internal audio on Mac.
How to set up Blackhole after install?
When you create an Aggregate Device or Multi-Output Device, pay attention to “Drift Correction”. To avoid audio synchronization problems, it is recommended that you enable this feature for the built-in microphone or other audio device that you use with the BlackHole. In order to set up Blackhole after install, you need to follow these steps:
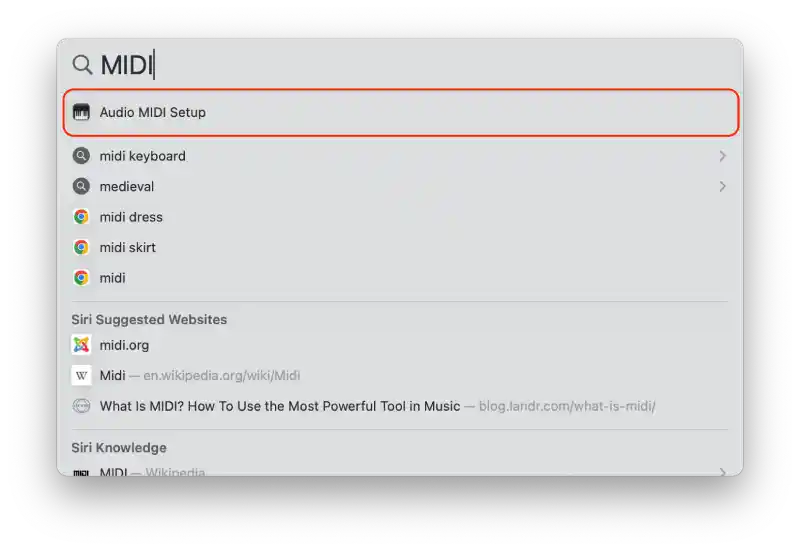
- Open Audio MIDI Setup. Use Spotlight to find it. Press Command+Space.
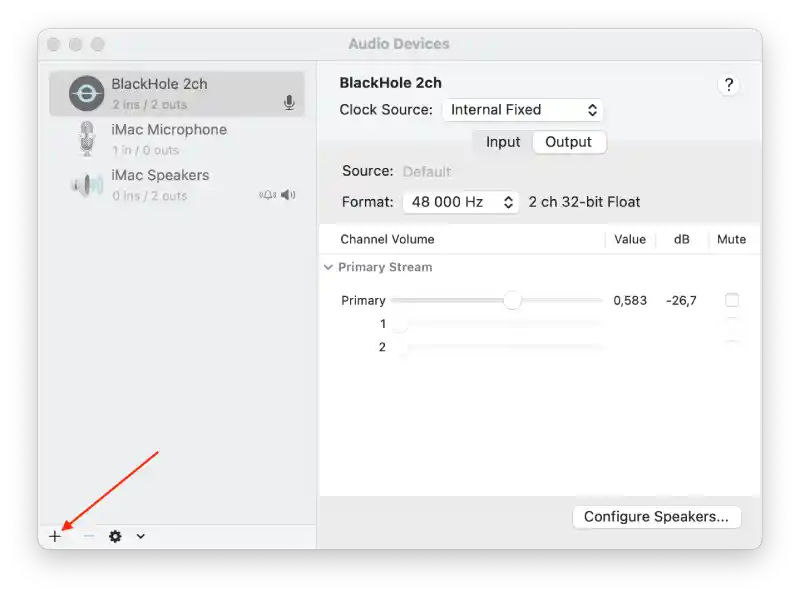
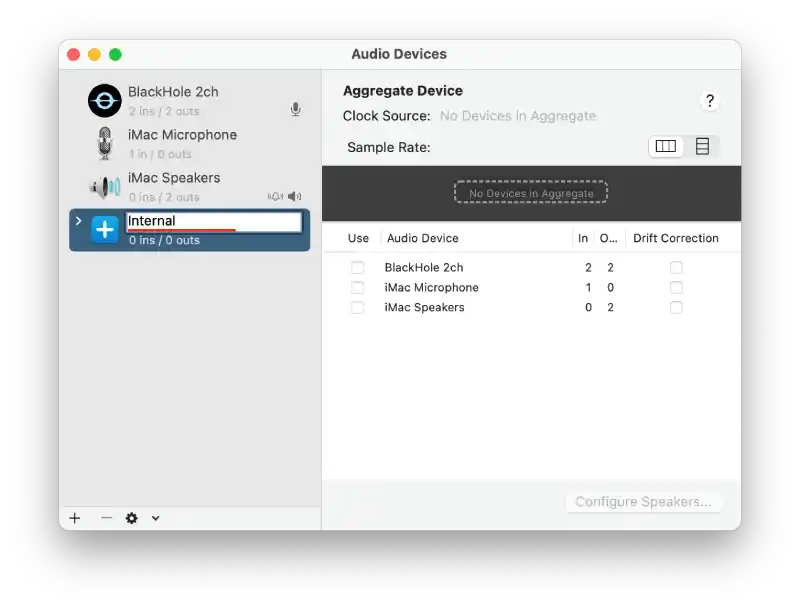
- Then click the + icon in the new window.
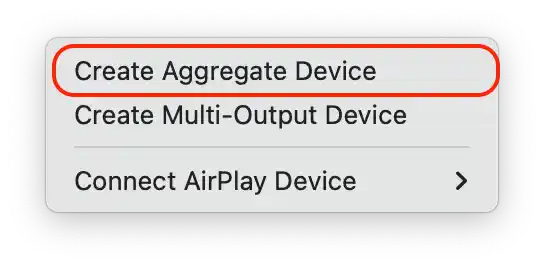
- Select “Create Aggregate Device “
- Double-click to change the name.
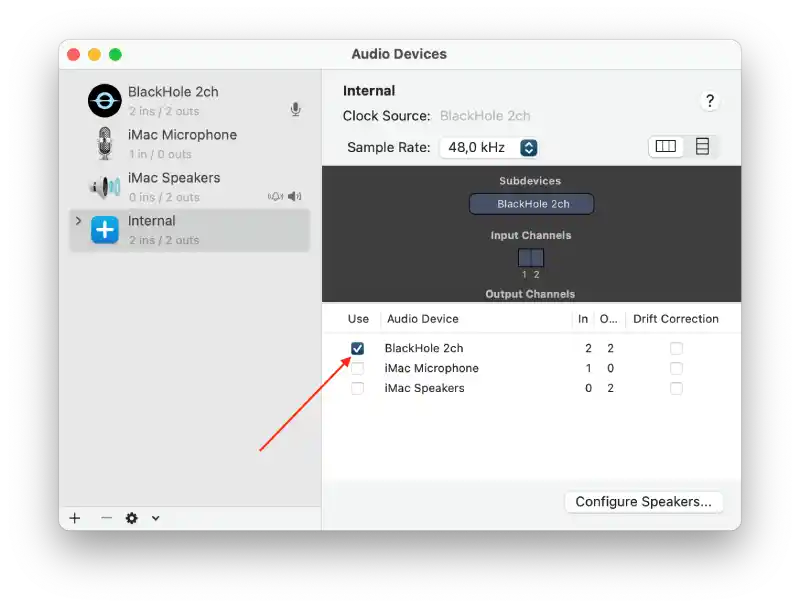
- Then on the right side of the screen, check Blackhole 2ch.
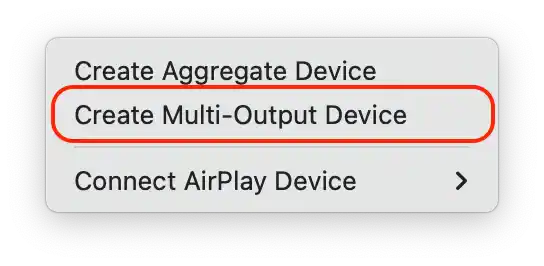
- Then click the + icon again.
- Then click on Create Multi-Output Device.
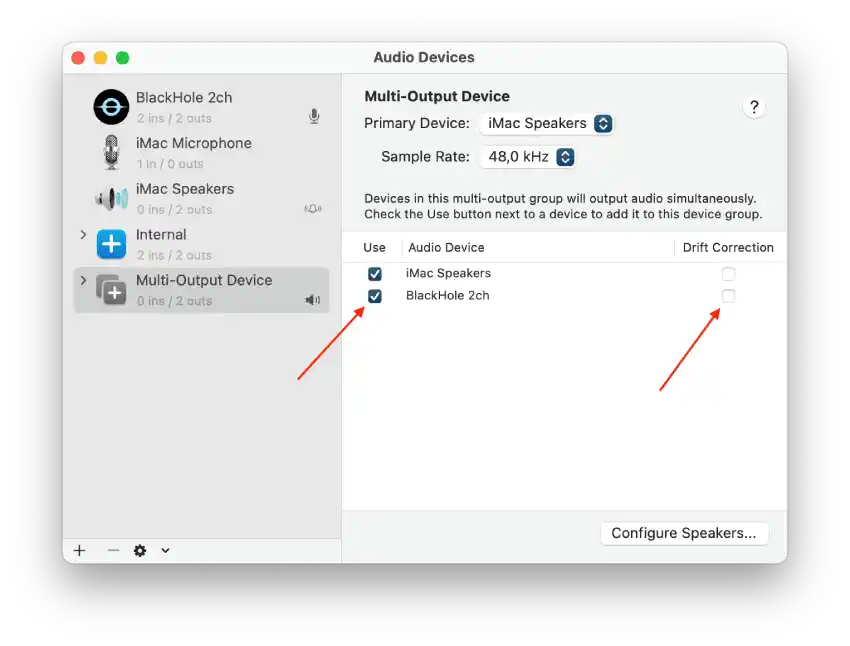
- Check the box next to Audio Device Black Hole 2ch.
- And uncheck the Drift Correction checkbox next to Black Hole 2ch.
- Then right click on Multi-Output Device.

- From the list, click on Use this device for sound output.
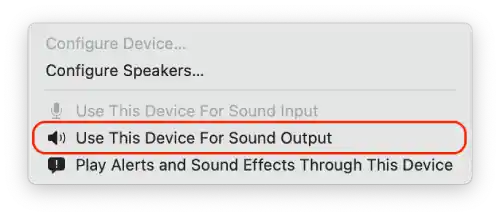
After you want everything back, right click on iMac Speakers and select Use this device for sound output.
How to record internal audio in video on Mac using Blackhole?
To record internal audio on your Mac using BlackHole and the built-in screen recording tool, follow the steps below:
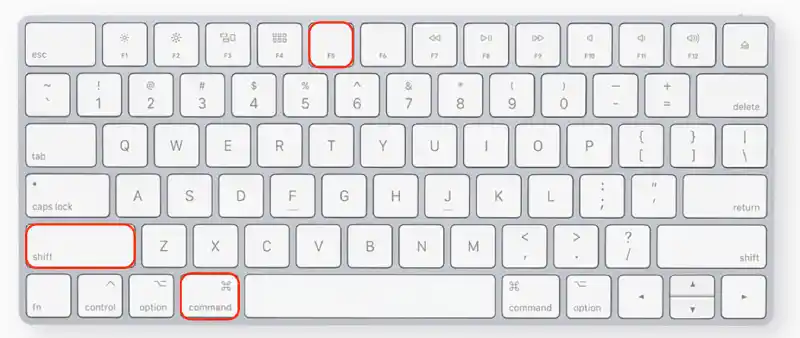
- Use the Command + Shift + 5 key combination.
- In the menu that appears, click on “Options“.

- Make sure that “BlachHole 2ch” is selected.
- Start recording, click on “Record“.
You now have a video screen recording with internal audio, recorded with the built-in screen recording tool and BlackHole.
This method is different because all the noise in your room and your voice will not be heard.
How to record System Audio on Mac using Blackhole and Audacity?
Before you follow the next steps, you should make sure to set up Blackhole after installing. Then follow these steps to record System Audio on Mac using Blackhole:
- Once you have set up Blackhole after installing, you need to open the Audacity downloader in your browser.
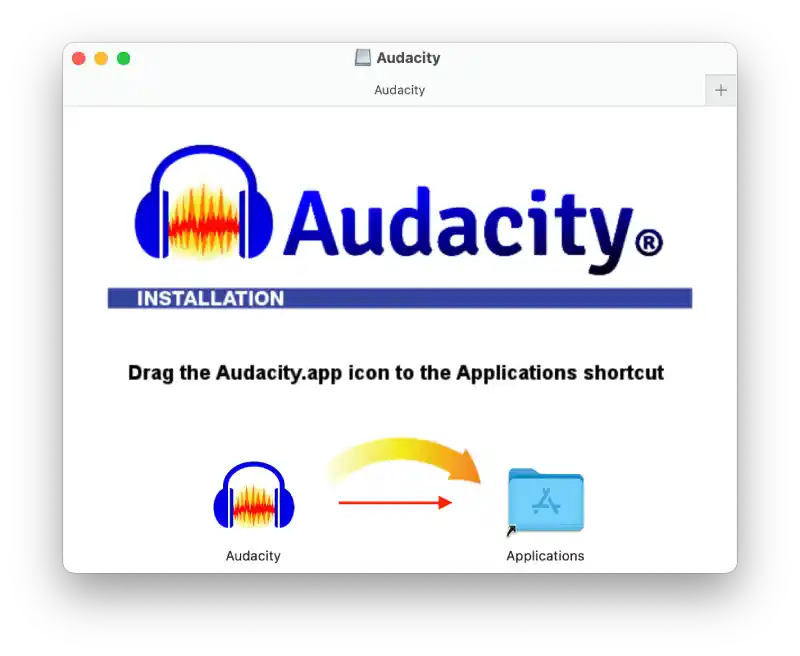
- After installing the file, you will see this window. Drag Audacity into the folder.
- Then open Audacity.
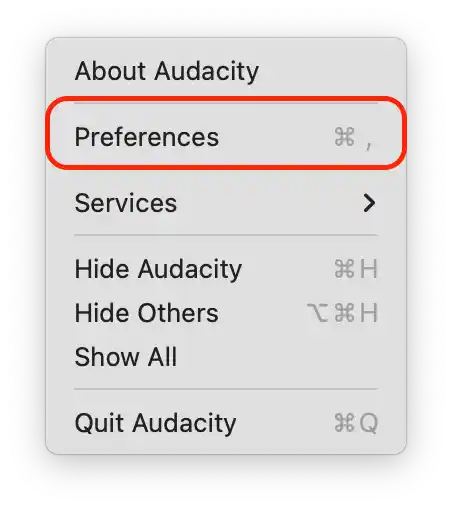
- Click on Audacity in the upper left corner.
- Then from the list, select Preferences.
- In the field specify that the recording should be via Blackhole.
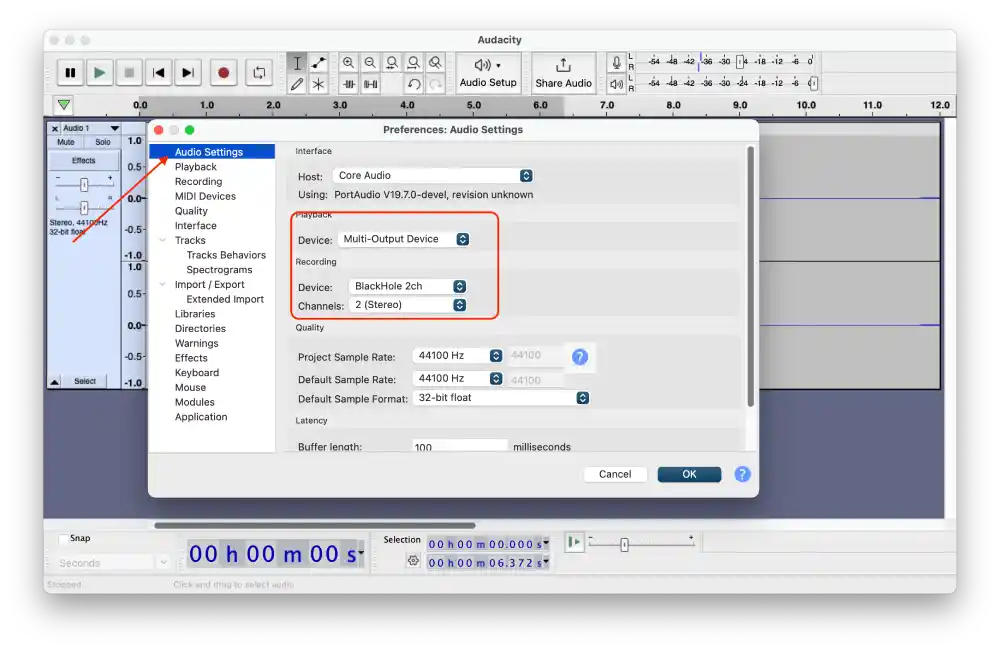
- Then click OK.
- Start recording System Audio.
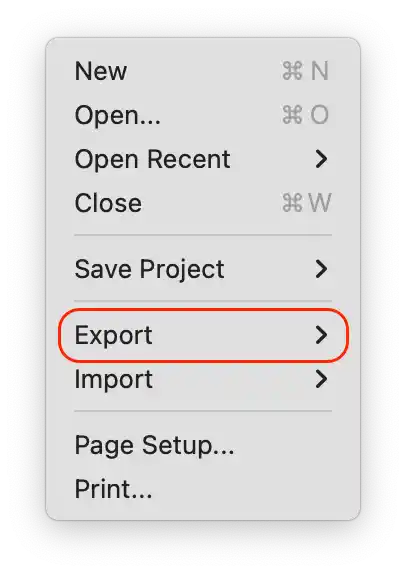
- After recording, click on File in the upper left corner.
- From the list, click Export.
- You can choose the format you need.
Using the above method, you will be able to record audio with a perfect soundtrack. This method ensures that there is no extraneous noise or interference, as only what sounds in your Mac is recorded. No background noise, no sounds from the environment.
This makes this method ideal for recording where you need to maintain high quality audio without interference.
How to use the build-in record on Mac?
Macs have a built-in feature for screen recording as part of the macOS operating system. However, you should be aware that when using this feature to record internal audio, you may encounter a problem with extraneous noise. This is because it records internal audio and external audio.
Using the built-in recording tool and the built-in microphone to capture audio, you’re likely to capture external sounds or background noise. If you’re aiming for perfect audio clarity, this may not work for you. However, if you’re willing to ignore a little noise and are looking for a quick and easy way to record, using the built-in recording feature on your Mac is a great option.
To use the build-in recording on Mac, you’ll need to follow these steps:
- Press Command + Shift + 5. This opens the Recording Control Panel on your Mac’s screen.
- In the panel, you will be able to choose whether you want to record the entire screen, a specific area, or just a specific window.

- Click on “Options“.

- Make sure a “Built-in microphone” is selected for audio recording.
- Click on “Record” and start your presentation or demonstration.
- To stop recording, press Command + Shift + 5 again and select Stop.
Your entry will automatically be saved in the Downloads folder, unless you have selected another location to save it in Options.
How to create a soundtrack from recorded internal audio?
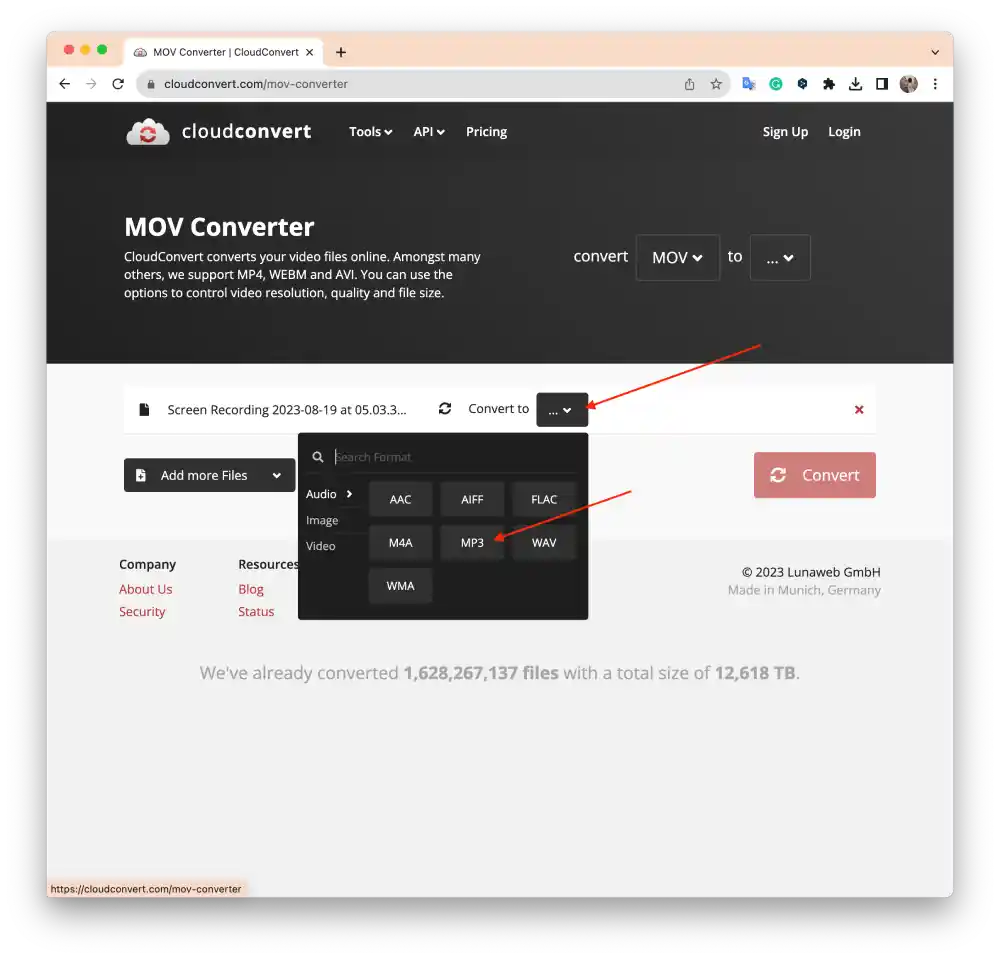
Once you have recorded a video with internal audio on your Mac. You can extract only the audio from that video turning it into an audio track. This process is easy to accomplish with the CloudConvert online service. For this, you need to follow these steps:
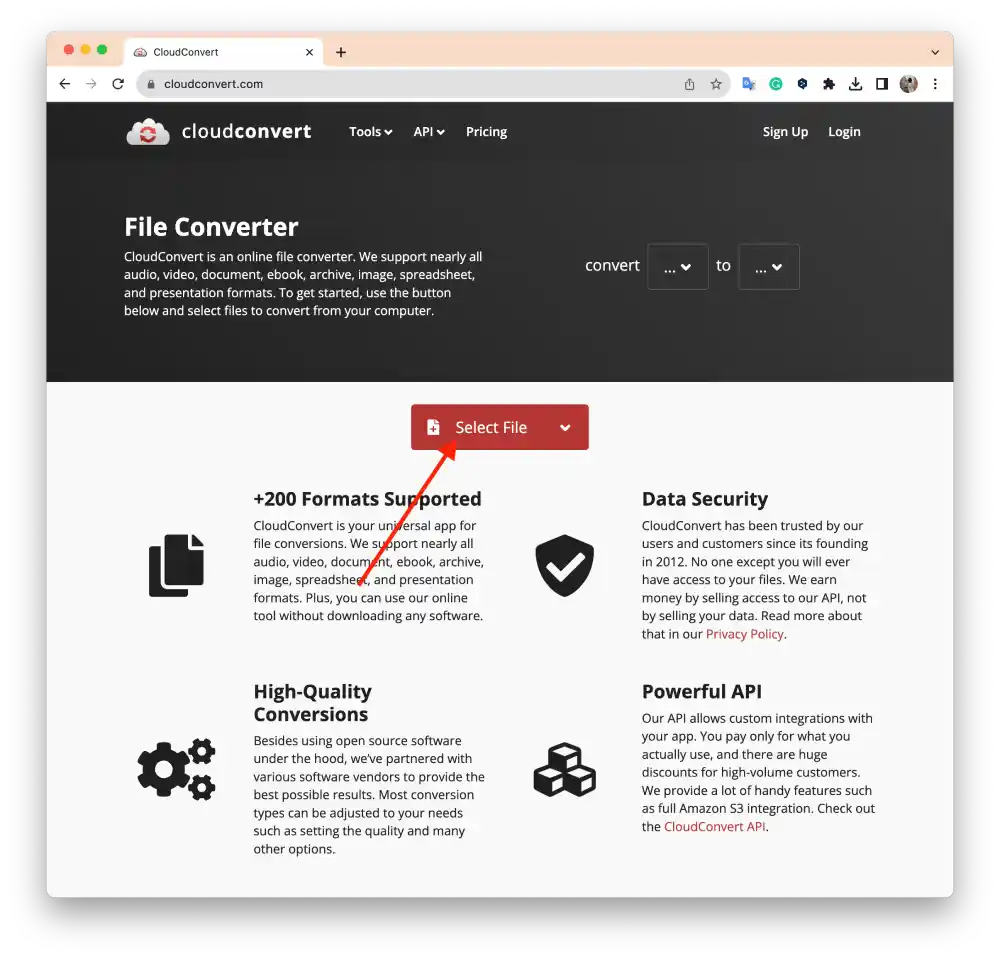
- Open the Convector website in your browser.
- Then click on Select File.
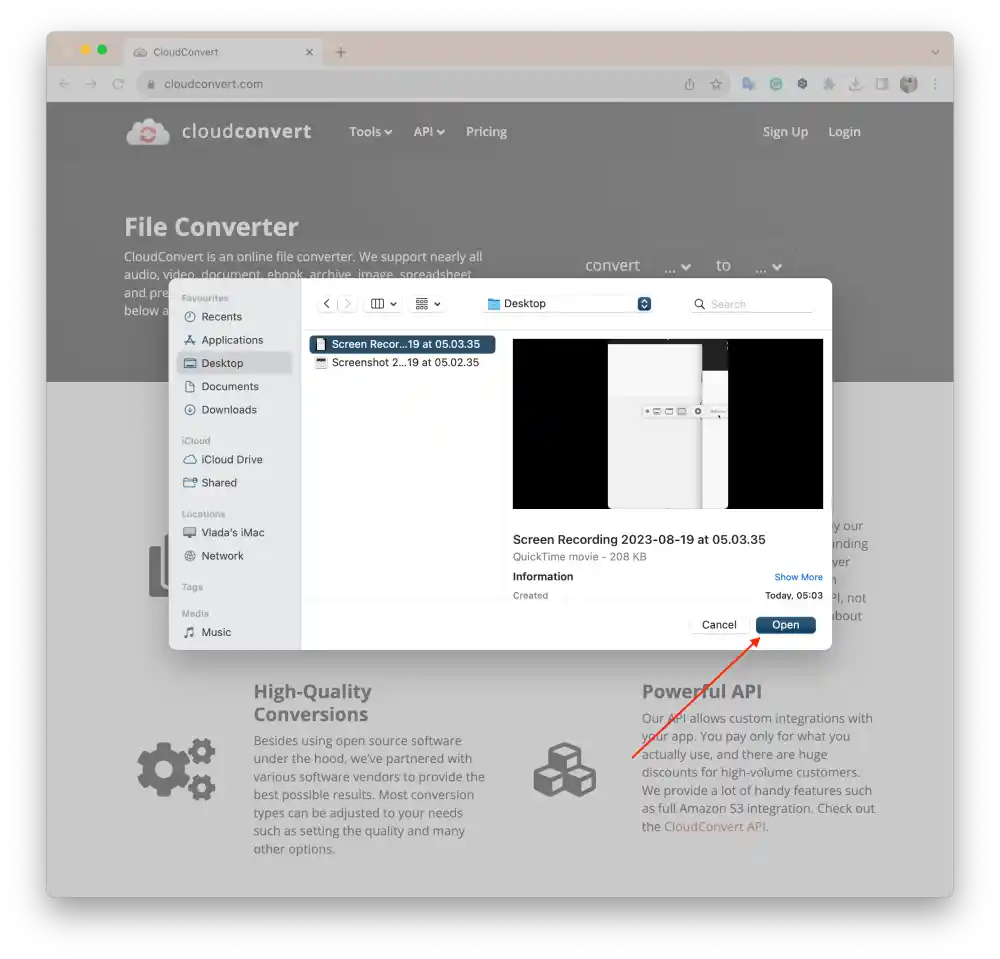
- Then select the desired one from the folders and click Open.
- Then click on the arrow to open the list, and in the list click on MP3 in the Audio section.
- Then click on Convert.
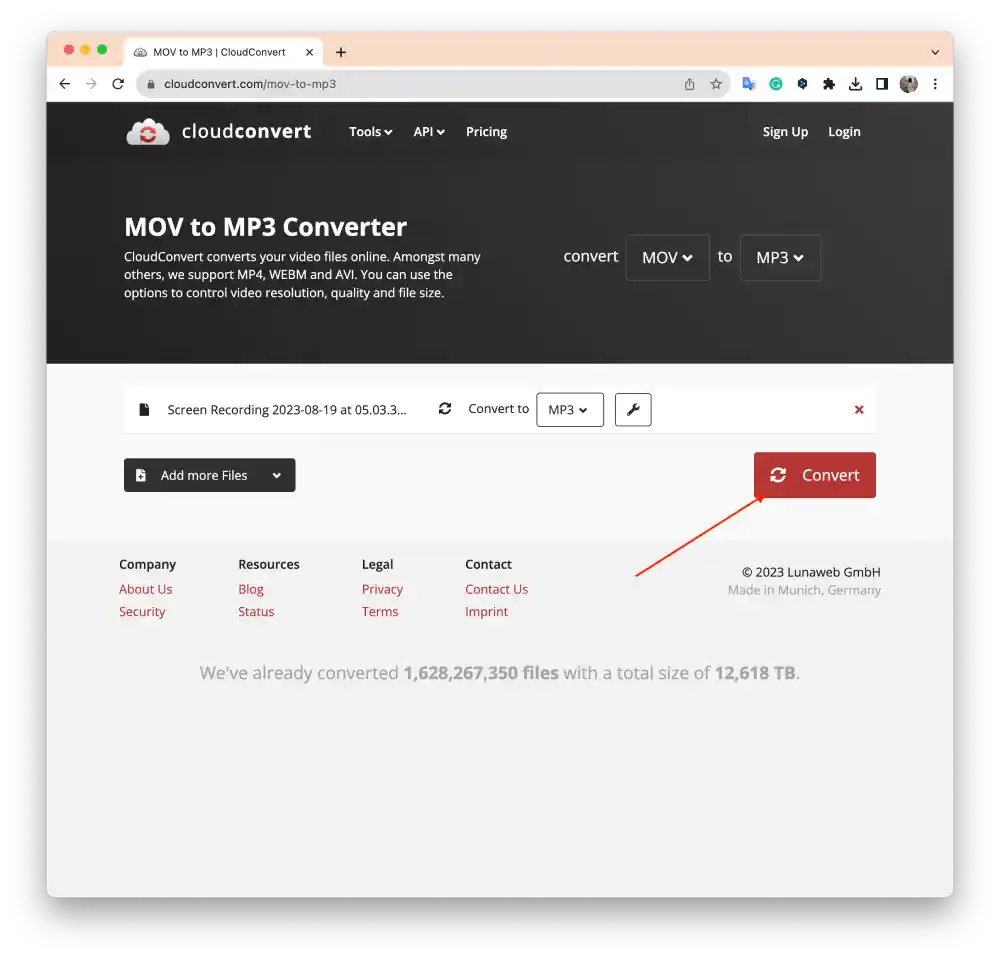
- And next to that, click on Download.
The audio file will be saved in the Downloads folder on your Mac or another location of your choice.
You now have an audio track extracted from your video.


