

Very often, Windows 10 PC users encounter a situation where the monitor displays a message with a settings save error. This most likely means that the video card is set to a resolution that the monitor doesn’t support. You can easily fix this error.
What do you need to fix Windows 10 “The Display Settings Could Not Be Saved”
When using a PC for work purposes, many people often find that they don’t have enough space on one monitor. In this case, it can be useful to add one or maybe even two more monitors.
This is a very useful upgrade for your PC. Then you have a lot more working space and you can think of different interesting uses for it.
For example, if you have to work with text or spreadsheets to transfer data from one place to another, you might want to display the information on one monitor and then use the second one to do data entry from the first one. This is quite convenient and can greatly simplify common work tasks.
However sometimes when using two or more monitors you may run into various problems. For example, there is a problem with Windows not being able to save monitor settings.
Usually, this message looks like this: “The display settings could not be saved. Please try a different combination of display settings”. There are several ways you can use to solve this problem.
How to fix “The display settings could not be saved. Please try a different combination of display settings”.
In fact, many users get this error quite often. Therefore, many ways have already been found to solve it. You should start with the first one and move on until you find a fix that solves your problem once and for all.
Unplug your monitors and upgrade your drivers
Usually, the problem is at a system level. You might have incorrect drivers installed for your monitor or the drivers might have been installed incorrectly. It’s also possible that there is a bug on your computer when you connect it.
First, you need to disconnect your monitors from the PC. Then unplug them and plug them in again. You should also reboot your PC. After you have done all this, try plugging them back in again. It’s possible that Windows Plug and Play sometimes fails to recognize your monitor because it forgets its current settings.
The next step is to make sure that your monitor drivers aren’t outdated or corrupted. The fastest way to do this is to update the drivers or reinstall them. If restarting didn’t help, it’s better to start reinstalling the drivers right away. This helps to solve almost all display compatibility problems.
Run the device manager and update the drivers
You will need to run the Device Manager to update the drivers. It’s pretty easy to do. Just follow these steps:
- First of all, open the Start menu and type “Device Manager” into the search box.
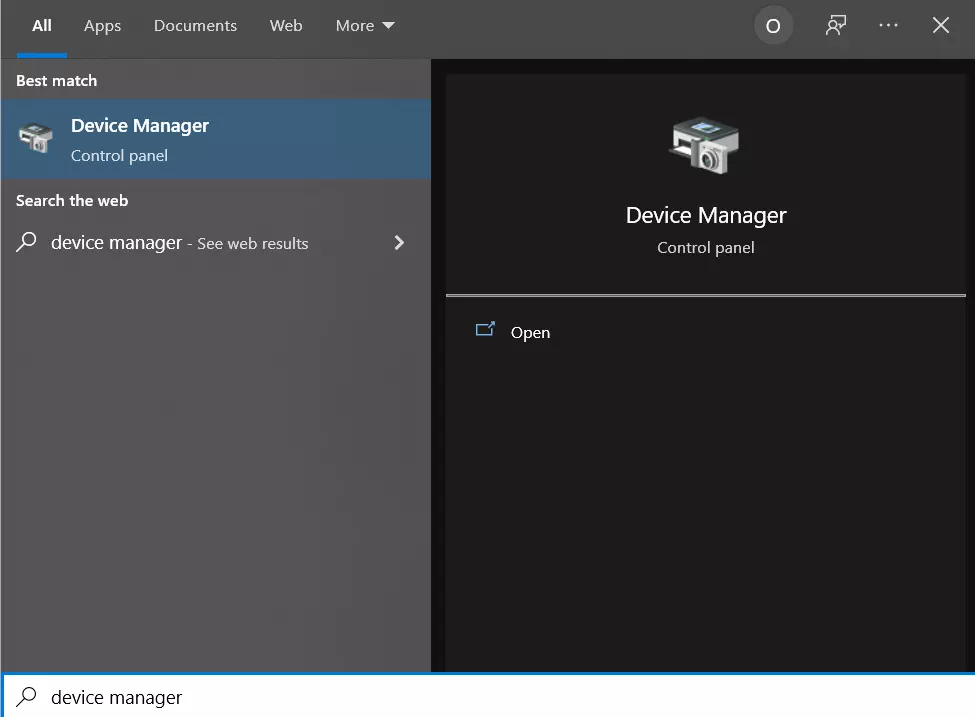
- Open “Device Manager” by clicking on it.
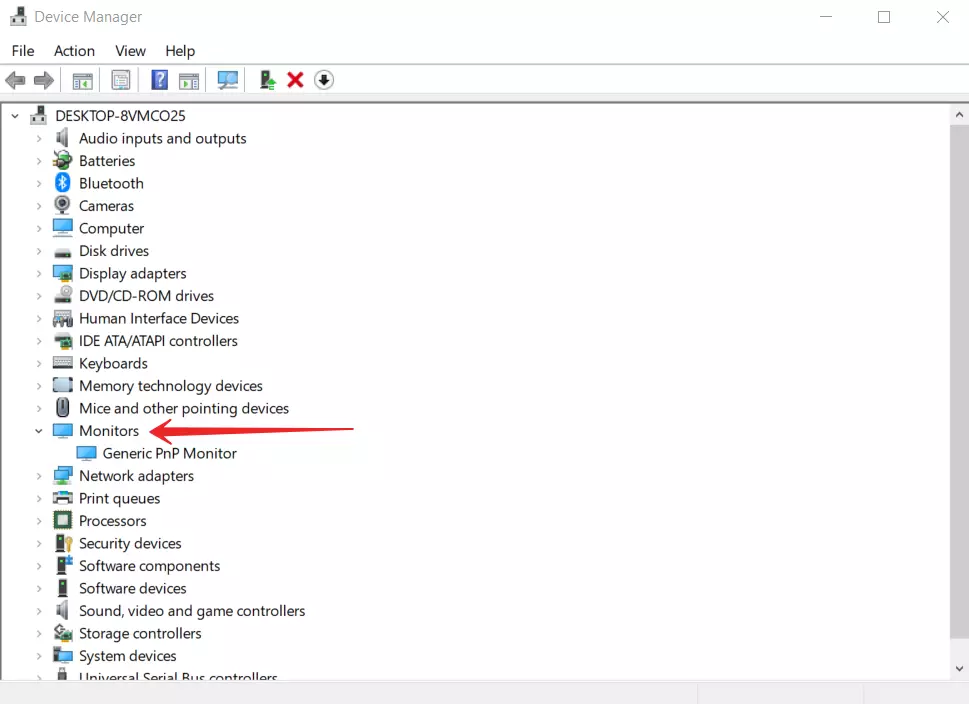
- Then, click on the “Monitors” tab and select the monitor you want to fix.
- Next, right-click on the desired monitor and select the “Update Driver” option.
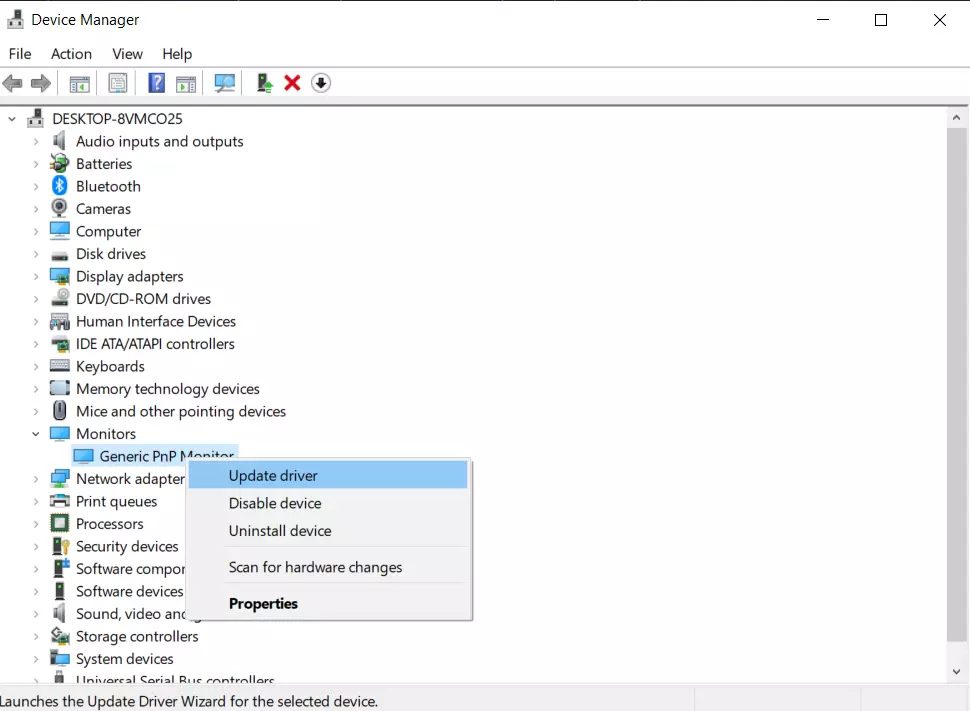
- After that, you can reboot your PC and see if the problem is gone.
- If the problem persists, try the “Uninstall Device” option. To do this you also need to go to Task Manager and right-click on the desired monitor.
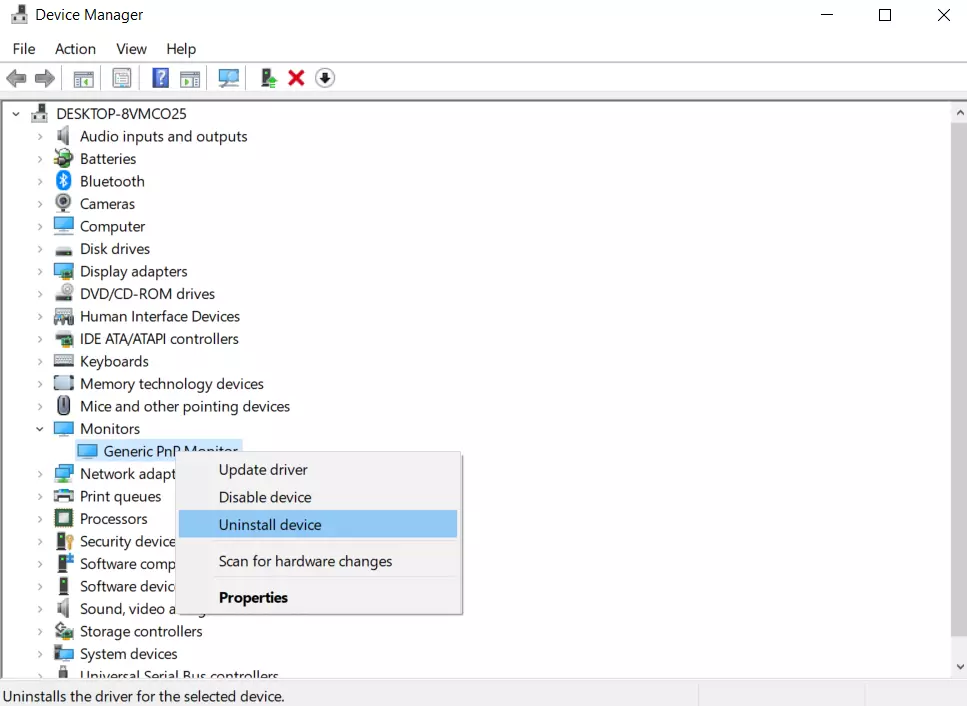
- Then reboot your PC again.
The system should automatically install the new driver when it connects.
Try changing the Monitor’s resolution
A wide variety of settings can cause this conflict. Among other things, it may be related to the resolution of your monitor. You can correct such an error by simply using a different monitor resolution.
To do this you need to:
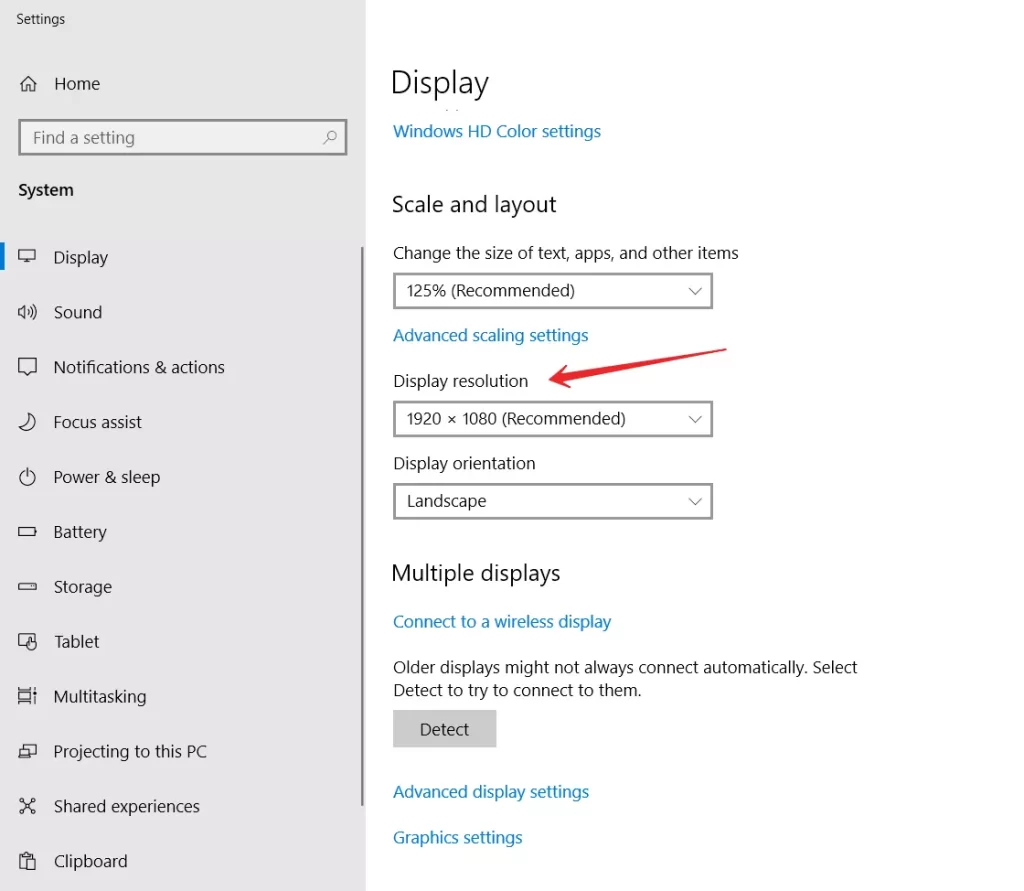
- Right-click on the Home screen and click on the “Display settings” option.

- After that, scroll to the bottom and find the “Display resolution” function. This is where you can change the resolution to another resolution of your choice.
- Try reducing the resolution on additional monitors.
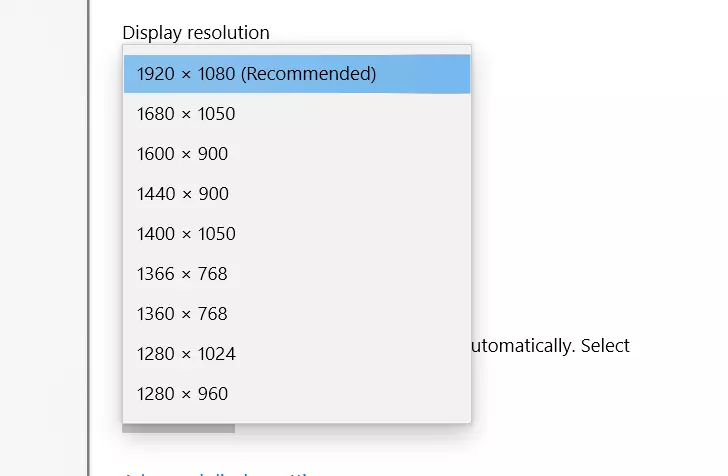
You might want to try different resolutions and see if the error is still present. You can also find the most comfortable resolution for you.
Change the monitor order
Another good option that can fix this error is simply changing the monitor order. This can be done in a couple of minutes. To do this you will need:
Go to Settings → System → Display and click Define. Then change the order of the monitors.
If you’re using another display management program, such as the NVIDIA Control Panel, you can change the monitor order there.
Why can it be impossible to change the screen resolution on Windows 10
By default, you can change the resolution in Windows 10 in the settings by right-clicking on an empty area of the desktop and selecting “Display settings” (this method is described above). However, sometimes the resolution selection isn’t active or there is only one choice in the list of resolutions. It’s also possible that the list is present but doesn’t contain the correct resolution.
There are several main reasons why the screen resolution in Windows 10 may not change, which will be discussed in more detail below.
- Lack of the required video card driver. In this case, if you clicked “Update driver” in the Device Manager and got a message that the most suitable drivers for this device are already installed – it doesn’t mean that you have installed the correct driver.
- Video card driver malfunction.
- Use of poor quality or damaged cables, adapters, and converters to connect the monitor to the PC.
Other variants are possible, but these are the most common.


[…] How to fix Windows 10 “The Display Settings Could Not Be Saved” […]