

Excel is the most popular spreadsheet program. It is one of Microsoft’s Office services. All of their programs have a relatively simple interface but many useful features and tools that their competitors do not have (or are better implemented). Therefore, these programs have gained real popularity in the corporate segment, as they maximally simplify the work with a large amount of data. However, many features are found in rather unobvious places. For example, many Excel users do not know how to adjust the width or height of Excel cells automatically.
There is an Excel AutoFit function for this task. It allows you to automatically adjust the size of several cells at a time, which will be pretty handy if you have imported a large amount of data into your spreadsheet and quickly edited it to match the size of the cells to the information that appears in them. Let’s understand how this feature works and what you need to activate.
What is Excel AutoFit?
In Excel, there is a function called AutoFit, designed to automatically adjust the size of the cells to the data you insert there. With this function, you can automatically change a cell’s height and width without tweaking it manually. Of course, you should understand that, in this case, the size of the entire row or column will change because adjusting one particular cell in Excel is impossible. Let’s start by understanding the fundamental values of row and column sizes:
- Columns have a default width of 8.43 units. At the same time, you can increase their width to 255, the maximum number of characters in a standard font size that a column can hold. That is, if you use a different character size or font, it may reduce the width of the columns.
- Rows have a default height of 15 points at 100% dpi to 14.3 points at 200% dpi. The maximum height of the rows is 409. If you convert the points to actual units of measurement, then 1 point is about 1/72 inch or 0.035 cm.
You can adjust the size of the cells with a particular function that appears when you hover your cursor over the border between columns or rows. You should also note that Excel automatically adjusts the rows’ height instead of the cells’ width. So you don’t need the row height function as much as the column width adjustment. If you do not manually enter data but copy them, then Excel will not edit the height, and the data will be hidden behind the cell borders, which is very inconvenient. In this case, it will be more convenient to adjust the height and width of the cells manually.
How to enable Excel AutoFit
You can activate AutoFit in Excel in 2 ways. You can click on the borders between rows or columns or use the toolbar. It’s pretty easy to do. Note, however, that you can use both the desktop app and the mobile version of Excel for this function. Let’s go over what you need to do to do this.
AutoFit with column border
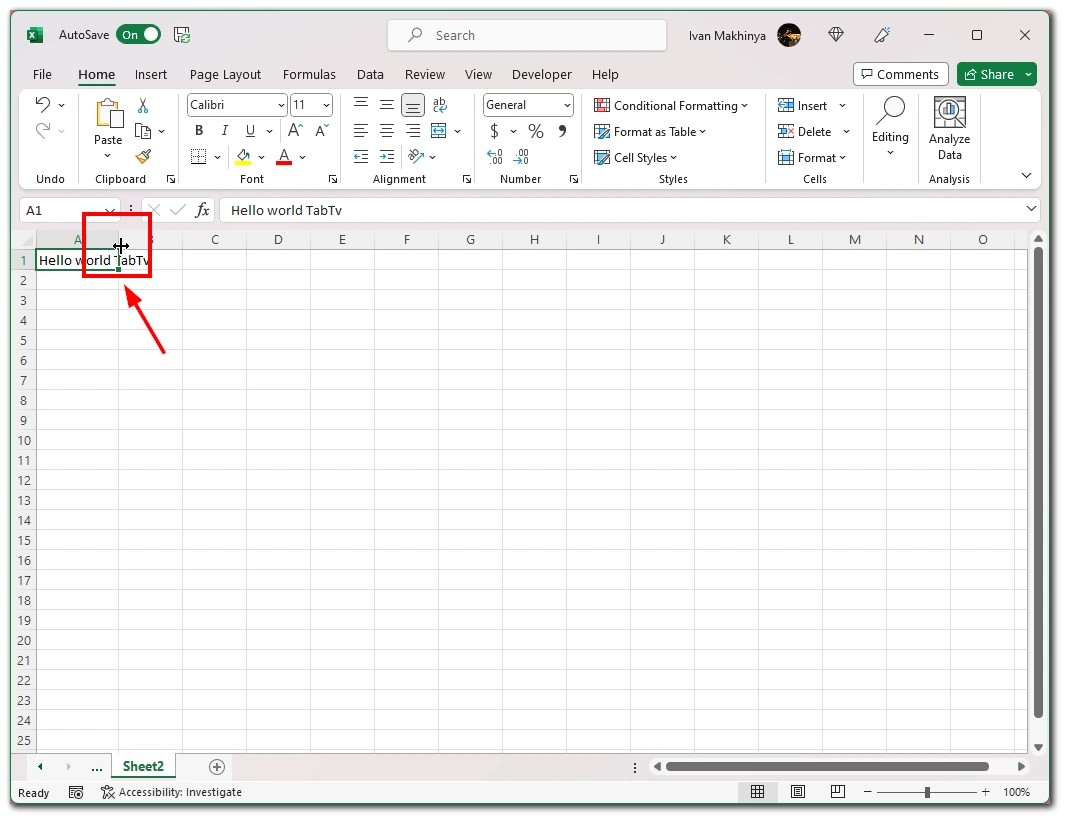
The easiest way to activate AutoFit for one column or row is to double-click on the border between 2 columns or rows. After that, they should automatically adjust to the size of the text entered in that cell. Note that AutoFit changes the size of all cells in this row or column for which you have used this tool.
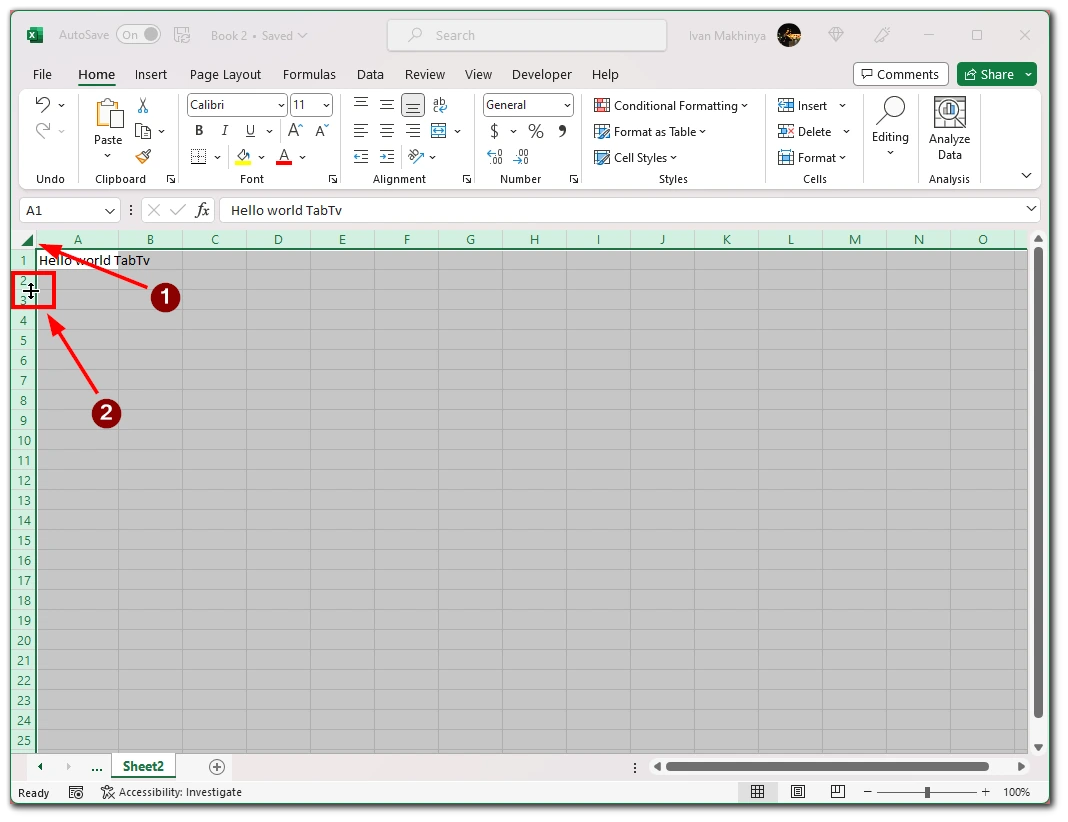
If you need to use AutoFit for several columns or rows, select the columns or rows you want and double-click one of the borders between them. After that, all selected rows and cells will automatically resize. Also, if you click the button to select all cells (or use shortcut Ctrl + A), then you can select all cells in the document, and by double-clicking on any border between a column or row, use AutoFit to the whole sheet at once.
AutoFit with a button in the toolbar
If you don’t feel comfortable or don’t like clicking on column and row boundaries in Excel, there is an alternative way to use AutoFit. For this tool, a special button in the toolbar. To use AutoFit in this way, you need the following:
- Highlight the cells you want to resize.
- After that, go to the Home tab.
- Then you need the Format button (by default, it should be on the right side of the toolbar)
- Click on AutoFit Column Width or AutoFit Row Height in the drop-down menu.
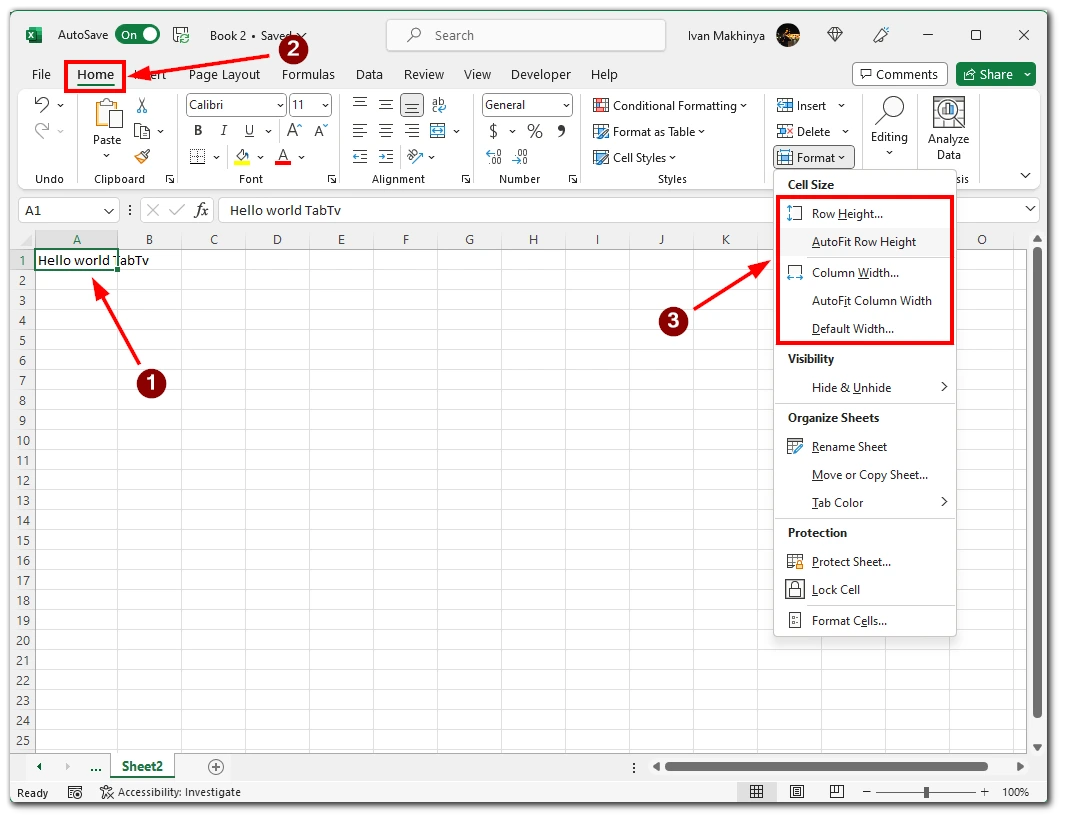
Note that here you can also find such features as resizing by default or adjusting specific sizes for columns and rows using conventional units. This is quite a handy feature if you need to set all the columns the same, and dragging them manually would be inconvenient.
I’d also like to remind you that you can adjust cell sizes on the mobile version by using the same steps. All you need to do is double-tap the column or row number to apply AutoFit. This feature is also available in the Home tab.
